; World of Dennifer: Baby J
Showing posts with label Baby J. Show all posts

Wednesday, February 22, 2012

How Ferber changed our lives!

*~*~I started this post about a month ago & never got around to posting it, but the topic is important & one I know moms all over want to read about, so I'm posting I finished the rest of what I wanted to say them & posting it now. PS - sorry for the LOOONG absence - things have been super hectic 'round these parts lately...anywho, more posts coming soon - promise!*~*~

So IDK if I've blogged about it much my kiddo's recent sleep issues. Before she turned 13 months, Amaya was sleeping thru the night pretty consistently with only occasional disturbances when she was getting sick or teething. And at 13 months - BAM. Just like that, she started waking up multiple times at night & not only that, but wanting to stay up for 1-2 hours at a time. At first, I thought this too shall pass, but after dealing with that craziness for over two months, both the hubbs & I were at our wits end...like shoot me now, I'm so tired I can't function end of our ropes. At worse, I got about 3 hours of sleep a night & she was up SIX times. Yah, no beuno.We were all miserable...I'm pretty sure including the dog!

I talked about it with a few mommy friends & everyone suggested different things - just wait it out, let her cry (which I never wanted to do), push back her bed time, etc. & I think I tried just about everything on that list & none of that worked. Then another mommy friend suggested I read Dr. Richard Ferber's highly acclaimed book, Solve Your Child's Sleep Problems & try his method, called progressive waiting. The basic premise behind his method is to break unhealthy sleep associations in your child, so that she can fall asleep (& back asleep) on their own, needing little to no adult intervention. You basically have to put your child down sleepy, but not asleep & let her fall asleep on her own (which normally involves some crying at first) & leave them for increasing amounts of time (with a cap on the third wait time each night). You basically do the same thing when/if the child wakes up in the middle of the night & you have to stay CONSISTENT. Well, I totally understood his concept, but I didn't buy that it would work as quickly as Dr. Ferber suggested it would - in about 4 days you are supposed to see a noticeable difference and by two weeks, there should be little to no crying at all.

Well, here's what I'm looking at right now...

{please 'scuse the quality of the pic - it's a photo of the monitor on my phone}

I kept a log of the first several nights we did of Ferber & as you can see, it worked pretty much like a charm after about 5 nights:

Night 1:
  • Put down: 9pm'ish (Ferber's books suggest starting out with a slightly later than normal bedtime on the first several nights to ensure your child is sleepy & the process will work a bit better)
    • 1 - 3 min. check; 1 - 5 min. check; 1 - 10 min. check.
    • Sleep: 9:27pm
  • Middle of the Night (MOTN) waking: 9:48pm
    • No check, fell back asleep within 2 min.
    • Sleep: 9:50pm
  • MOTN waking: 2:59am
    • 1 - 3 min. check; 1 - 5 min. check; 1 - 10 min check
    • Sleep: 3:41am
  • Up for day: 7:27am

Night 2:
  •  Put down: 8:27pm
    • 1 - 5 min. check
    • Sleep: 8:34pm
  • MOTN waking: 12:22am (sat up without crying; cried out a few times)
    • No checks!! 
    • Sleep: 12:26am
  • Up for day: 7:10am


Night 3: 
  • Put down: 8:40pm
    • 1 - 8 min check; 1 - 12 min. check
    •  Sleep: 9:12am; poor munchkin fell asleep standing up, so I went in to lay her down so she didn't fall & hurt herself at 9:14pm.
  • MOTN waking: 2:12am
    • 1 - 8 min. check (soaking wet thru clothes, so I had to do a jammies change)
    • Re-start checks @ 2:32am
    • 1 - 8 min. check
    • Sleep: 2:50am
  • Up for day: 7:20am

Night 4:
  • Put down: 8:29pm
    • 1 - 10 min. check
    • Sleep: 8:42pm
  • NO MOTN WAKE UPS!!!!
  • Up for day: 7:38am

Night 5: 
  • Put down: 8:29pm
    • No crying!! She played with her paci for a few min, then...
    • Sleep: 8:34pm
  • NO MOTN WAKE UPS!!!!
  • Up for day: 7:30am 

Night 6: 
  • Put down: 8:20pm
    • Cried 7 min.
    • Sleep: 8:30pm
  • MOTN waking: 4:14am
    • Cried 4 min; no check
    • Sleep: 4:20am
  • Up for day: {I forgot to write down the time - whoopsie} 

Night 7: 
  • Put down: 8:20pm
    • No crying!! She played with her paci for a few min, then...
    • Sleep: 8:28pm
  • MOTN waking: 11:04pm
    • Cried 4 min.
    • Sleep: 11:08pm
  • Up for day: 6:10am

 So, as you can see...it really just got better each night. There have been some regressions here & there, but overall she has done so well on Ferber's program! Now, she goes down without crying at all & normally doesn't wake up at all. When she does., I generally let her cry 10 min., watch the monitor to see if she looks uncomfortable & if so, I go in & do a check...normally she'll fall asleep on her own unless something's up (ie, she's soaking wet thru her clothes, she can't find her paci, etc.). Once she is better &/or I calm her down by patting her, then she normally falls right back asleep on her own. She now gets about 10-12 hours of uninterrupted sleep each night, woot! Goooo Baby AJ!!

A few suggestions for anyone considering using Ferber's method on their child:
  1. **MOST IMPORTANT** - read the book, at least the first few chapters just so you truly understand the method. At first, I thought Ferber was the same as "cry it out" (CIO) & it's not at all - there is some crying involved, but his method allows you to reassure your baby/child that you're still around if s/he really needs you.
  2. BE CONSISTENT - it's very rough the first few nights, especially if hearing your little one cry bothers you ::raises hand::, but you MUST stick with it or it won't work.
  3. Keep a log - it helped me to notice a pattern & see noticeable results.
  4. The method doesn't necessarily work the same at different times of day/night. With Amaya, I tried Ferber for her weekend naps & it was an epic FAIL. The book says that the sleep associations during different times of day are normal & don't necessarily affect each other. Since the first attempt was an epic fail, I just decided it's not worth her {or my} stress to go down for naps without me, so I still rock her to sleep for naps on the weekends...I figure she won't take naps her whole life, but she will sleep at night her whole life, so that's more important to me.
  5. Having a good & well established bedtime routine helps - we had already had one - yaay! Ferber supports & encourages a very consistent routine around bedtime.
  6. You can adjust the plan to make it work for you or make you feel comfortable. For example, Ferber's first checks start at 3 min., but if you feel like that's too long, you can do a check at 1 or even 2 min. on the first night of Ferber. The most important thing is to stay consistent & don't make the checks too long. 
  7. Try to resist the urge to scoop up your baby/child during checks - Ferber says that the child should remain (or be returned to) their crib/bed during a check. With Amaya, we just rub or pat her back & shhh shhh her...calms her right down.

Whew, that was much longer than I expected! I hope this helps some mama out there...I know I always like reading about other people's parenting "hot topic" experiences, so hopefully mine will be useful to one & hopefully more of you out there! I'd love to hear your experiences with sleep training or issues, so just leave me a comment or email me at worldofdennifer{at}gmail{dot}com so we can talk more. 'Till next time!

Sunday, January 1, 2012

2011...a pictorial year in review!

Hai! Happy New Year everyone!!! How was your night last night...what'd you do?! We went out for dinner & drinks at a local piano bar with a couple friends of ours, then stayed at a hotel while my sister watched the babe {I still call her a baby b/c regardless of how old she is, she'll allllways be my baby}. We had a great time, but I'm happy the holidays are over & a new year is here once again!

As promised, I'm here to deliver my annual photo recap of the past year - forgive me in advance, lots of my pics from last year will be of the munchkin...my life sorta revolved around her last year {and for the rest of my life, ha!}. I can't believe I'm starting my third year of blogging this year! The Dennifers have a lot planned this year, so I can't wait to see what the year brings & I am so honored all of you have decided to join me {or stay with me} for the ride! Anywho, without further adieu, my recap of 2011:


January:

We did absolutely nothing for NYE last year because we had a 2.5 month old, so my favorite & kind of unnerving moment in January was getting Amaya's ears pierced. You can kinda see the pierced ears in this photo of her playing under her activity mat/gym thingy. :)

February:

Amaya trying out her Exersaucer for the first time...

And celebrating the hubbs big 3-0 birthday with friends & family!!


March:

Celebrating our second wedding anniversary {went out for dinner/drinks & a movie}...

Amaya's first St. Patty's Day!

And cheering on our Alma Mater {G-M-U Know!} during the 2011 NCAA Men's Basketball Tournament!

April:

Amaya's first Easter... :)

May:

My 28th Birthday Brunch...the food was ahhh-mazing!

And Amaya's first trip to the pool Memorial Day weekend 2011...

June:

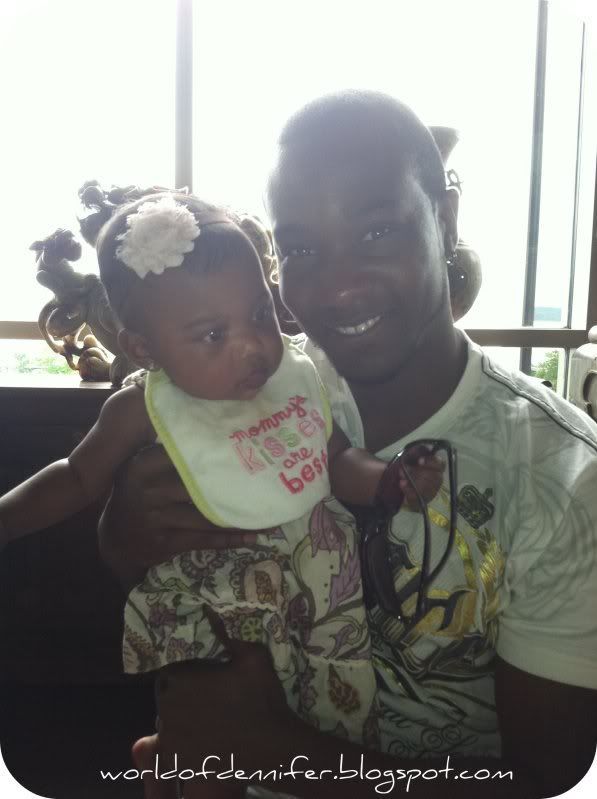
Dennis' first Father's Day with his Baby AJ!!
{please excuse the photo quality, the lighting was bad in the place we went}

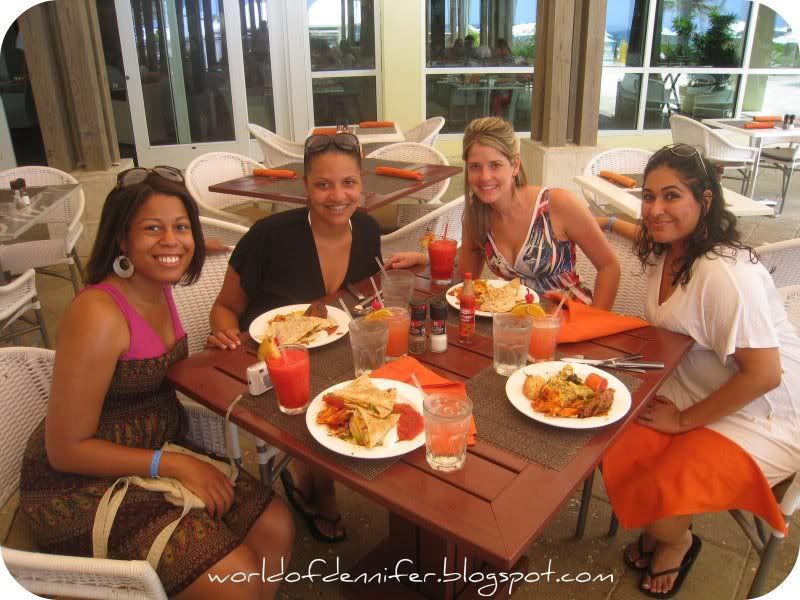
And my first girls trip since Amaya's birth to Montego Bay Jamaica, woot!


July:

Amaya's first modeling "job" ;)

August:

Braving Hurricane Irene & the first earthquake I ever remember in VA all within a week of each other! This pic (shown as originally posted/unedited) was taken the weekend of the "hurricane", which amounted to little more than heavy wind & rain.

September:

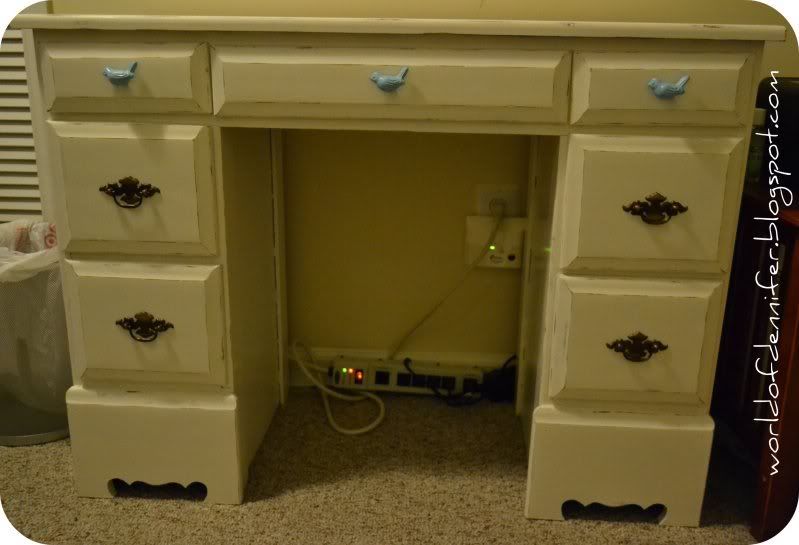
FINALLY finishing my very first furniture makeover, yaay!

And the wedding of some close friend's of ours...

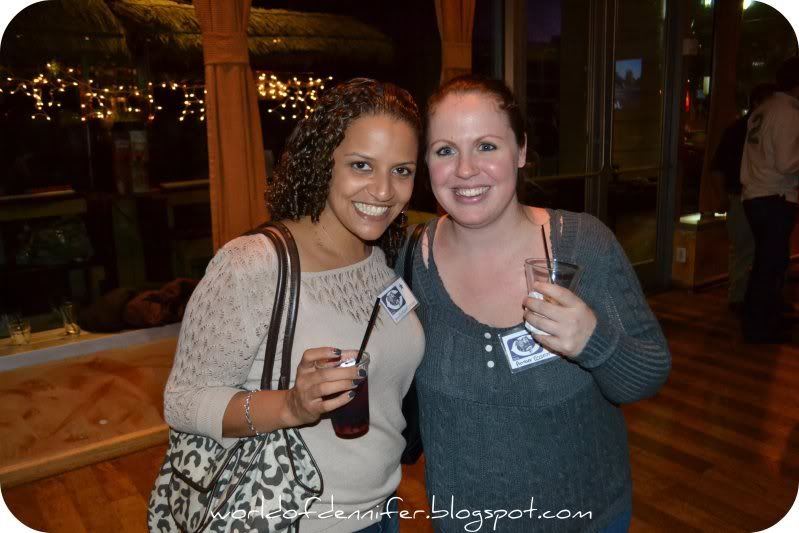
And reconnecting with some old friends @ my TEN year high school reunion - eeek!

October:

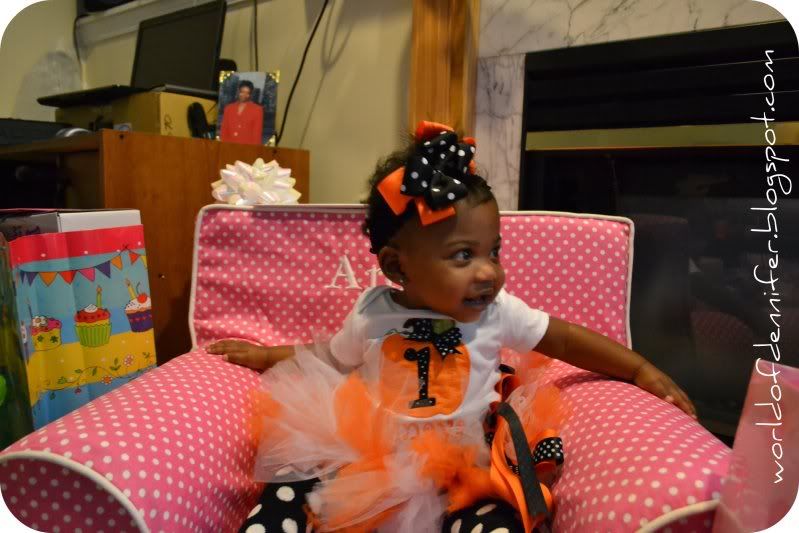
Celebrating my beautiful Munchkin's first birthday - I can't believe how quickly that year flew by!

November:

Our first family vaca to Disney World!!

Thanksgiving 2011...

December:

Amaya's 2nd Christmas! We have a tradition of letting her open one gift (jammies to wear that night) on Christmas Eve - it's something my mom used to do with us as kiddos & I decided to carry it on with my child{ren}...


{NOTE: this is just a Christmas Eve pic from my phone, I've yet to upload the Christmas morning pics from my cam}

So that wraps up last year for me, hope you enjoyed my stroll back thru my most memorable moments/times in 2011! I am hoping for 2012 to be a very productive year for me & that we can accomplish everything we have planned in the house. Praying that God continues to Bless me & my family...and wishing the same to all of you - my wonderful readers! Can't wait to see what this year holds for us! 'Till next time!
Thursday, December 29, 2011

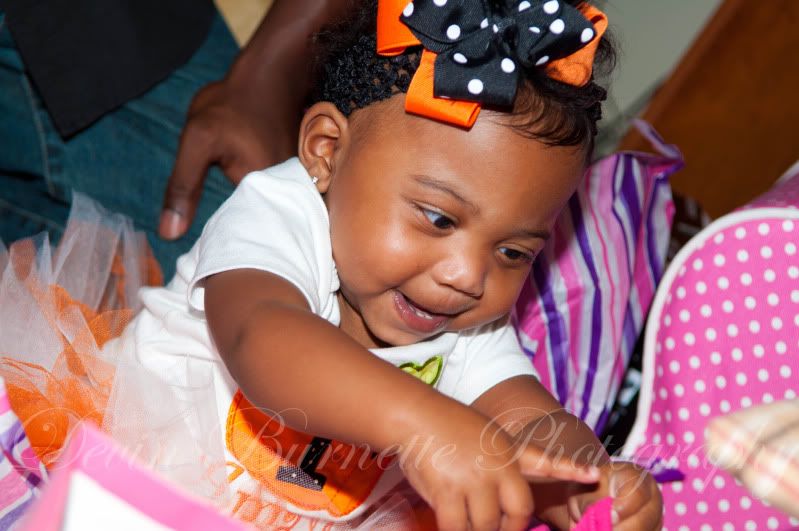
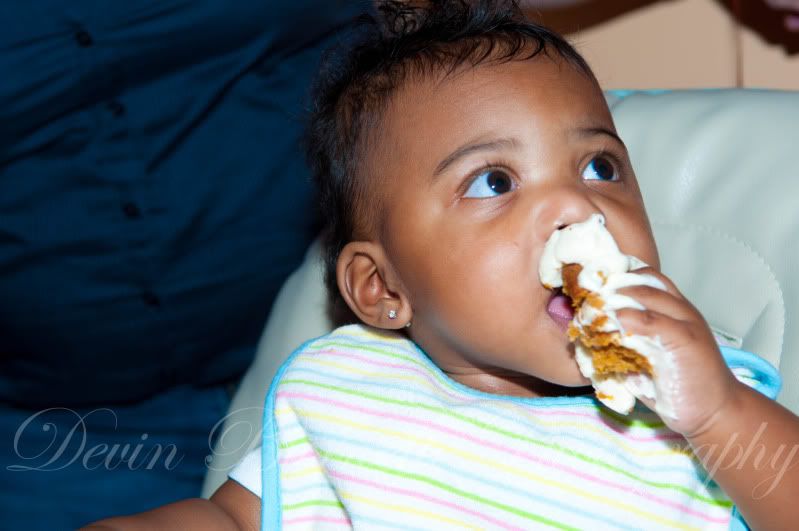
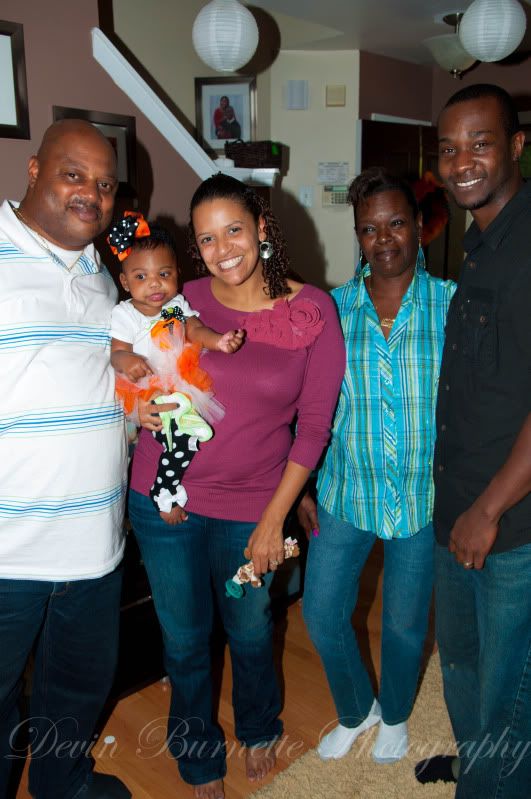
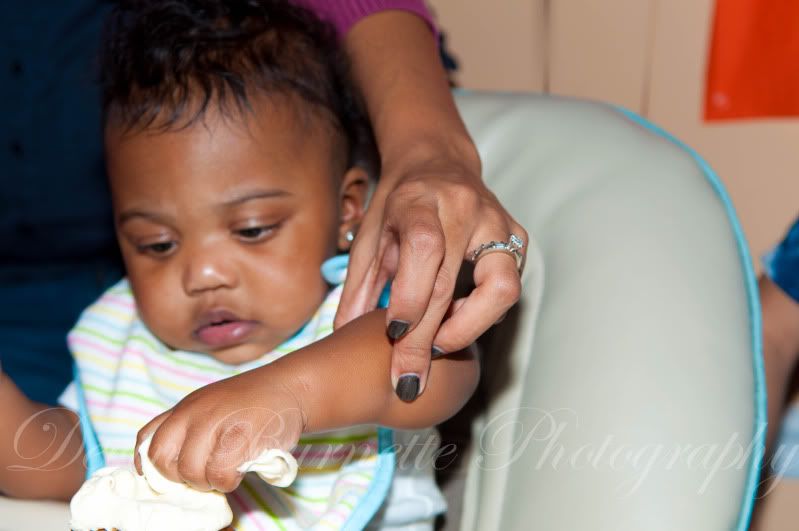
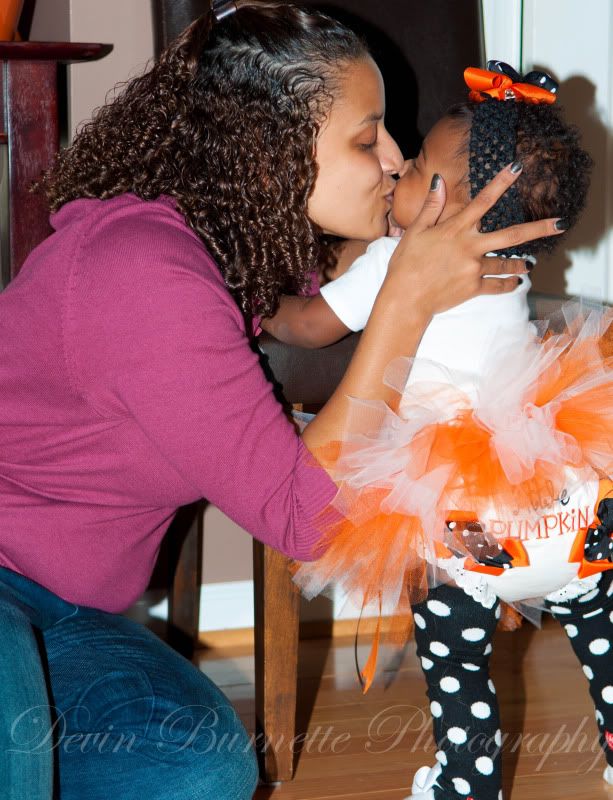
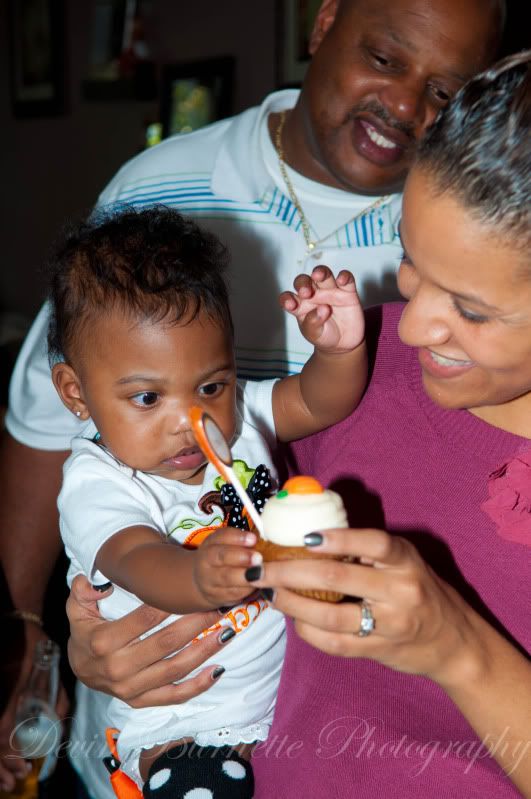
Professional pics from Munchkin's 1st birthday party!

Ummm, yah. I'm totally super late delivering these. Life has been so crazy lately, if it's not one thing, it's another & work has got me running around like a chicken with it's head cut off, so I never have time to update during the day. But, one of my 2012 resolutions is to really get back to blogging. We have a bunch of house projects planned for next year, so I should hopefully have a good amount of content to blog about & hopefully some stuff you'll find helpful or that you'll ohhh & ahhh over!

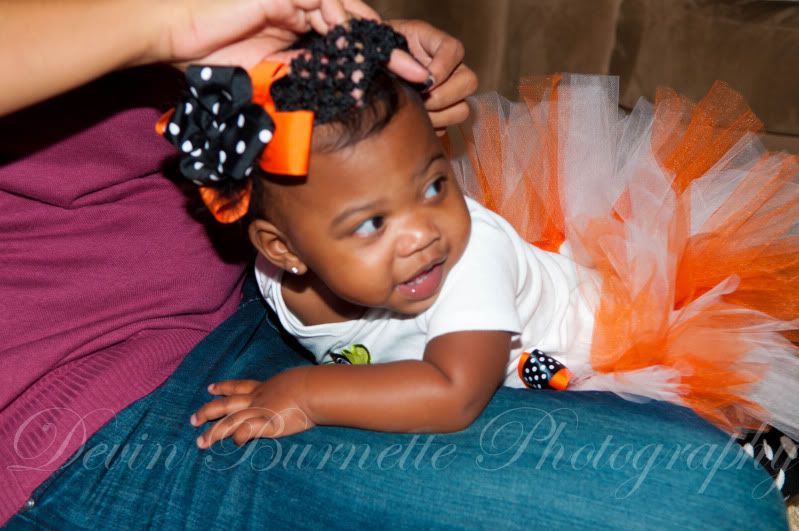
Anywho, I just realized that I never shared some of the professional pics from the munch's birthday party...there were A LOT, I mean like over 200 to choose from, so I'm just going to share a few with y'all so as not to bore you with 5 million pics of my beautiful baby big girl {yes, she's officially a big girl now...more on that later}. I didn't edit them since they are property of the photographer & not mine...


Source/vendors list: photography - a friend I went to college with, Devin Burnette Photography; paper (banner, cupcake toppers, favor tags, stickers) - Ciao Bambino on Etsy; Amaya's bow & bloomers/diaper cover - To Be Stitched on Etsy; Amaya's custom personalized onesie & tutu - Made Cute Just 4 U on Etsy; Amaya's bow leggings - Amy's Buttons & Bows on Etsy; cake - a family friend did it for us :); cupcakes - Cupcakes Actually; decorative balloons & polka dot fruit cups - Shop Sweet LuLu; paper lanterns (in living room) - Luna Bazaar & Party City {pumpkin lanterns}; everything else was either DIY or I'm not thinking of it right now, but if there's something you see or saw in the original post about the big par-tay that I didn't mention in either post, please contact me at worldofdennifer{at}gmail{dot}com & I'll get the info for you stat! Also, don't forget to check out the Pinterest pin board I made for the party - it has lots of inspiration & recipe links. A tutorial for the ribbon topiary is coming up early next year...ya know, since next year is in a mere couple of days. ;)

I'll be back tomorrow with my annual recap of my favorite moments over the year! 'Till next time!
Tuesday, October 25, 2011

The big par-tay...Part I

OMG, I am embarrassed b/c I am THE worst blogger ever in all of blogland. Okay, maybe not all of blogland...but I have been sorta MIA. No real reason, just life got in the way - first the mad dash to get all my DIY crafting & cooking done for her party, the party, the other birthday weekend activities, oh & did I mention I'm now on our HOA's board of directors :oO (?!),  catching up at work, a sick beh be, etc. etc. And I am STILL exhausted from all that...but I do apologize! And now, I give you...

~*The Birthday Girl*~


The party was an awesome success & my little mama had a great time! I got a professional photog to take all the pics & I haven't gotten the photos back from him yet, but I did get a chance to snap a few myself...

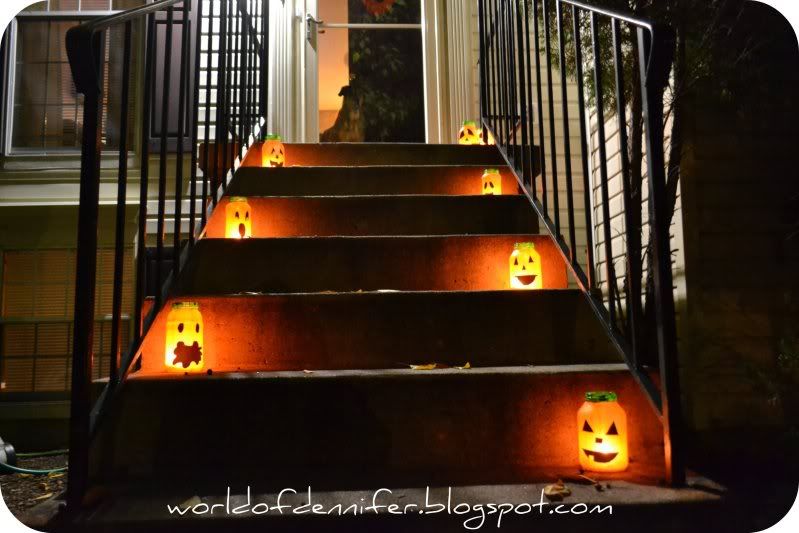
Obvs I took these after the party because you don't get the full affect of how cay-ute they are in the sunlight. Made these lil guys based on Emily's tutorial over at Not So Idle Hands. I had this bookmarked for quite some time now & I'm happy I finally tried them out! They are super cute, cheap & easy to make. They take some time, but I made a BUNCH & for this year at least, we aren't carving pumpkins so these cuties are it!

Here are some pics during the party...

{favor table} 
 
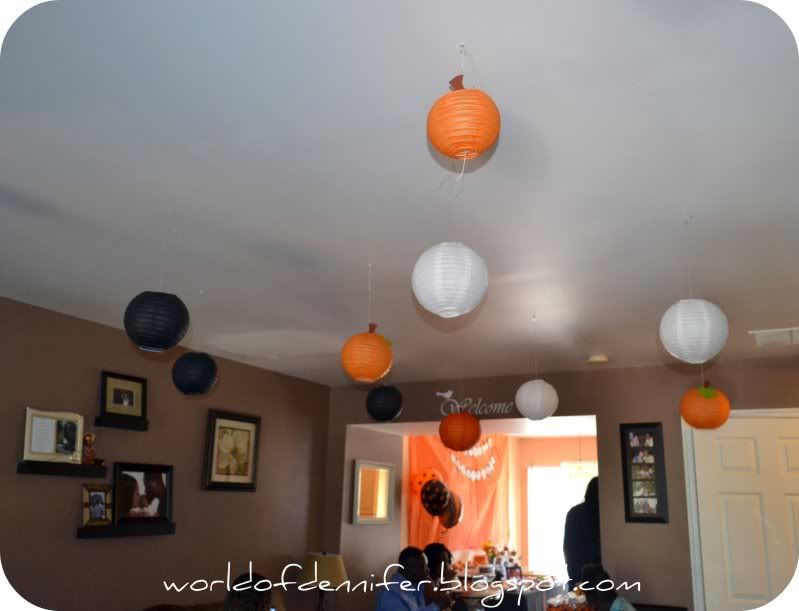
{paper lanterns used to decorate in the living room}

 
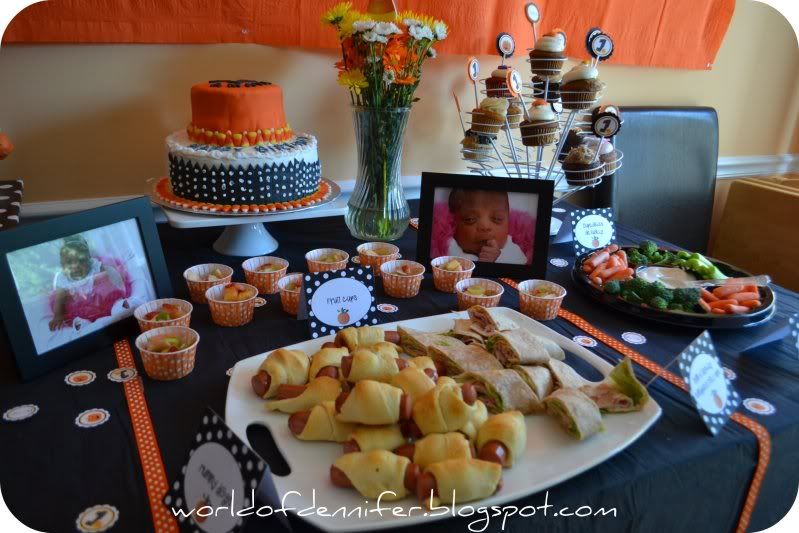
 {the eats spread + dessert}

The Decor 
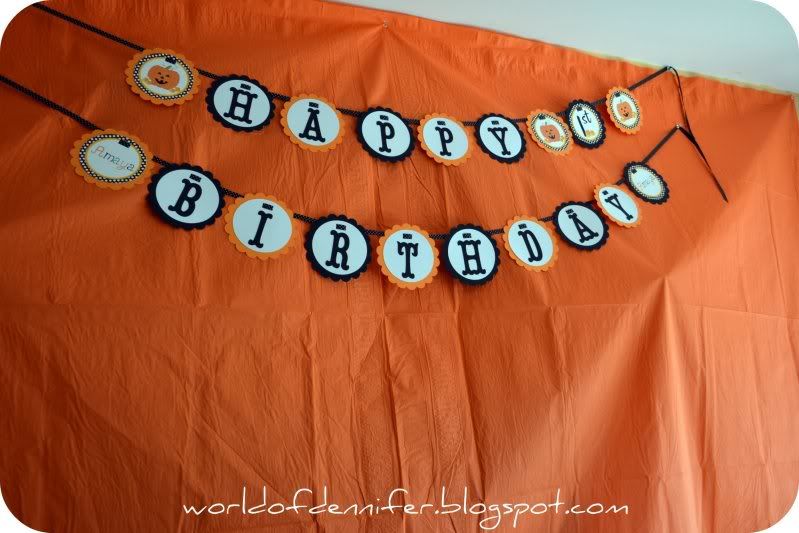
As I mentioned in a previous post, Ciao Bambino made most of the paper for the party (the banner, the confetti minis, the favor tags, the cupcake toppers & stickers that I used on the plastic ware rolls - not pictured). I think I mentioned before that I basically bought the paper stuff sight unseen, but I rightly placed my faith in CB because the stuff turned out super duper cuteee! I was so excited when I got my box with all the stuff, it was like Christmas! I got the black & orange polka dot balloons from Shop Sweet LuLu's Halloweenery shop for $3! The black & white paper lanterns are from Luna Bazaar and the totally adorable pumpkin lanterns are from Party City, but they are only available online. If you're feeling crafty, here's a link to a DIY version of them - equally cute & I actually bought all the supplies to make them, but then I gave myself a reality check & returned the stuff, then bought these...I was already overloaded with projects, so I was happy to find these! The paper table cloths were also from Party City.

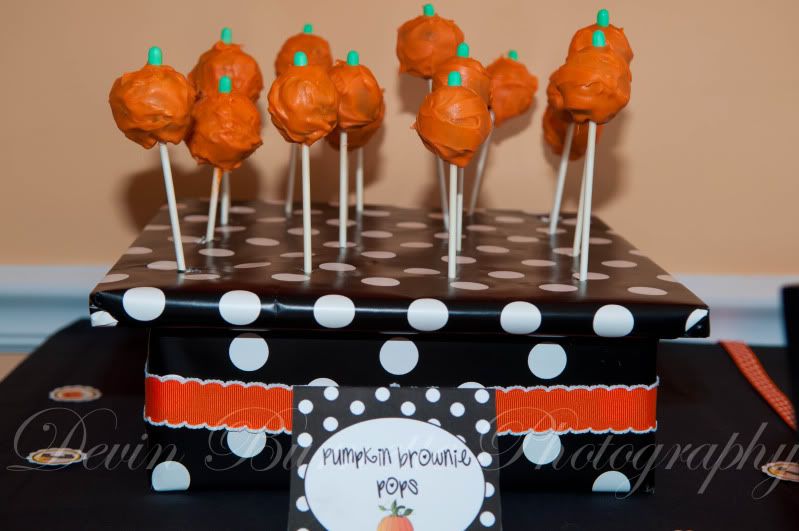
I DIY'ed the place cards on Power Point & the cake pop stand using a cardboard box & piece of styrofoam wrapped with polka dot wrapping paper & pretty orange ribbon. Speaking of ribbon, I got a lot of the ribbon you see in the photos from the Ribbon Retreat - great prices & they ship fast! All the other ribbon I got from Michaels & Jo-Ann's.

The Food
Instead of getting the party catered, I opted to make everything myself...which was SO much work & thankfully one of my close friends came over the day before the party to help me get a head start on some of the baking/decorating & then another friend came the morning of to help us finish up the cooking. It was ex.hausting, gah. But it was worth it because I think everything looked fab & it all tasted great too! The menu included: a veggie tray, cut up fruit in these adorbs polka dot candy cups from Shop Sweet Lulu, "mummy" dogs AKA pigs in a blanket, scarecrow crunch, Chick-Fil-A nuggets, cheese dip made by my awesome bestie Britt, sandwich roll-ups & pumpkin dip.

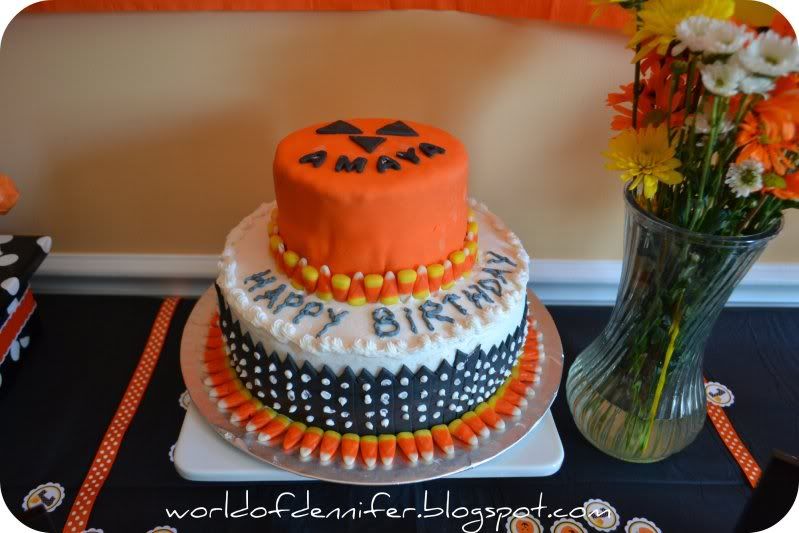
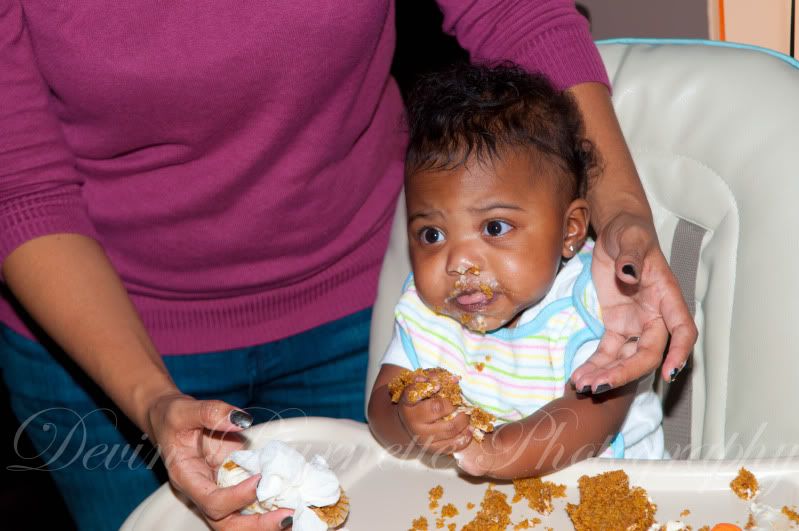
The sweets were the stars though! My girl Britt & I made pumpkin brownie pops, which weren't super pretty, but tasted awesome! The cake was made by my BFF Becky's MIL, who also made my bridal shower & wedding cake...she did such an awesome job! And finally, the cupcakes were from Cupcakes Actually - I had a Groupon for these that I had purchased a while back, so I just sent the hubbs to pick out a dozen the day of the party! I was hesitant to try a new cupcake place because we are pretty hardcore cupcake snobs in the Dennifer household, but these were actually very yummy. The munchkin had one of their pumpkin harvest cupcakes as her "smash cake" & she loved it too. :) Hopefully the photog got good pics of her eating/smashing/making a huge mess of her cupcake because I was in full clean-up mode when she was eating it & had no chance to get a pic, bahahahaha.
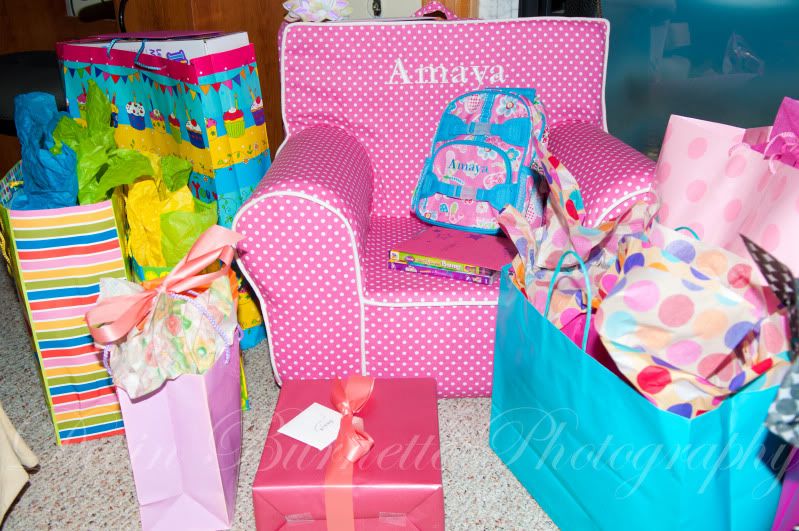
And pics in the basement/present opening area (excuse the horrible lighting in our basement)...

 {yeah, I totally forgot to cut the extra ribbon on the right end of the month banner}

{And my cutie living it up amongst all her presents}

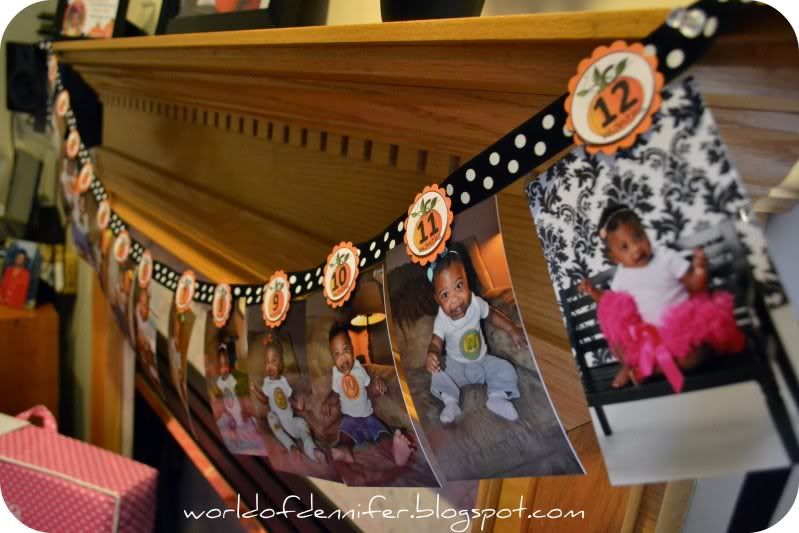
I wrapped the picture frames the hubbs had up over the mantle with orange tissue paper & polka dot wrapping paper. On the mantle - I framed her invite using a frame I got via Freecycle that I spray painted black...side note: I really wanted to spray paint the frame a pumpkiny orange, but couldn't find one at any of the stores I checked. :o/ I placed a large professional shot of her in the middle of the mantle, then my DIY #1 ribbon topiary {tutorial with photos coming up soon}. Finally, I hung my DIY monthiversary banner from the mantle to show how my munchkin has changed throughout her 1st year. Love her! I got the inspiration for the banner from Ciao Bambino, but figured I could just make a really cute one rather than buying it & I'm so happy I did because I loooove how it turned out! To make one yourself, just take a long piece of ribbon, get a 2 inch scallop punch & colored card stock, design some {less than 2"} circles with free clip art online & printed on white card stock. Use mini glue dots to attach them to the scallop circles, hot glue a paper clip behind the scallop circle & attach them to the ribbon using hot glue.  Make sure to space them evenly apart & then slide your photos into the clips & wha-la! I was planning to take photos & do a photo tutorial, but I was pressed for time & rushing to get this done. If I do this again, I'll be sure to take step-by-step pics.

For her birthday, she received so many generous gifts from our family & friends that attended the party. Everything from casual to dressy clothes, music toys, books, a portable DVD player + DVDs, her PBK Anywhere Chair {that was our gift}, balls for her ball pit, and I could go on & on.

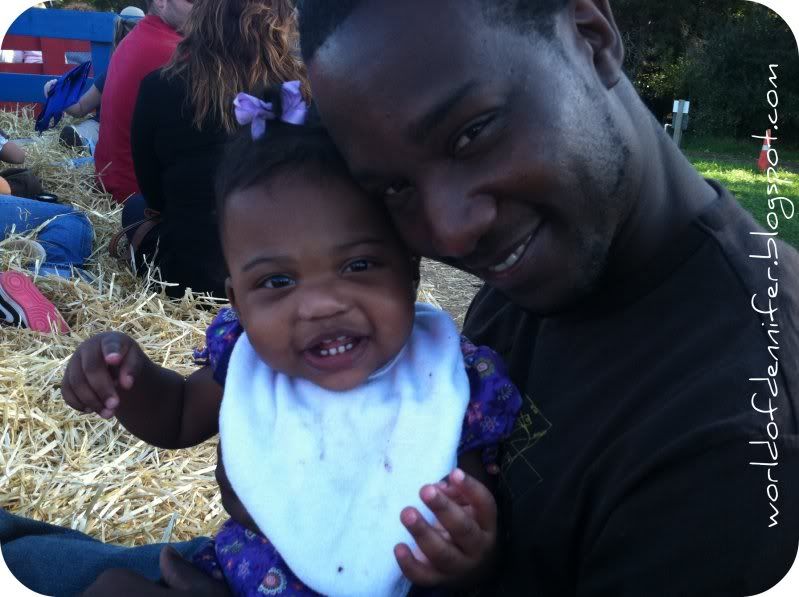
Oh & to complete mama's birthday weekend, we headed to the local pumpkin patch! She loved the animals, the slides & especially they hayride! She loved it & we had a great time too, so we decided to make it an annual birthday tradition until she says she's too old to go with good 'ol mom & dad, lol.
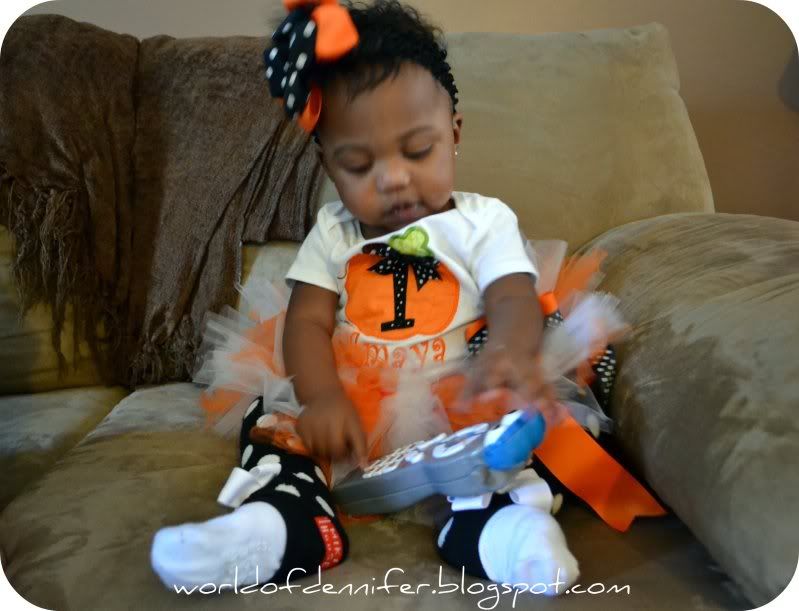

So those are pmb (pretty-much-basically) the good pics I got. Once I get & select the professional pics I want, I'll share them with y'all of course! And, now that Miss Amaya has had an awesome party, got tons of cool stuff & turned the big O-N-E, what's she gonna do next?! DISNEY...next week, eeek! Wish me us luck, it'll be the first time we take the bambino on a plane. I still have lots & lots to to do...with not a lot of time to do it in. I'm sure I'll be talking more about it here before we head out. Welp, that's all I got for now. 'Till next time!