; World of Dennifer: DIY
Showing posts with label DIY. Show all posts

Tuesday, October 25, 2011

The big par-tay...Part I

OMG, I am embarrassed b/c I am THE worst blogger ever in all of blogland. Okay, maybe not all of blogland...but I have been sorta MIA. No real reason, just life got in the way - first the mad dash to get all my DIY crafting & cooking done for her party, the party, the other birthday weekend activities, oh & did I mention I'm now on our HOA's board of directors :oO (?!),  catching up at work, a sick beh be, etc. etc. And I am STILL exhausted from all that...but I do apologize! And now, I give you...

~*The Birthday Girl*~
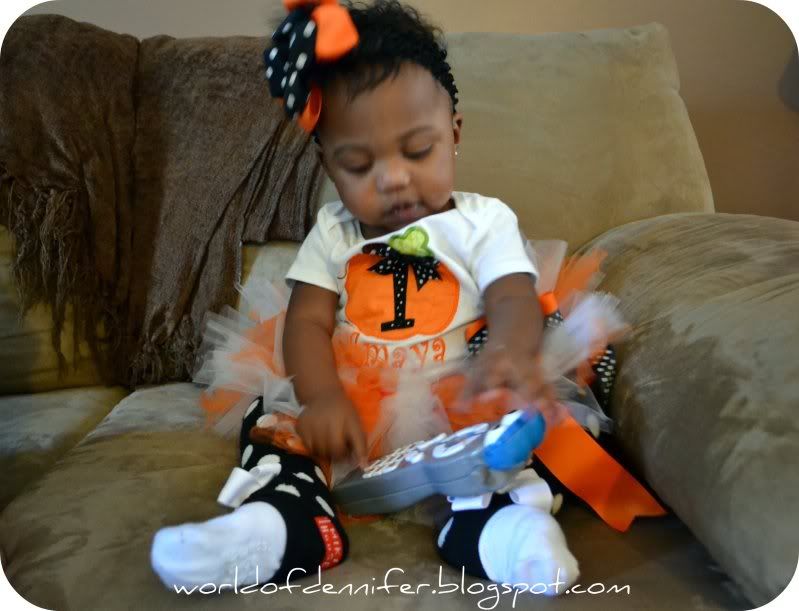

The party was an awesome success & my little mama had a great time! I got a professional photog to take all the pics & I haven't gotten the photos back from him yet, but I did get a chance to snap a few myself...
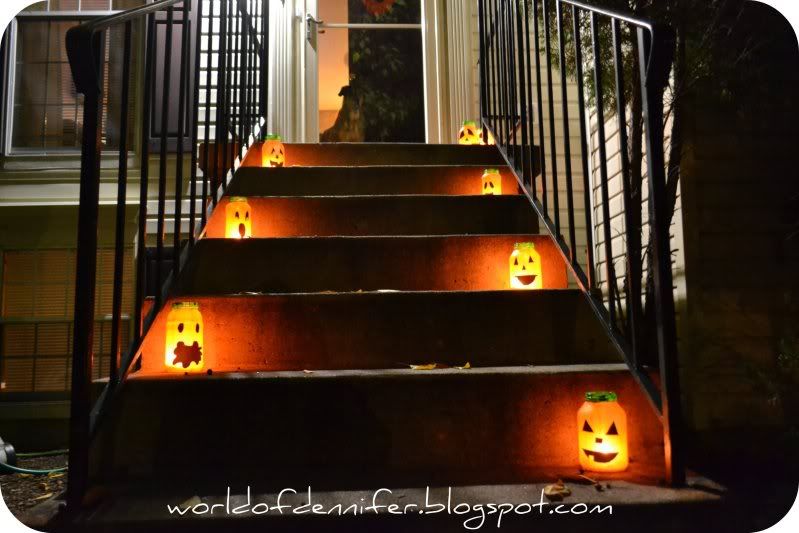

Obvs I took these after the party because you don't get the full affect of how cay-ute they are in the sunlight. Made these lil guys based on Emily's tutorial over at Not So Idle Hands. I had this bookmarked for quite some time now & I'm happy I finally tried them out! They are super cute, cheap & easy to make. They take some time, but I made a BUNCH & for this year at least, we aren't carving pumpkins so these cuties are it!

Here are some pics during the party...

{favor table} 
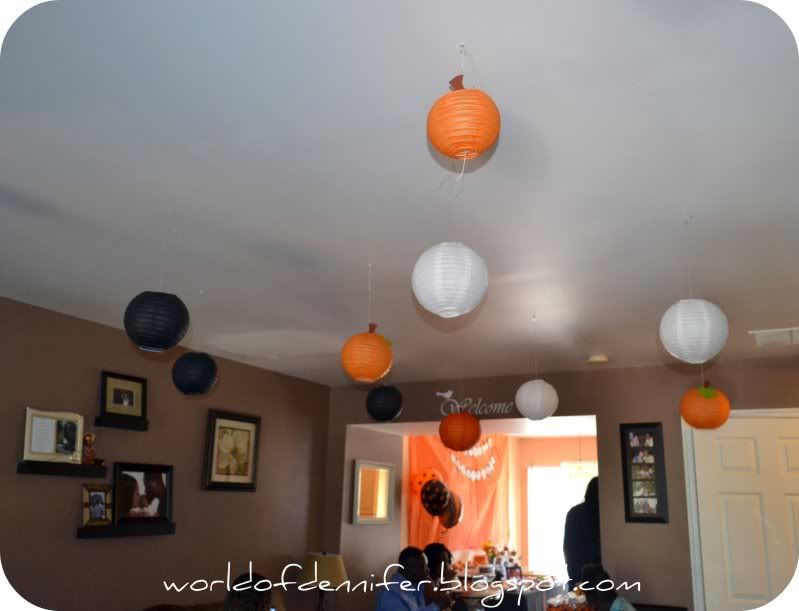
 
{paper lanterns used to decorate in the living room}

 
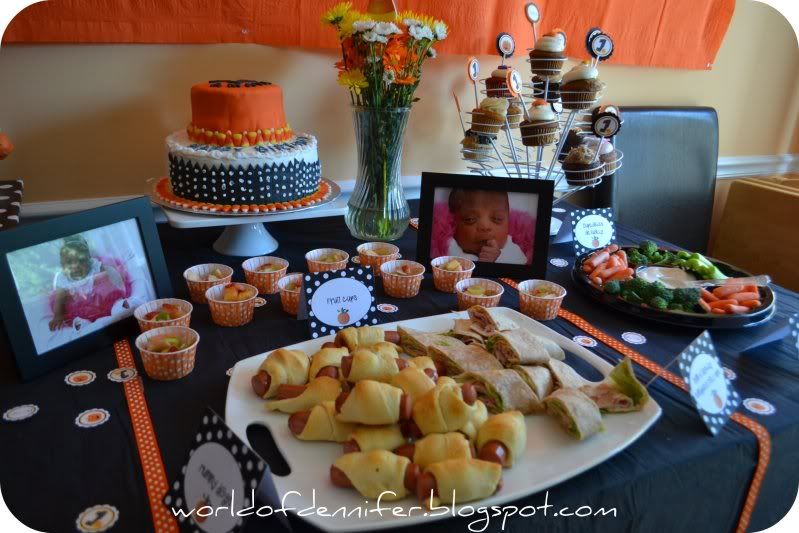
 {the eats spread + dessert}

The Decor 
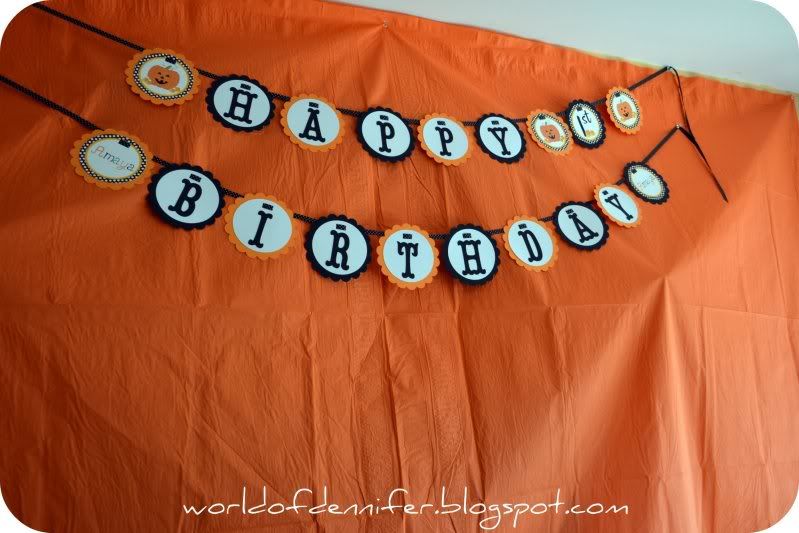
As I mentioned in a previous post, Ciao Bambino made most of the paper for the party (the banner, the confetti minis, the favor tags, the cupcake toppers & stickers that I used on the plastic ware rolls - not pictured). I think I mentioned before that I basically bought the paper stuff sight unseen, but I rightly placed my faith in CB because the stuff turned out super duper cuteee! I was so excited when I got my box with all the stuff, it was like Christmas! I got the black & orange polka dot balloons from Shop Sweet LuLu's Halloweenery shop for $3! The black & white paper lanterns are from Luna Bazaar and the totally adorable pumpkin lanterns are from Party City, but they are only available online. If you're feeling crafty, here's a link to a DIY version of them - equally cute & I actually bought all the supplies to make them, but then I gave myself a reality check & returned the stuff, then bought these...I was already overloaded with projects, so I was happy to find these! The paper table cloths were also from Party City.

I DIY'ed the place cards on Power Point & the cake pop stand using a cardboard box & piece of styrofoam wrapped with polka dot wrapping paper & pretty orange ribbon. Speaking of ribbon, I got a lot of the ribbon you see in the photos from the Ribbon Retreat - great prices & they ship fast! All the other ribbon I got from Michaels & Jo-Ann's.

The Food
Instead of getting the party catered, I opted to make everything myself...which was SO much work & thankfully one of my close friends came over the day before the party to help me get a head start on some of the baking/decorating & then another friend came the morning of to help us finish up the cooking. It was ex.hausting, gah. But it was worth it because I think everything looked fab & it all tasted great too! The menu included: a veggie tray, cut up fruit in these adorbs polka dot candy cups from Shop Sweet Lulu, "mummy" dogs AKA pigs in a blanket, scarecrow crunch, Chick-Fil-A nuggets, cheese dip made by my awesome bestie Britt, sandwich roll-ups & pumpkin dip.

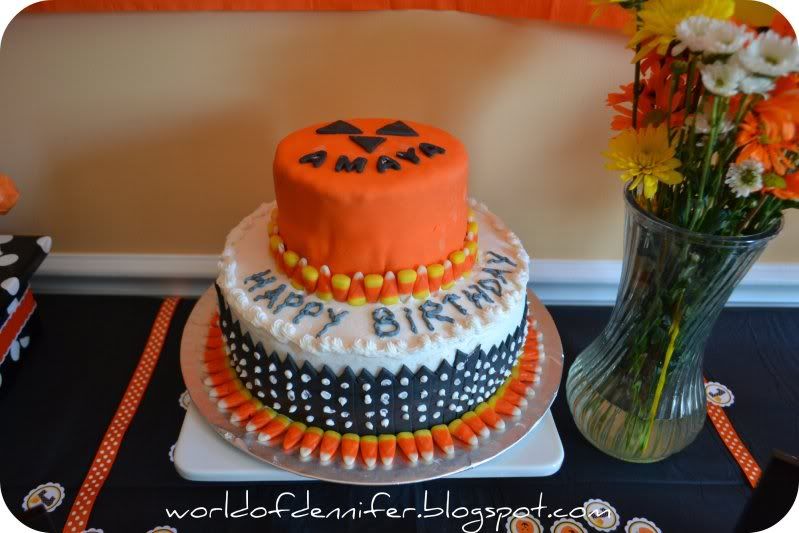
The sweets were the stars though! My girl Britt & I made pumpkin brownie pops, which weren't super pretty, but tasted awesome! The cake was made by my BFF Becky's MIL, who also made my bridal shower & wedding cake...she did such an awesome job! And finally, the cupcakes were from Cupcakes Actually - I had a Groupon for these that I had purchased a while back, so I just sent the hubbs to pick out a dozen the day of the party! I was hesitant to try a new cupcake place because we are pretty hardcore cupcake snobs in the Dennifer household, but these were actually very yummy. The munchkin had one of their pumpkin harvest cupcakes as her "smash cake" & she loved it too. :) Hopefully the photog got good pics of her eating/smashing/making a huge mess of her cupcake because I was in full clean-up mode when she was eating it & had no chance to get a pic, bahahahaha.

And pics in the basement/present opening area (excuse the horrible lighting in our basement)...

 {yeah, I totally forgot to cut the extra ribbon on the right end of the month banner}
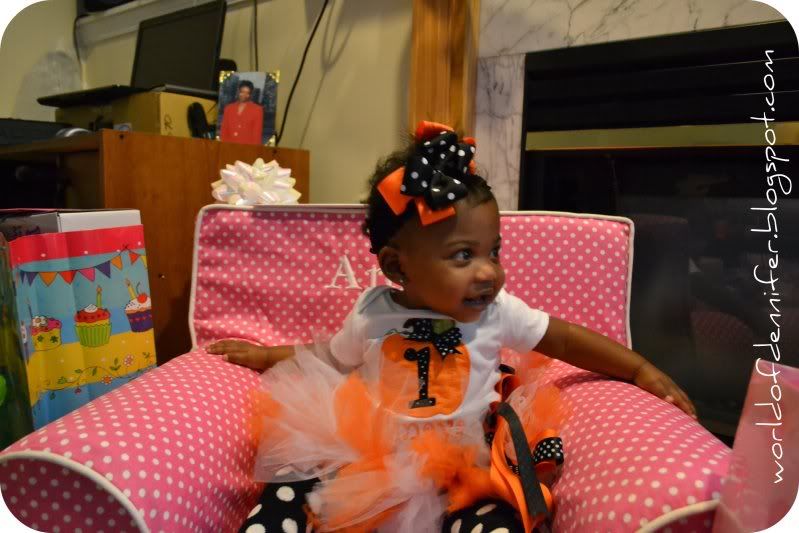
{And my cutie living it up amongst all her presents}

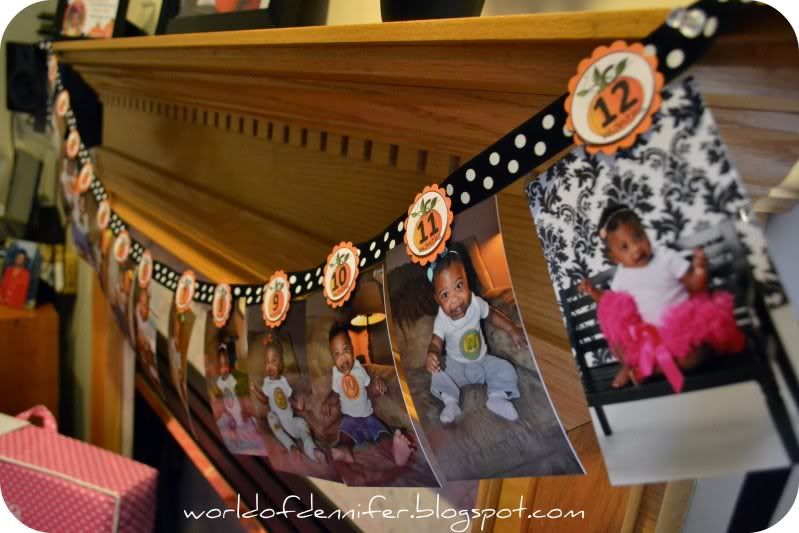
I wrapped the picture frames the hubbs had up over the mantle with orange tissue paper & polka dot wrapping paper. On the mantle - I framed her invite using a frame I got via Freecycle that I spray painted black...side note: I really wanted to spray paint the frame a pumpkiny orange, but couldn't find one at any of the stores I checked. :o/ I placed a large professional shot of her in the middle of the mantle, then my DIY #1 ribbon topiary {tutorial with photos coming up soon}. Finally, I hung my DIY monthiversary banner from the mantle to show how my munchkin has changed throughout her 1st year. Love her! I got the inspiration for the banner from Ciao Bambino, but figured I could just make a really cute one rather than buying it & I'm so happy I did because I loooove how it turned out! To make one yourself, just take a long piece of ribbon, get a 2 inch scallop punch & colored card stock, design some {less than 2"} circles with free clip art online & printed on white card stock. Use mini glue dots to attach them to the scallop circles, hot glue a paper clip behind the scallop circle & attach them to the ribbon using hot glue.  Make sure to space them evenly apart & then slide your photos into the clips & wha-la! I was planning to take photos & do a photo tutorial, but I was pressed for time & rushing to get this done. If I do this again, I'll be sure to take step-by-step pics.

For her birthday, she received so many generous gifts from our family & friends that attended the party. Everything from casual to dressy clothes, music toys, books, a portable DVD player + DVDs, her PBK Anywhere Chair {that was our gift}, balls for her ball pit, and I could go on & on.

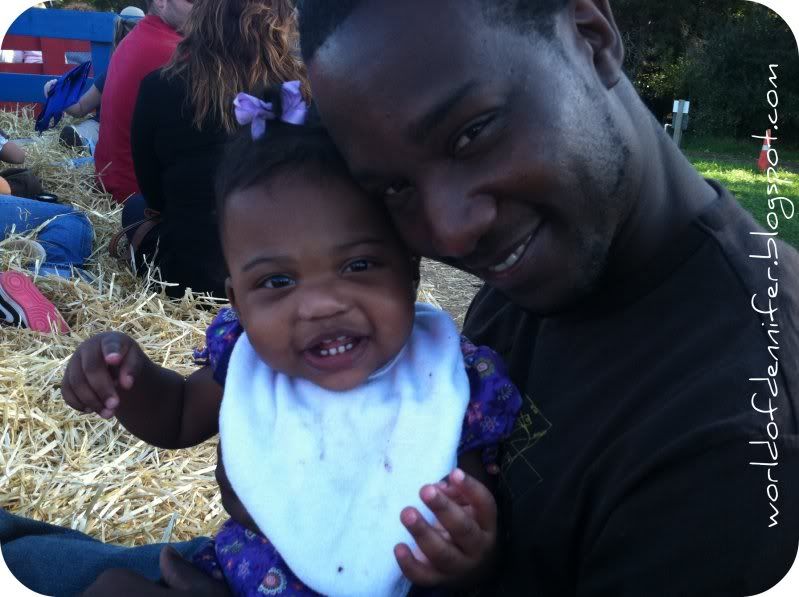
Oh & to complete mama's birthday weekend, we headed to the local pumpkin patch! She loved the animals, the slides & especially they hayride! She loved it & we had a great time too, so we decided to make it an annual birthday tradition until she says she's too old to go with good 'ol mom & dad, lol.

So those are pmb (pretty-much-basically) the good pics I got. Once I get & select the professional pics I want, I'll share them with y'all of course! And, now that Miss Amaya has had an awesome party, got tons of cool stuff & turned the big O-N-E, what's she gonna do next?! DISNEY...next week, eeek! Wish me us luck, it'll be the first time we take the bambino on a plane. I still have lots & lots to to do...with not a lot of time to do it in. I'm sure I'll be talking more about it here before we head out. Welp, that's all I got for now. 'Till next time!

Tuesday, June 28, 2011

DIY summer wreath + my little model :)

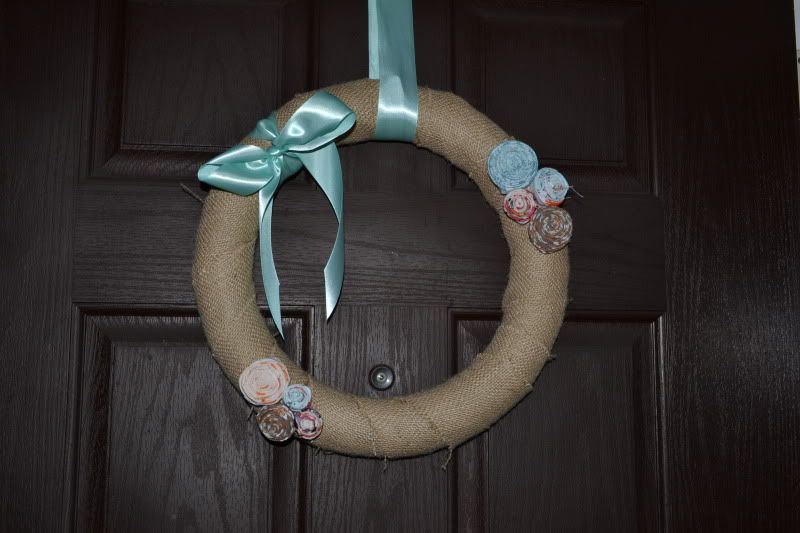
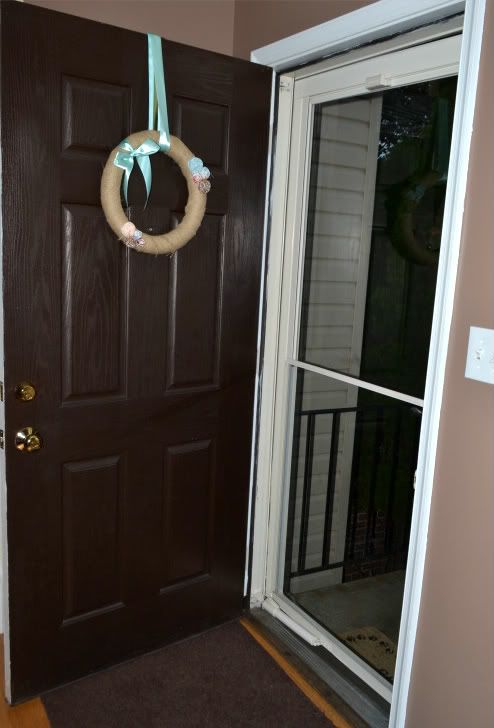
So my errr spring summer wreath for our front door has been done for a little while now, but I just have been SUPER busy & unable to post about it, so ::drum roll:: here it is in all it's burlap & fabric flower glory:


{another view}

In retrospect, I should have taken more close-u p pics of it...FAIL. But, WDYT?! I love the way it turned out. I would have liked to do more fabric flowers, but they take so long to make & I thought the amount on I have on it look good too. Anywho, to make my wreath, I used this tutorial for the base & this one for the flowers - both have great step-by-step directions that are super easy to follow. This is my very first DIY project since Baby AJ got here! It gave me back the DIY itch, but unfortunately, my job has cruelly STOLEN my itch away. I am literally ex.haus.ted everyday after work, but the good news is - stuff is about to slow down because my workload is being reduced, ha! Thank freakin' goodness.

Soooo, that means I should be back in full blogging effect soon!

PS - I recently registered my little pumpkin with Adora Models, so now she's an official model! It's a pretty cool service, vendors/shop/boutique owners send your kid their products to model, they model it & you take a bunch of pics (or have them taken by a professional photog). Then, send them the pics for their website/shop & your little one gets to keep the gear/items. If you're interested in signing up your little one, just contact the girl's from Adora Models & tell them I sent you! Oh & if you're a shop owner & you'd like a {really, reeeeeeeeeeeeeally} cute baby to model you're stuff, please contact Adora Models & request "Amaya J." in the girls 0-12 months category - it's free to shop owners!! Here's a little look at her model card:


She hams it up for the camera, lol. Love her! 'Till next time!
Tuesday, December 14, 2010

Holiday Gift Idea: chocolate covered strawberries tutorial


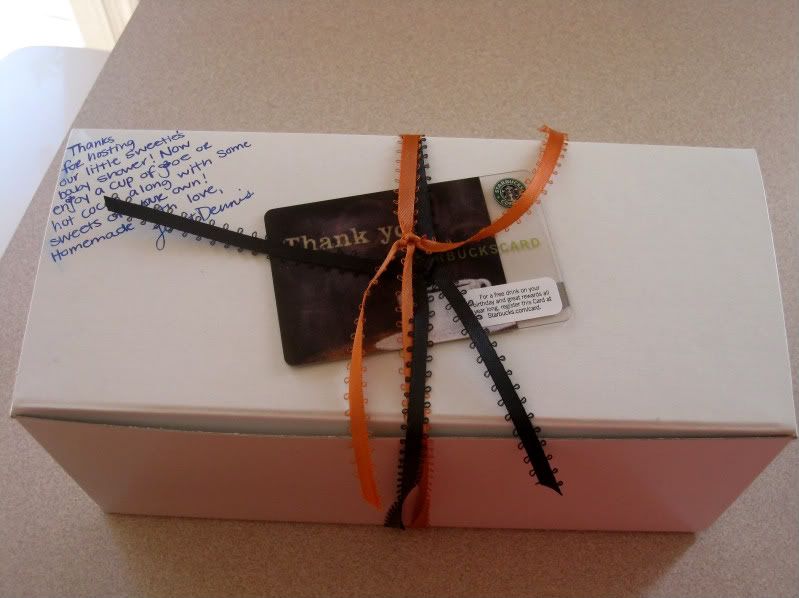
I made these for my baby shower hosts & they got rave reviews from my girls & I even snuck a couple - yum, yum! But I forgot to post the tutorial right after the shower & then Baby AJ arrived, so it kind of fell by the wayside, so now that it's gift giving time, I thought now might be a good time to post it! These would make an awesome gift for co-workers, friends or neighbors. And the best part is, they are fun & easy to make.

First, gather up your supplies:

  • strawberries
  • Hershey's Kisses
  • gift boxes/tins (got mine from a party supply store)
  • wax paper
  • a bowl (to warm the chocolate in)
  • a plastic spoon (to stir the melted chocolate)
  • a couple cookie sheets
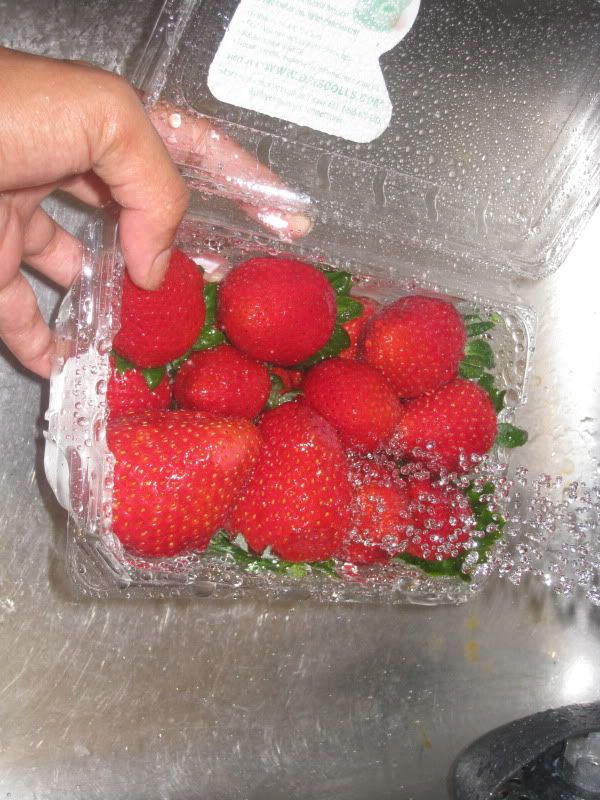
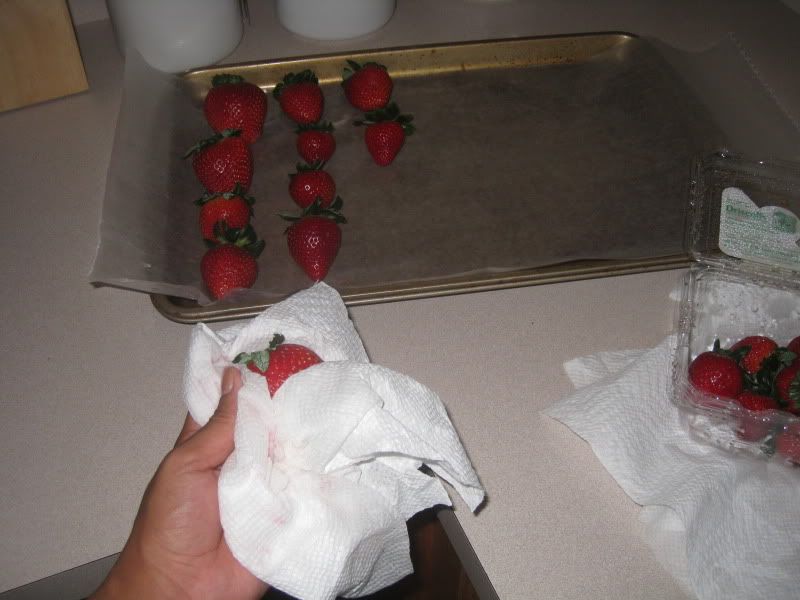
Second - wash off & thoroughly dry the strawberries (I used paper towels to dry the strawberries).


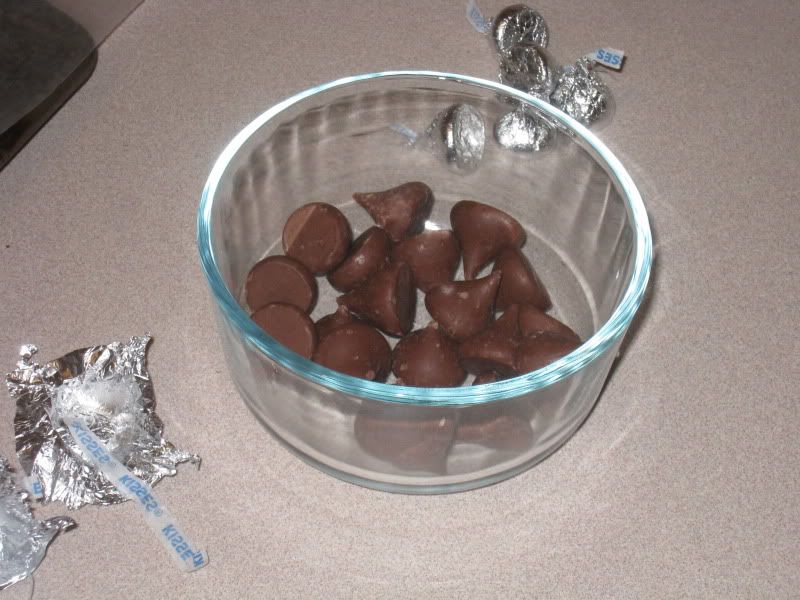
Third, put several pieces of chocolate into your microwave safe bowl & pop it in the microwave for 45 seconds - 1 minute; stir chocolate (it should easily stir/blend). Be careful not to burn the chocolate..it'll ruin it & you will have to make a new batch!


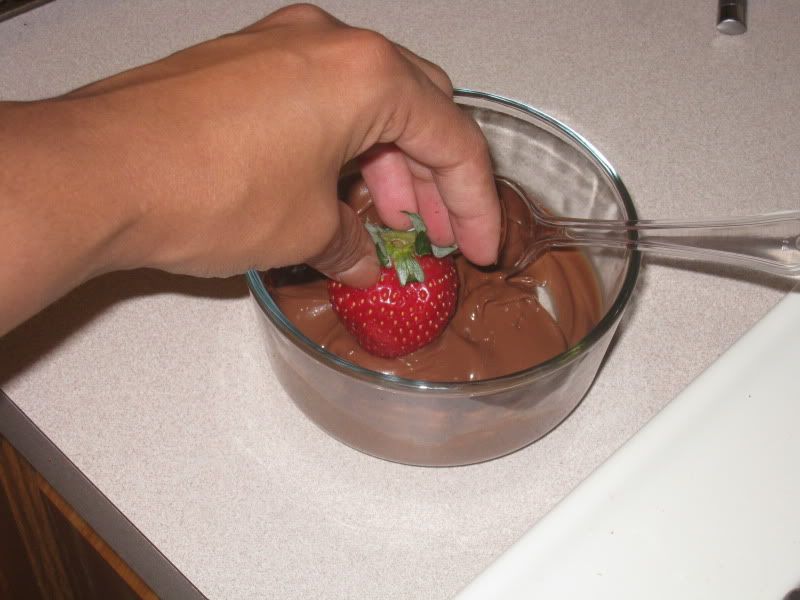
Fourth, take a strawberry & swirl it in the chocolate until it is covered to your liking.


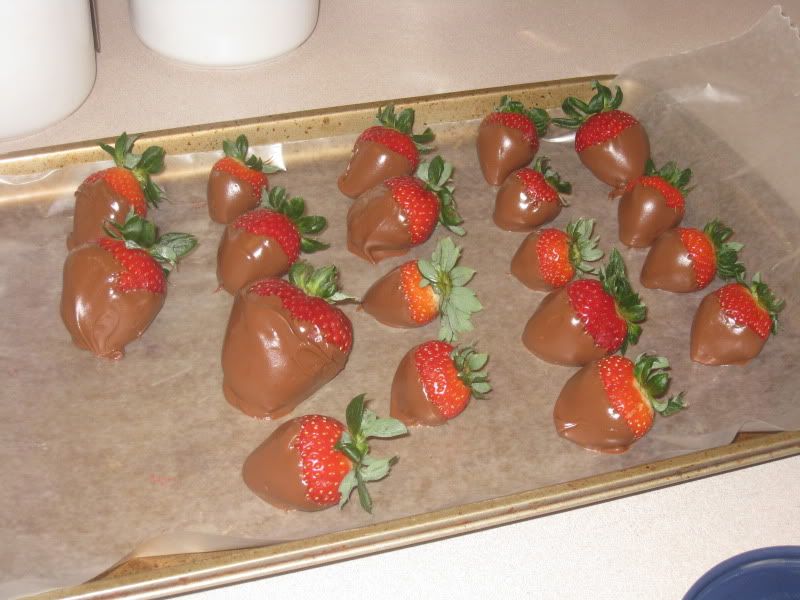
Fifth, place strawberry on wax lined pan or cookie sheet & put in the fridge to set - about 1 hour (I left mine in over night though).


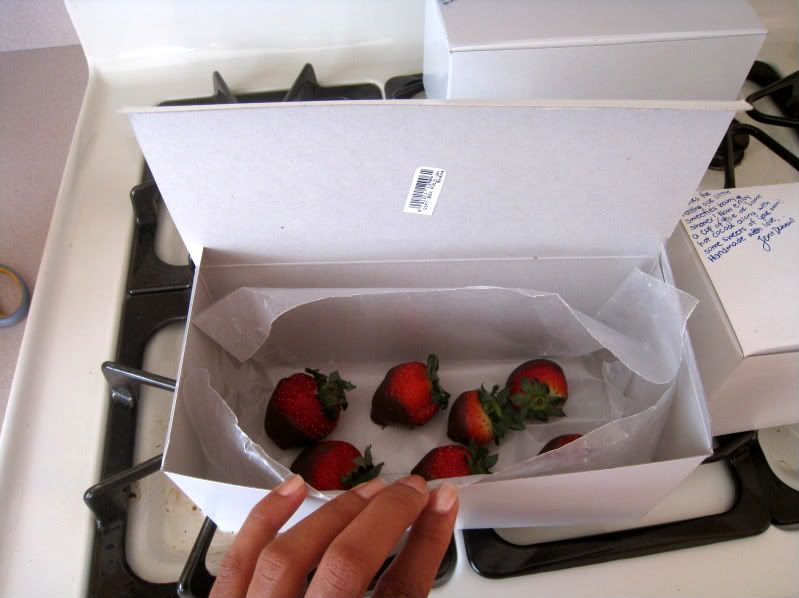
Sixth, line your gift boxes with wax paper, then place your strawberries in the box.


Finally, wrap your gift boxes up with some pretty ribbon, personalize the box as you'd like & present them to your very thankful recipients!

{mine had Halloween colored ribbon since my shower was in October & I also included a Starbucks gift card}

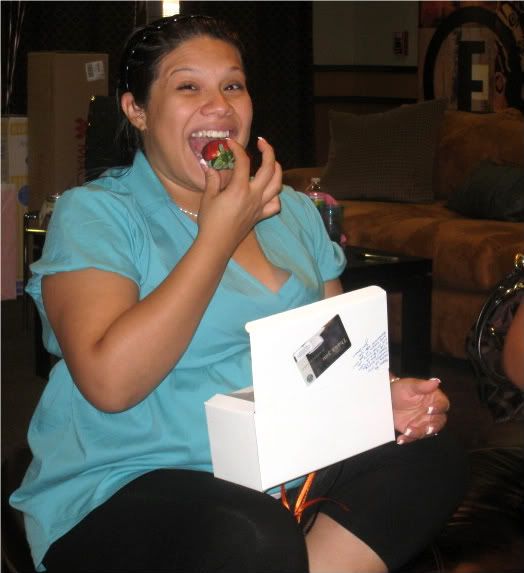
{my friend Mildred enjoying her gift :)}

And that's it! So quick & easy & almost everyone loves chocolate covered strawberries...in fact, I don't think I've ever met anyone who didn't like them! I got so many compliments on these from my friends, so I bet you will too! You can even decorate these a little more using white chocolate swirls, coconut, mini chocolate chips, etc. Have fun & enjoy! 'Till next time.

Tuesday, October 12, 2010

Project Nursery - the BIG reveal!!

Well it's done. It's finally done! As most of you know, I love D&R and DIY'ing stuff, but I never had more fun doing a room & DIY decor for a room than I have getting Baby J's room together. I don't know if it's because I'm just so stinkin' excited to meet this baby girl or if it's just that I have been itching to do a cute nursery since we bought this house back in 2007 & I got the D&R itch {I suspect it's a little of both}?! This post will be very picture heavy, but I'll also give source info & also link to tutorials for DIY projects...so without further adieu, here is our precious little girl's loosely owl themed nursery!
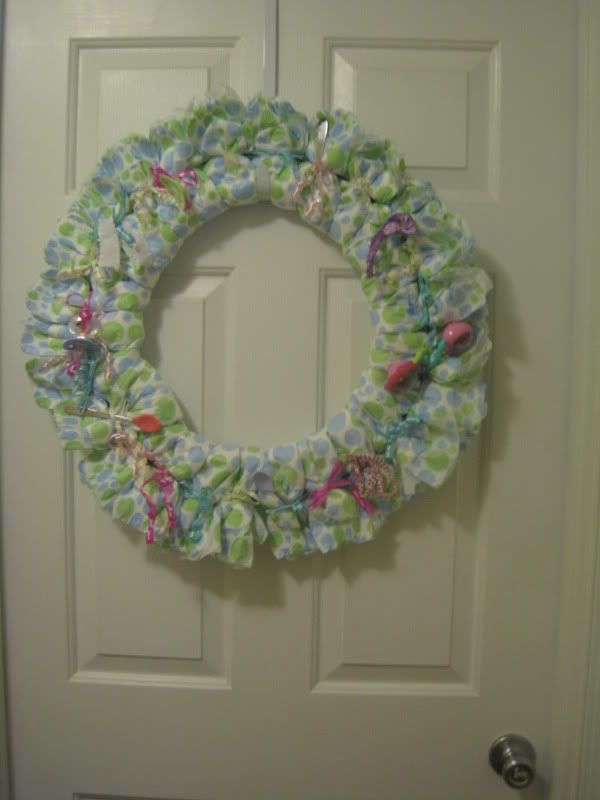
Here's the entry door to her room with the diaper wreath my girlfriend made as a gift hung up:

Come in & take a look...

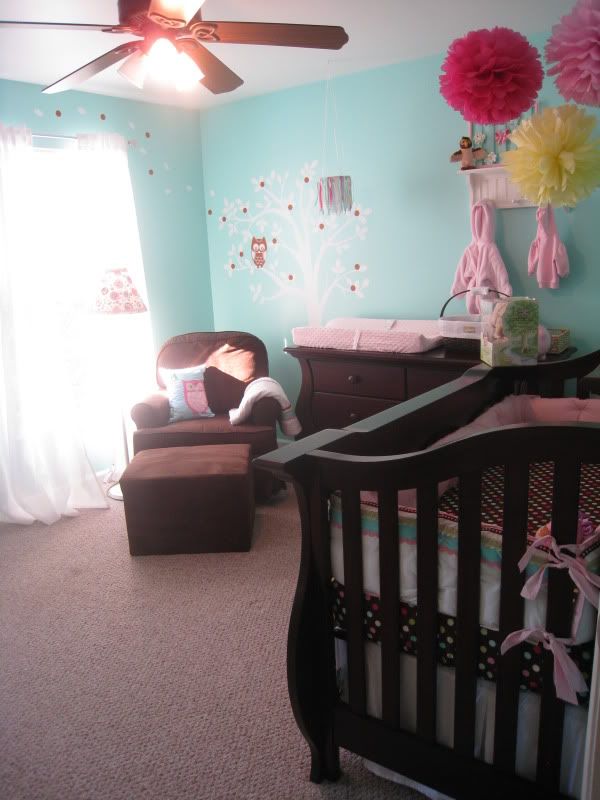
View from entry to room:


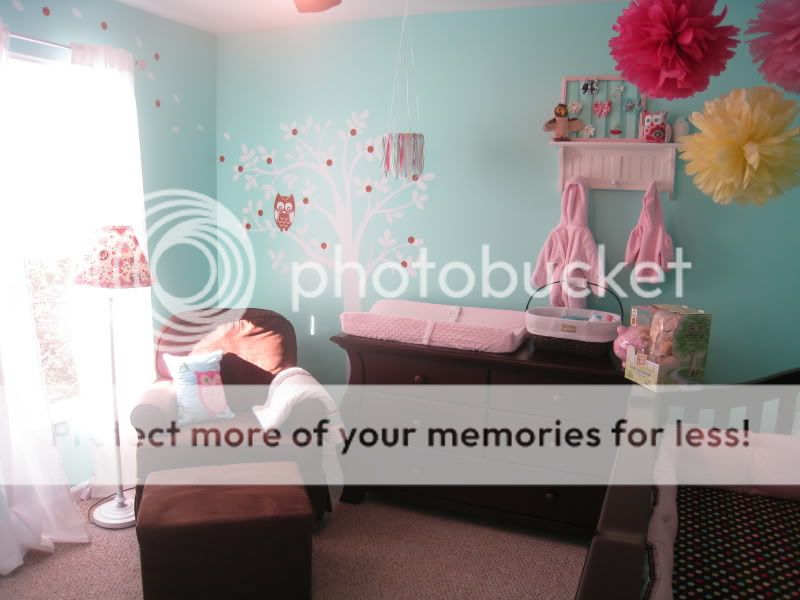
View from the other side of the room:


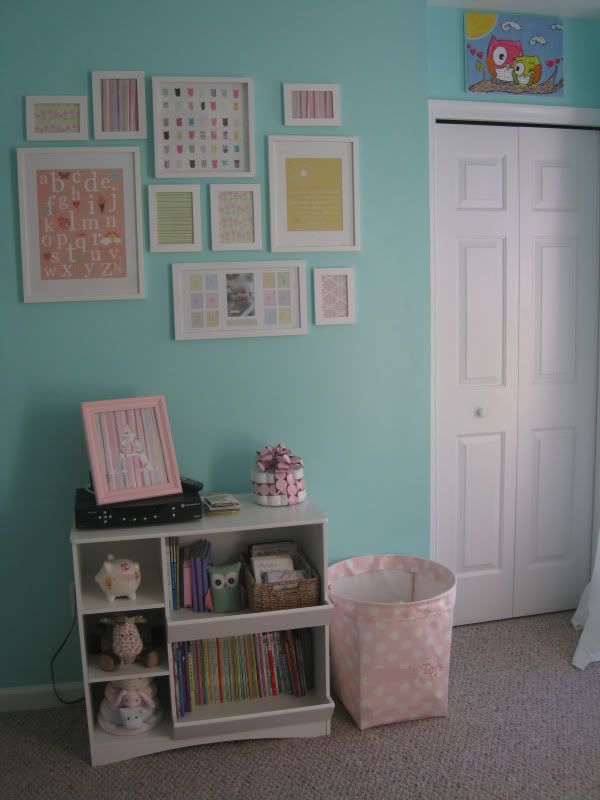
And the front wall of the room where her {teeny tiny} closet & bookcase are located:


And now all the deets! Quick overall side note - the paint color is Valspar's Ocean Whisper in their Satin Finish, not sure if I ever posted that info. I think we'll start with the back wall first:


And some closeup details....
 {reading corner}

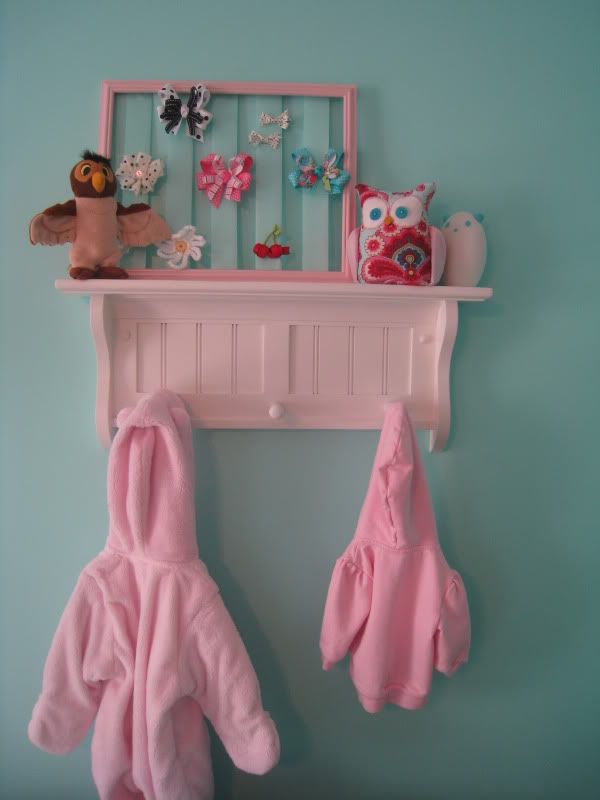
{wall shelf}

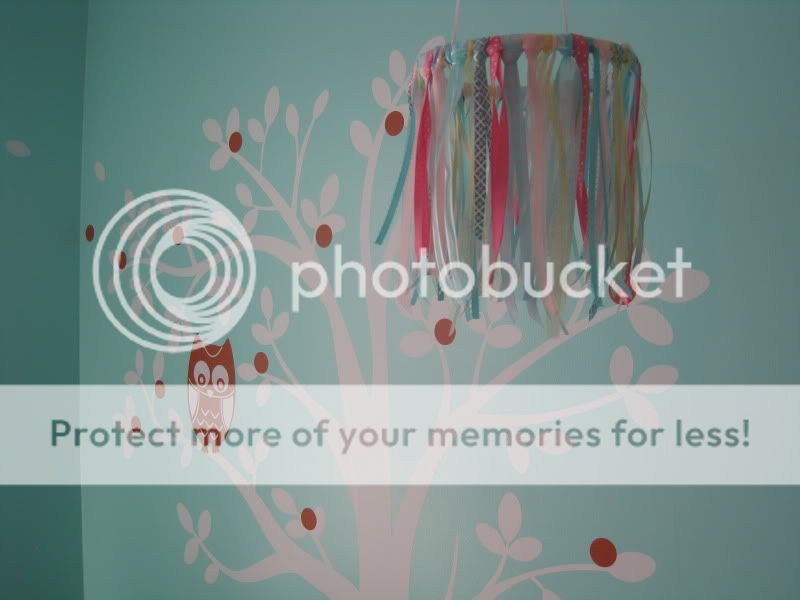
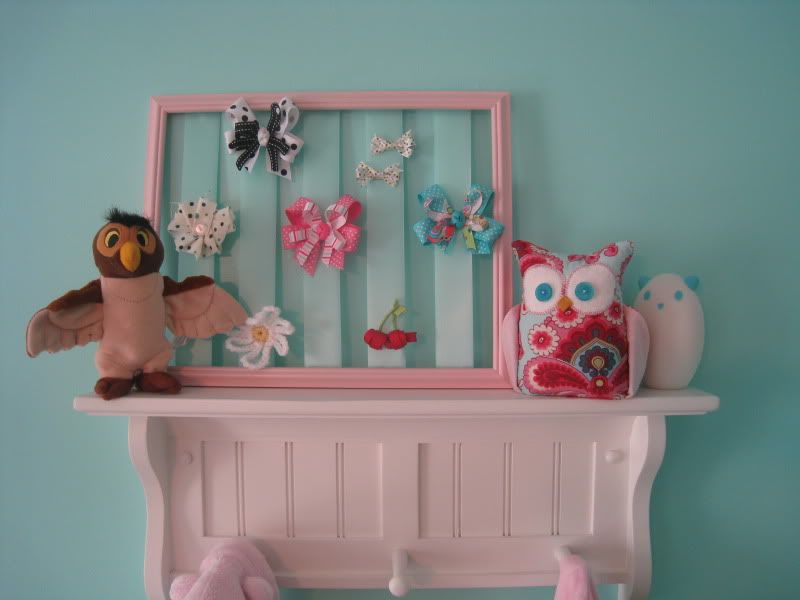
If you remember all the way back to my master plan for the nursery, this wall was slated for the dresser/changer combo & glider/ottoman, which will serve as our little reading & rocking corner. Both the dresser/changer combo & crib are a part of the Baby Cache Oxford Collection - $569.99 {dresser} & $469.99 {crib} (we bought it during a 20% off all nursery furniture promotion). The glider & ottoman are both the Newco brand from Baby Depot. We got them both for a little less than $350 because the color we wanted {chocolate} was being discontinued - just fine for me & you know I love a deal! The pillow on the glider is a part of the Brooke Collection from PBK - $19 (not including the cost of the pillow insert, but I believe it was on sale when I bought it & I had a one-time 10% off coupon). The wall decal is a mirror image of this one sold by Designed Designer on Etsy - $68. The wall shelf is the Shelf Silverstein from Land of Nod - $45. The diaper caddy is by Sara Bear from Target - $30 (got it while it was $5 off). The night light on the far right corner of the shelf is a Spoka Night Light from Ikea ($13) & the owl bookend is from I Sew Lucky on Etsy ($24'ish each - I got two during a BOGO promotion for $40 total I believe).  The changing pad was from CSN & I got it for FREE by winning a blog contest....my fave price of course! The ribbon mobile & bow holder are both DIY. Everything else you see was a gift or will be covered in another section of the room.

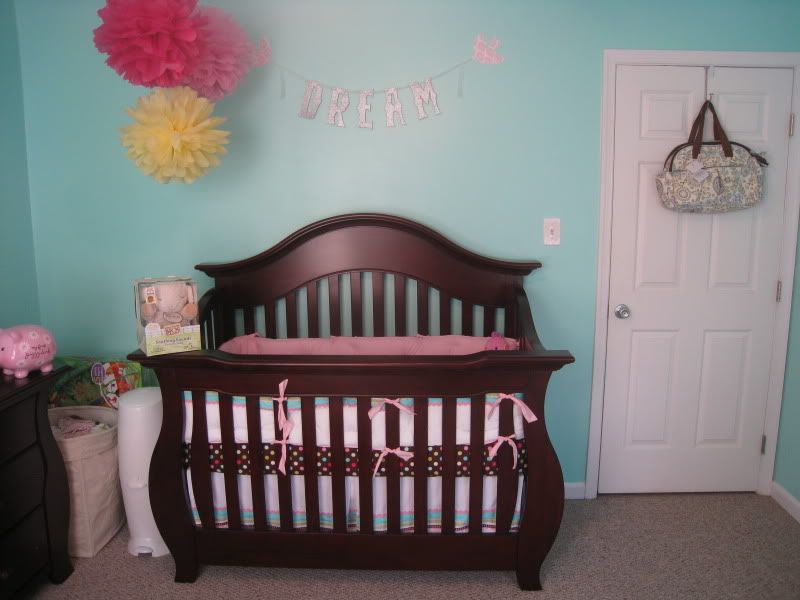
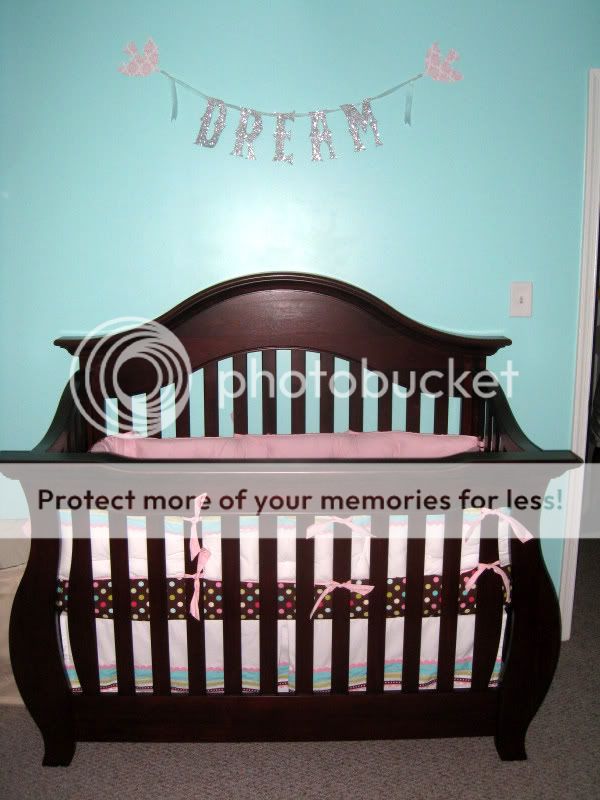
Next, let's move on to the crib wall:


And some closeup details....
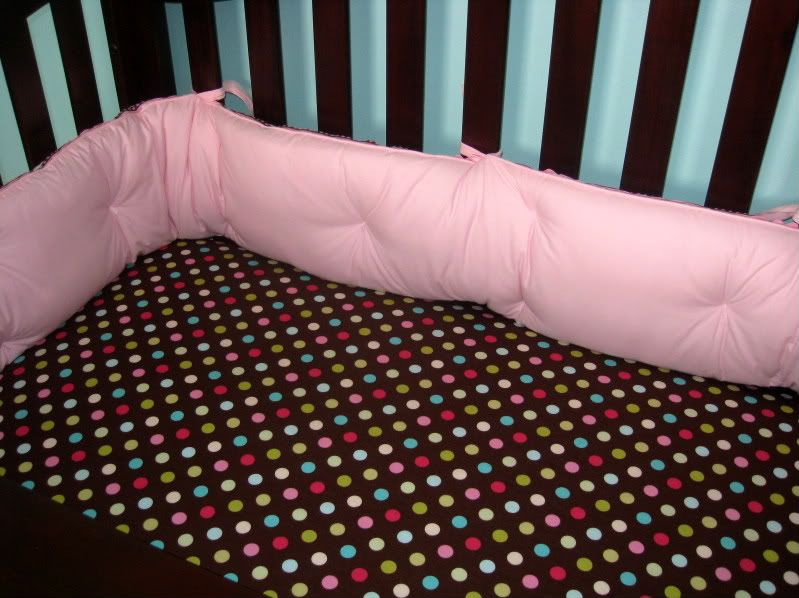
 {bedding}

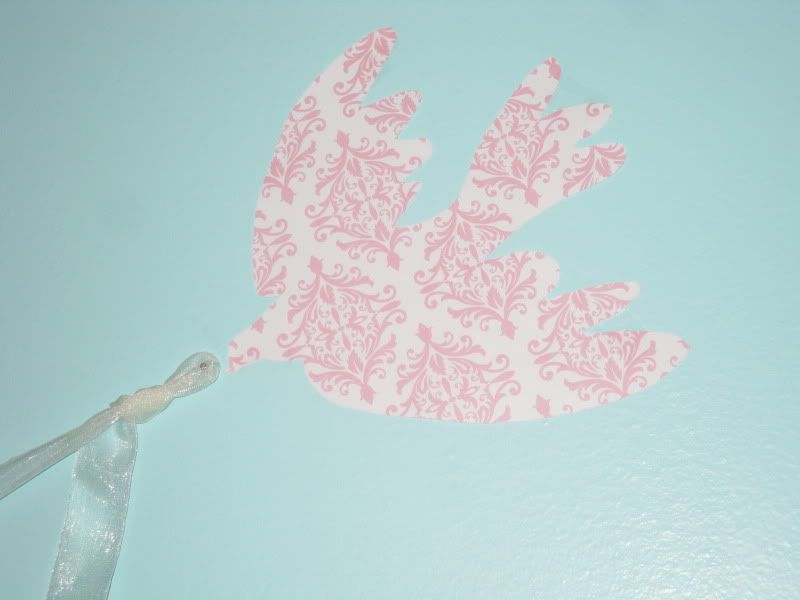
 {DREAM banner}

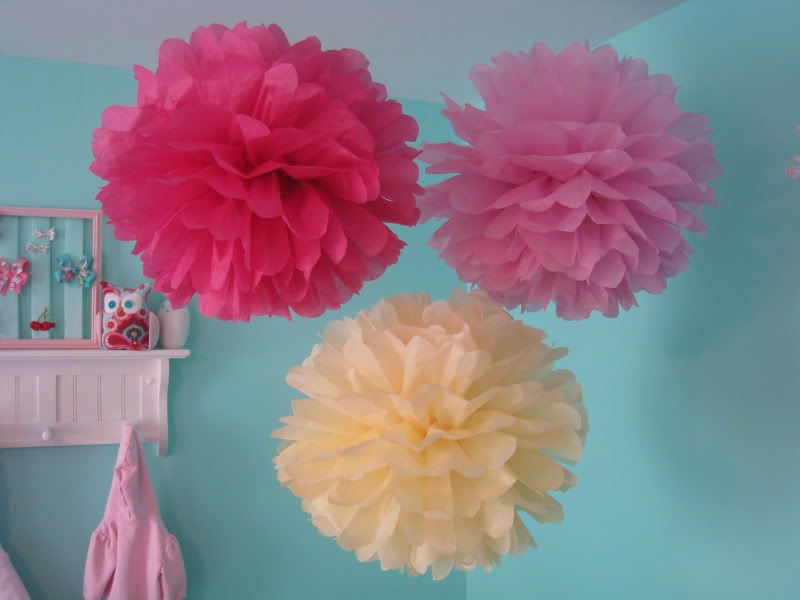
{DIY Martha Stewart Poms}

Since the back wall has so much going on & because the PBK Coco Dot crib bedding ($248 & I used a one-time 10% off coupon I had for PBK) is so pretty & bright, I wanted to keep this wall relatively simple. The vintage DREAM banner is from the Crepe Confectionary on Etsy - $24 & I got the inspiration for the banner from Holly's cute nursery for her little girl Wren over at Life in the Fun Lane. And finally, the poms are DIY - there are lots of tutorials on the web for these poms, but I used the one on Imperfectly Beautiful & I used tissue paper from Target...they have such cute colors & they always have a great selection on clearance.


As for the bookshelf/closet wall:


Details...
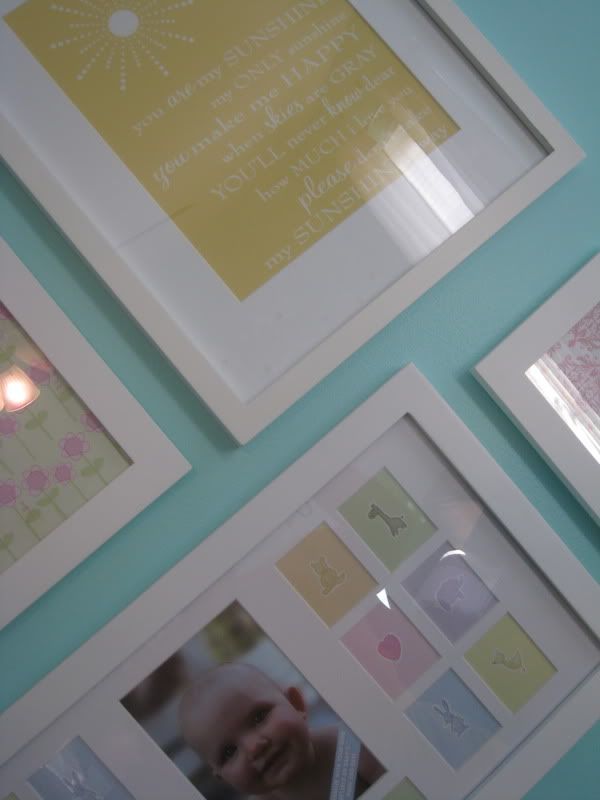
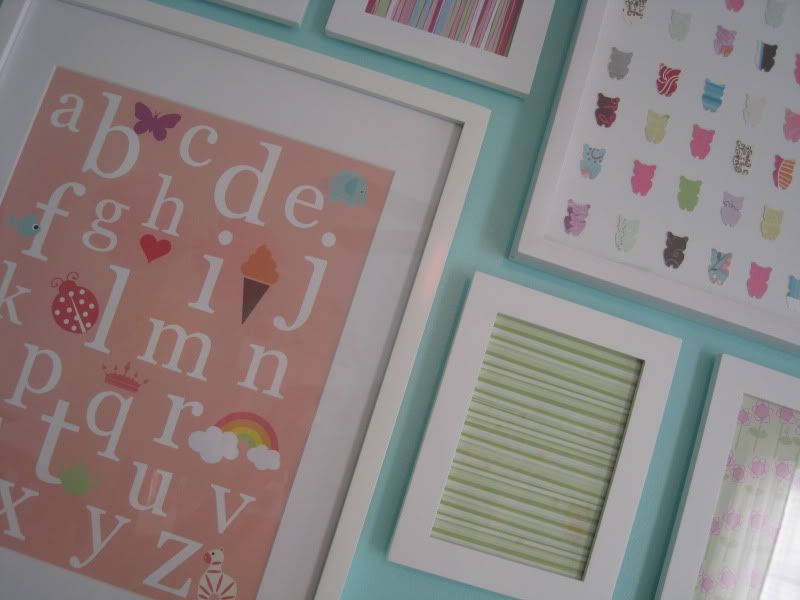
{photo/art wall}


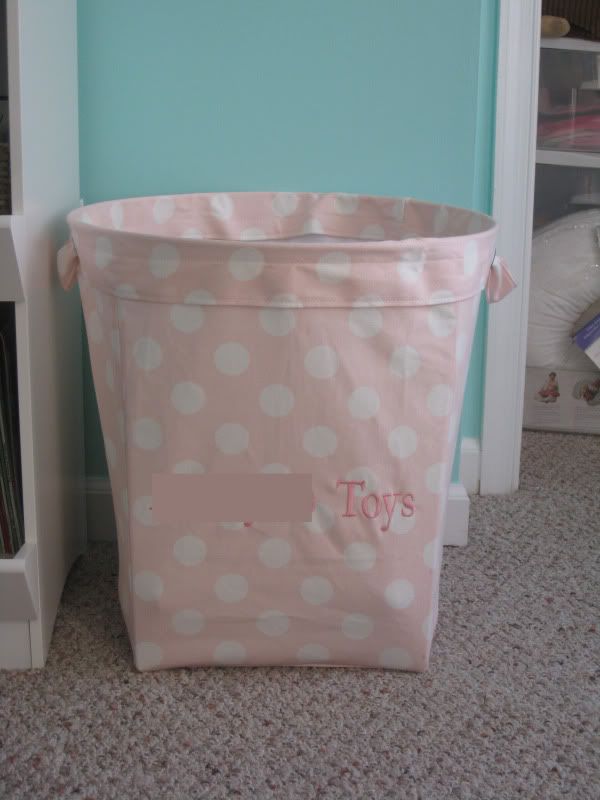
{canvas toy bucket}


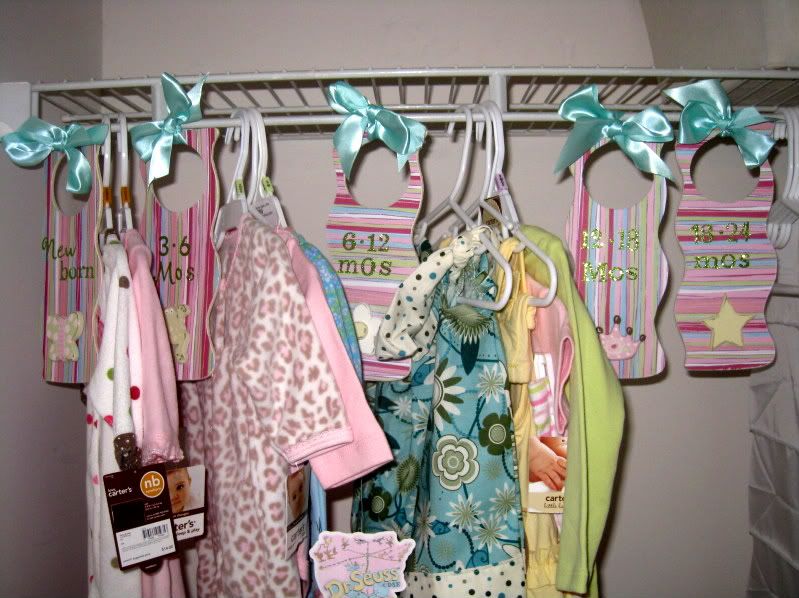
{closet + DIY dividers}

{wall art made by my little sister's BFF}

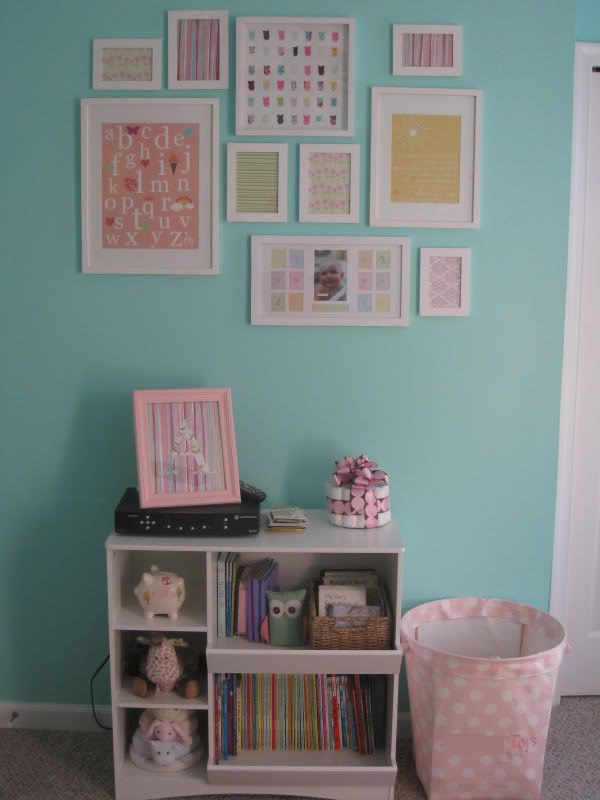
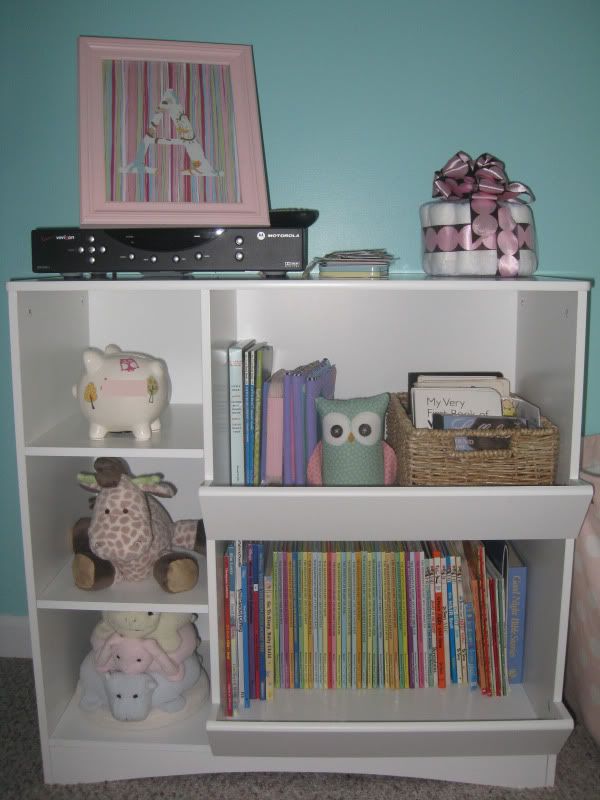
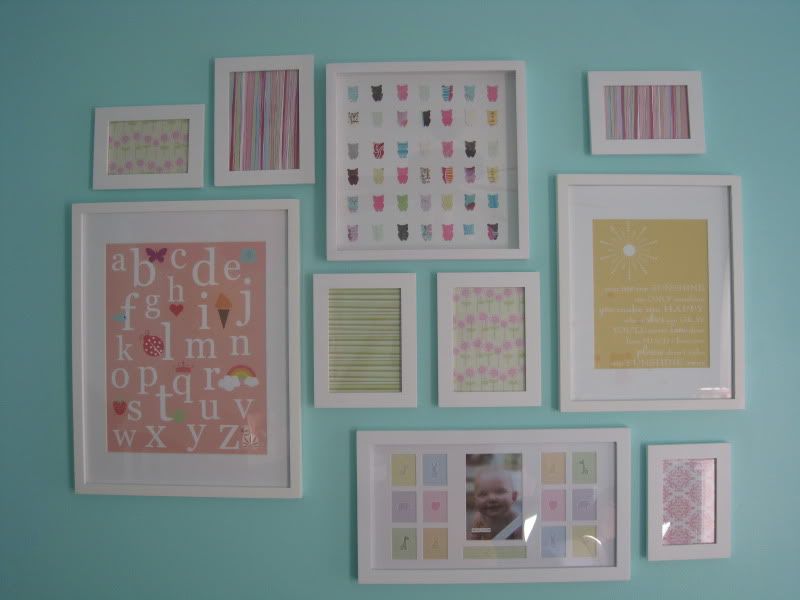
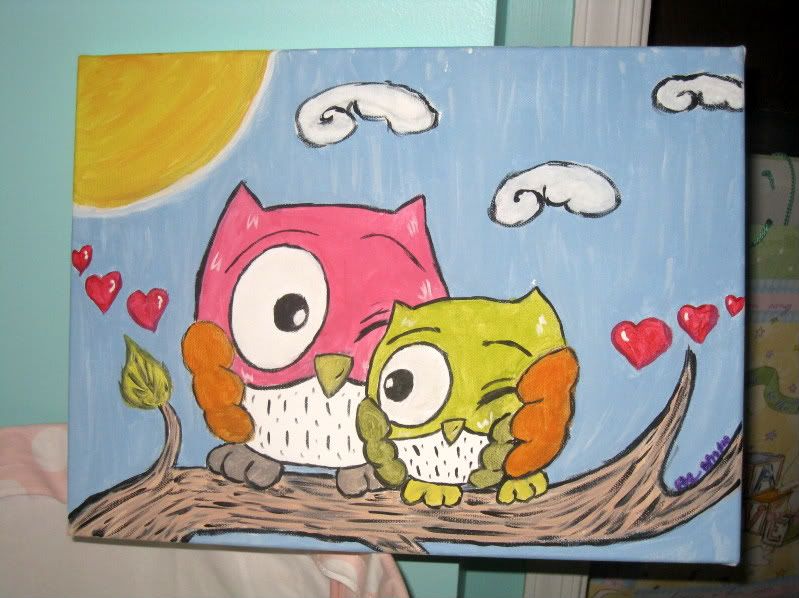
The bookshelf is the Bentley Kid's Cubby Bookcase from Target - $99 (with free shipping). The wall frames are from Amazon, Target & WalMart - they are all a similar style, but I just bought them from the different places based on costs/needs. The ABC and Sunshine art are from Pretty Smitten on Etsy (sorry no prices because the shop is temporarily closed due to the shop owner going out on maternity leave so she can prepare to welcome her newest bundle of joy). The frames filled with the cutesy patterned paper will eventually be filled with Baby J & family photos, but I filled them with cute paper for now so they looked nice up on the wall. The shadowbox owl art was DIY. The toy bucket is from the Girls' Canvas Bucket collection at PBK - $35 + $6.50 for personalization (used my PBK 10% off on this too). The closet dividers are DIY.

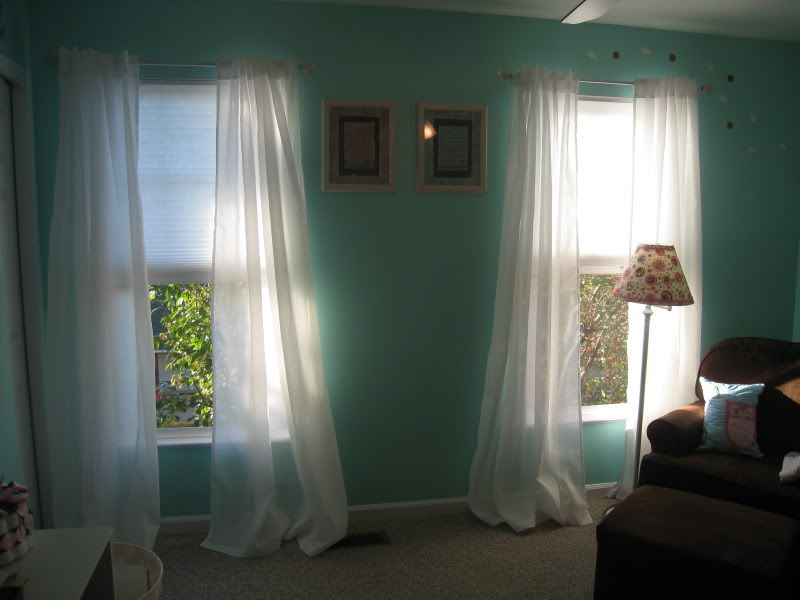
And finally the wall where the room's two windows are:
And details...
{DIY owl lamp}

 {framed art hung between windows}

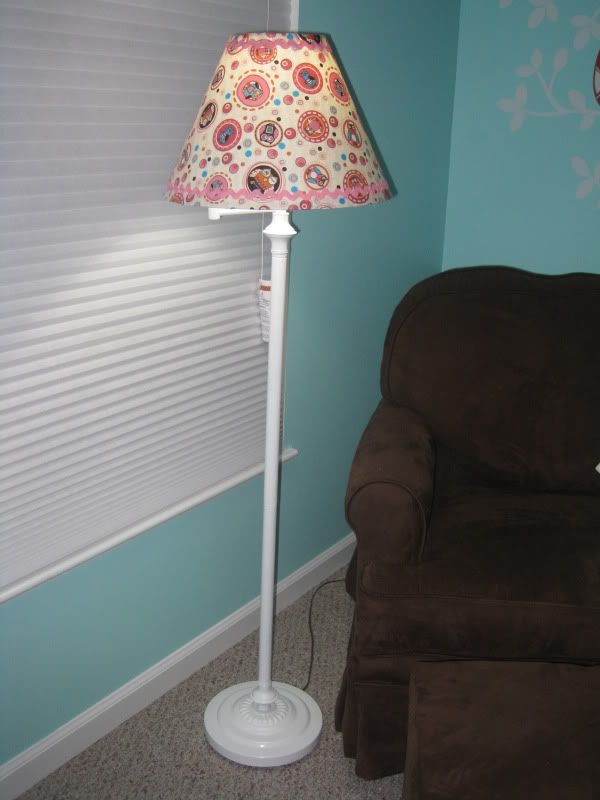
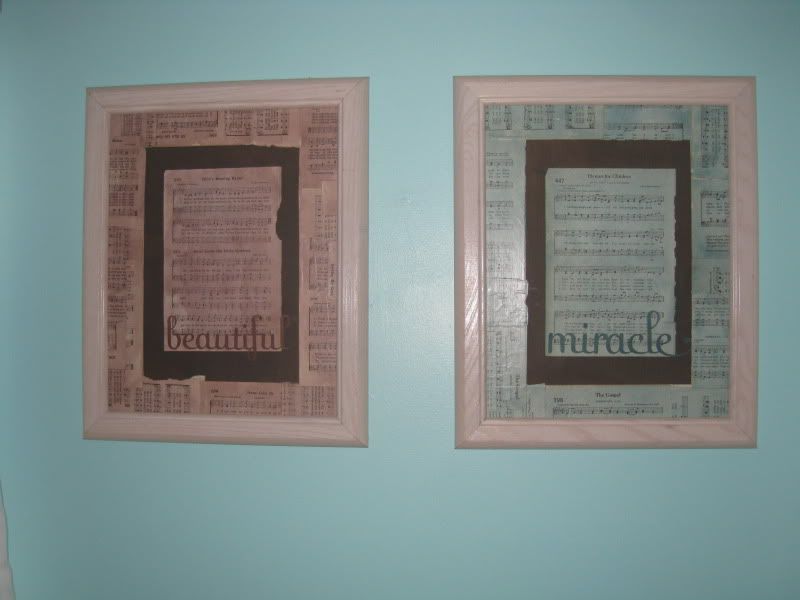
The window treatments are Vivan Panels from Ikea - $13 for a pair of two, so $26 total. I am SO proud of those curtains, lol...I hemmed them myself & I think I did a pretty darn good job, but let me tell you - that was so time consuming! I was so happy to be done! I forgot to take a closeup picture of the window hardware we waited on forever, but it's the Pink Bubble Rod hardware from JCP - $15 each. The matching "beautiful" & "miracle" art are from [ReDeemed] Unique Art - one piece I won in a blog contest & the other I purchased, but I can't remember the exact price. They are each one of a kind, but I believe if you ocntact Noel from ReDeemed, she can do something similar if you are interested. And of course, the lamp is a DIY makeover from Salvation Army.
So that's it! What do you think?! The room has been done since this past Friday, but I knew it would take a while to write out this post, so I have been procrastinating. It was worth the wait right?! I absolutely L-O-V-E her nursery - turned out just the way I imagined it & I'm so happy we put all the effort into it that we did {speacial thanks to my husband for putting up with me & all my decision changes [as if he had a choice ;oP] & for doing all the manual labor, lol}. Now all we're missing is our little Baby J...but she'll be here so soon! Thanks for following the chronicle of Baby J's nursery progress & I hope you enjoyed the tour!

Wanna see our little one's nursery progress from the beginning?! Check out the master plan for the room, the first set of DIY goodies I made for our little girl, the major furniture all put together, my cute owl accent finds & my decision to do a understated owl theme in her nursery, my "owl" bean bag score turned FAIL, how we "planted" a tree behind the glider to read books to our sweet baby girl under, my easy peasy DIY owl wall art that I made using recycled greeting cards, the finished dresser/changer combo & crib walls plus a simple & cute DIY bow holder, her cute bargain bookshelf & the plans for the wall it's up against plus a simple DIY framed monogram, the DIY Salvation Army reading lamp makeover I did to go next to her glider, and our bedding selection! 'Till next time!