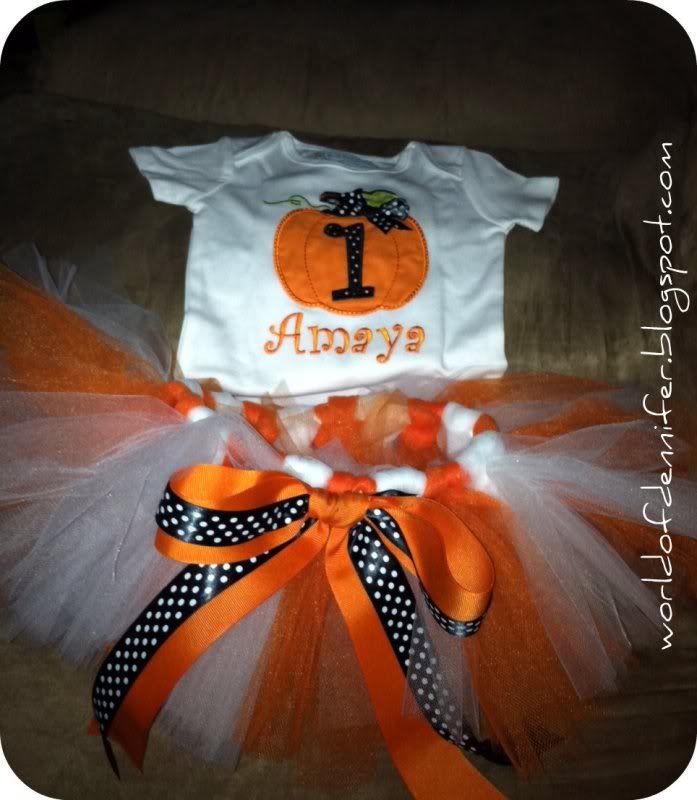


~*The Birthday Girl*~
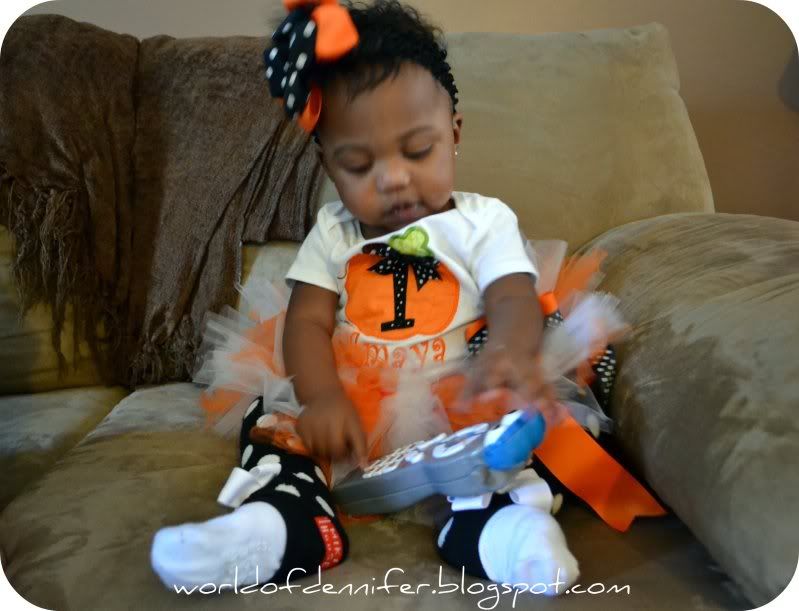
The party was an awesome success & my little mama had a great time! I got a professional photog to take all the pics & I haven't gotten the photos back from him yet, but I did get a chance to snap a few myself...
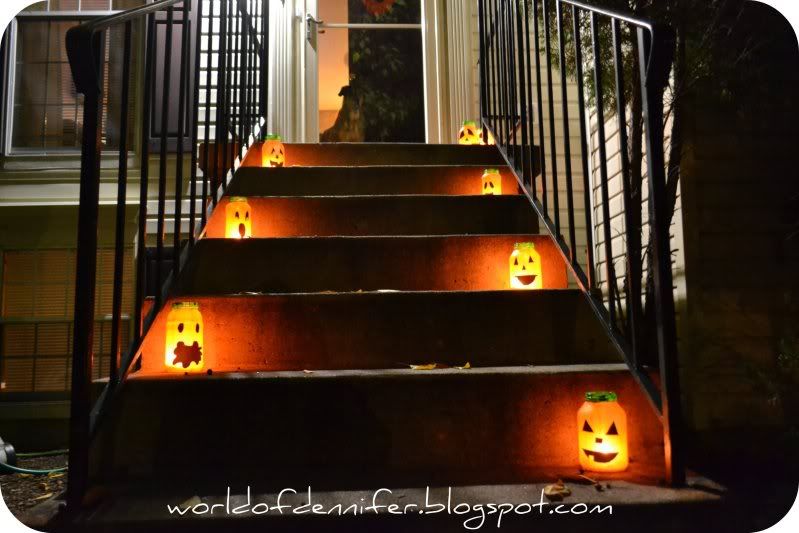

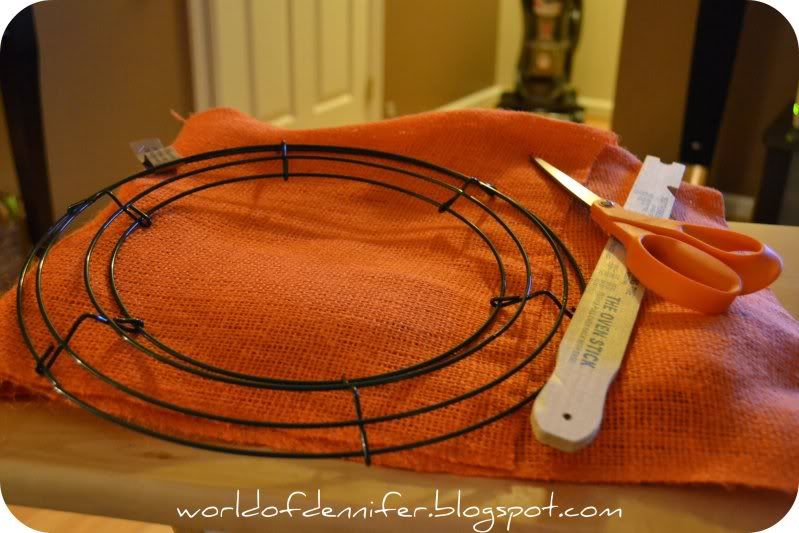
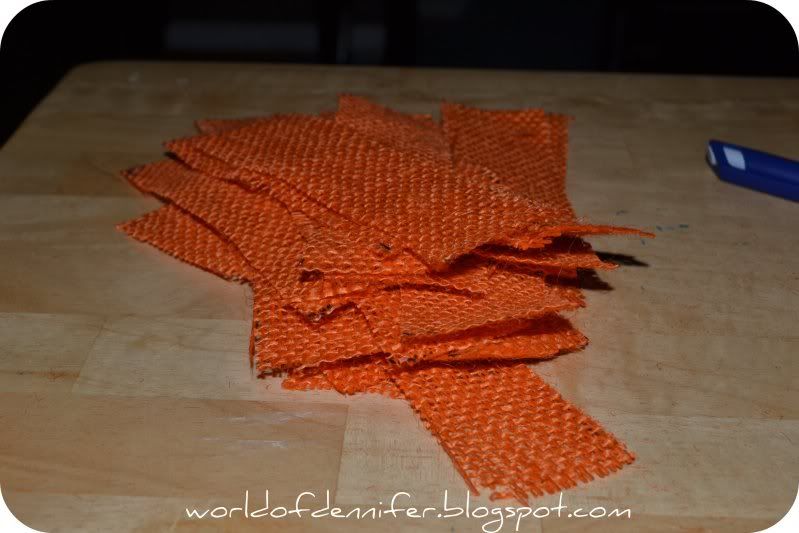
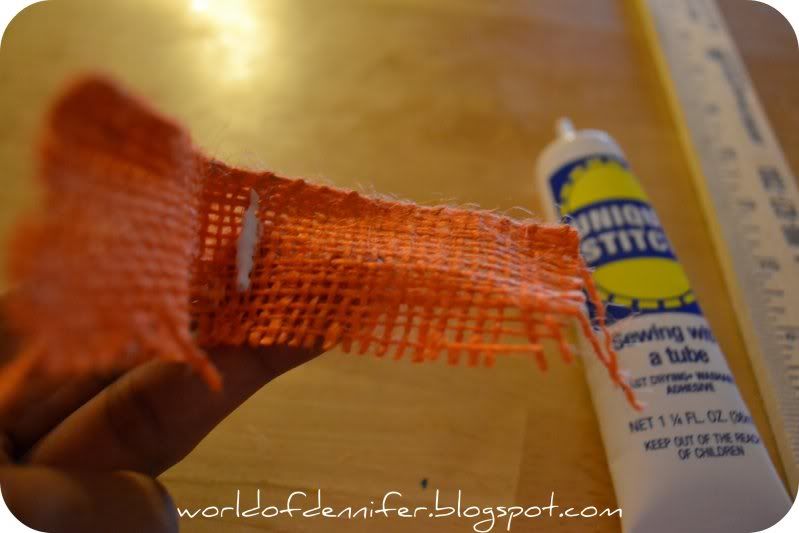
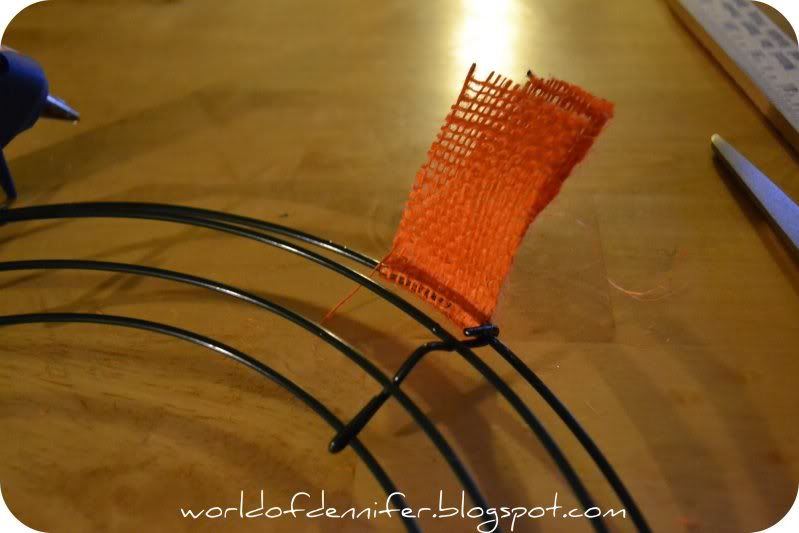
Obvs I took these after the party because you don't get the full affect of how cay-ute they are in the sunlight. Made these lil guys based on Emily's tutorial over at Not So Idle Hands. I had this bookmarked for quite some time now & I'm happy I finally tried them out! They are super cute, cheap & easy to make. They take some time, but I made a BUNCH & for this year at least, we aren't carving pumpkins so these cuties are it!
Here are some pics during the party...

{favor table}
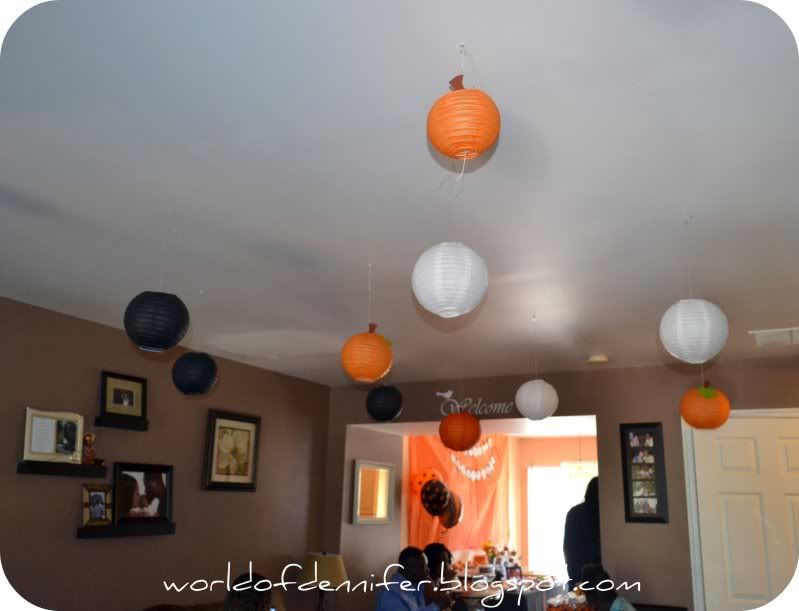
{paper lanterns used to decorate in the living room}


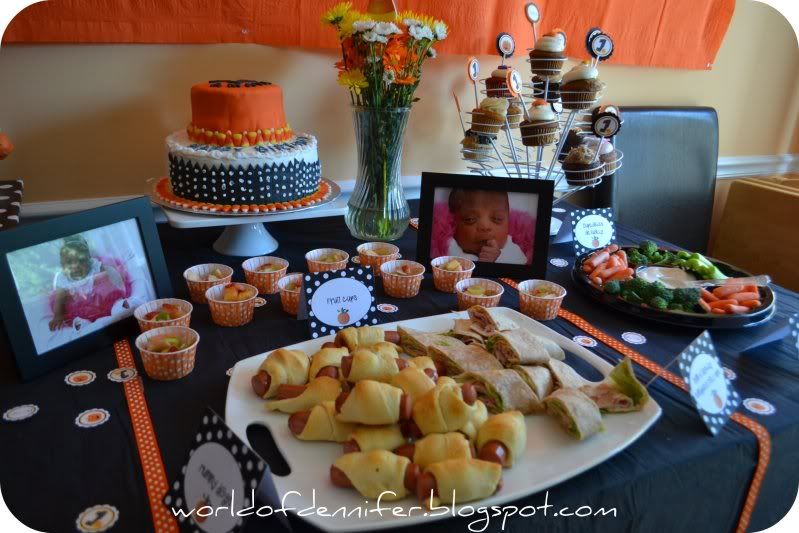
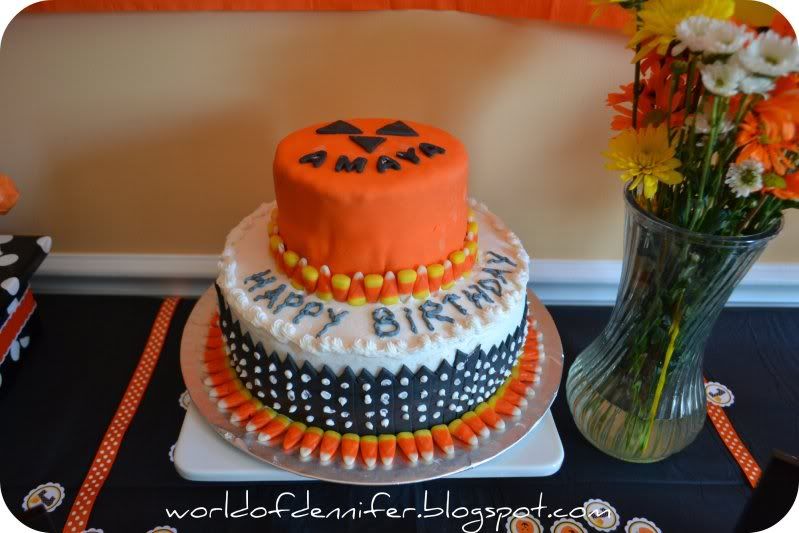

{the eats spread + dessert}
The Decor
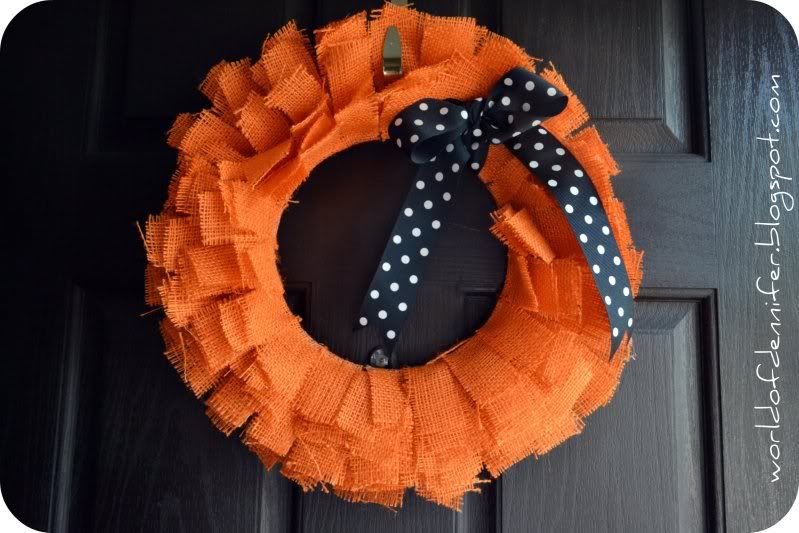
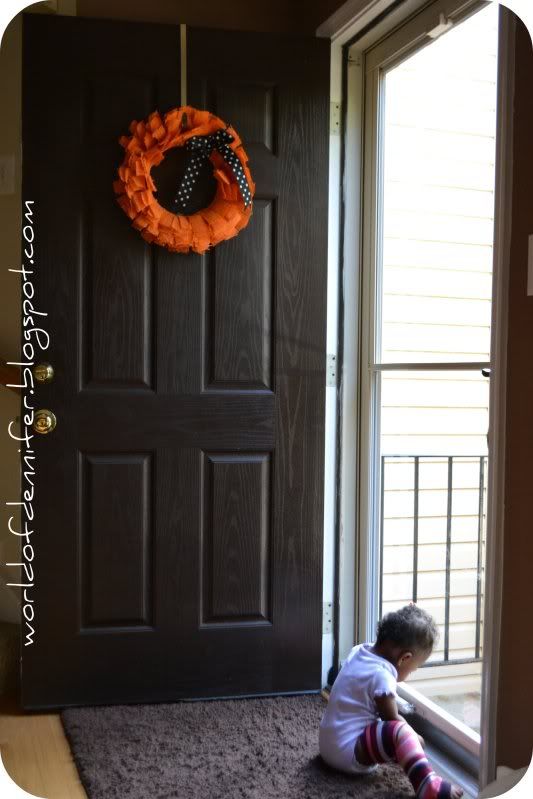
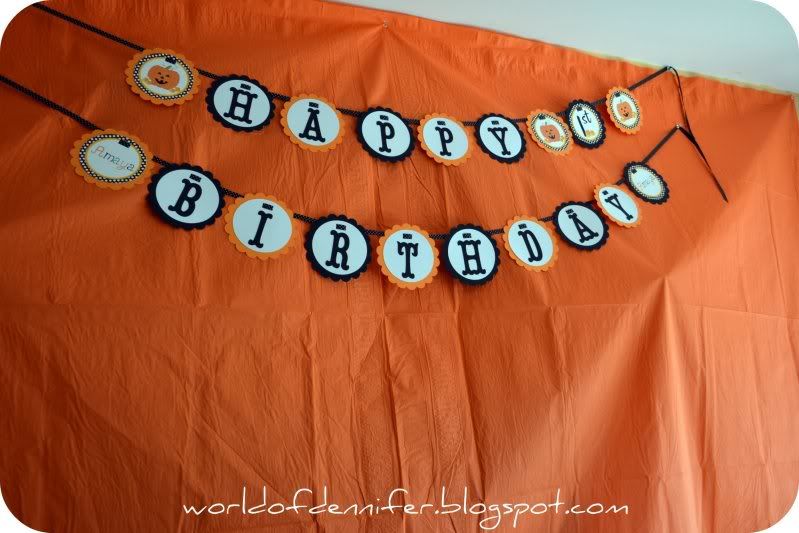
As I mentioned in a previous post, Ciao Bambino made most of the paper for the party (the banner, the confetti minis, the favor tags, the cupcake toppers & stickers that I used on the plastic ware rolls - not pictured). I think I mentioned before that I basically bought the paper stuff sight unseen, but I rightly placed my faith in CB because the stuff turned out super duper cuteee! I was so excited when I got my box with all the stuff, it was like Christmas! I got the black & orange polka dot balloons from Shop Sweet LuLu's Halloweenery shop for $3! The black & white paper lanterns are from Luna Bazaar and the totally adorable pumpkin lanterns are from Party City, but they are only available online. If you're feeling crafty, here's a link to a DIY version of them - equally cute & I actually bought all the supplies to make them, but then I gave myself a reality check & returned the stuff, then bought these...I was already overloaded with projects, so I was happy to find these! The paper table cloths were also from Party City.
I DIY'ed the place cards on Power Point & the cake pop stand using a cardboard box & piece of styrofoam wrapped with polka dot wrapping paper & pretty orange ribbon. Speaking of ribbon, I got a lot of the ribbon you see in the photos from the Ribbon Retreat - great prices & they ship fast! All the other ribbon I got from Michaels & Jo-Ann's.
The Food
Instead of getting the party catered, I opted to make everything myself...which was SO much work & thankfully one of my close friends came over the day before the party to help me get a head start on some of the baking/decorating & then another friend came the morning of to help us finish up the cooking. It was ex.hausting, gah. But it was worth it because I think everything looked fab & it all tasted great too! The menu included: a veggie tray, cut up fruit in these adorbs polka dot candy cups from Shop Sweet Lulu, "mummy" dogs AKA pigs in a blanket, scarecrow crunch, Chick-Fil-A nuggets, cheese dip made by my awesome bestie Britt, sandwich roll-ups & pumpkin dip.
The sweets were the stars though! My girl Britt & I made pumpkin brownie pops, which weren't super pretty, but tasted awesome! The cake was made by my BFF Becky's MIL, who also made my bridal shower & wedding cake...she did such an awesome job! And finally, the cupcakes were from Cupcakes Actually - I had a Groupon for these that I had purchased a while back, so I just sent the hubbs to pick out a dozen the day of the party! I was hesitant to try a new cupcake place because we are pretty hardcore cupcake snobs in the Dennifer household, but these were actually very yummy. The munchkin had one of their pumpkin harvest cupcakes as her "smash cake" & she loved it too. :) Hopefully the photog got good pics of her eating/smashing/making a huge mess of her cupcake because I was in full clean-up mode when she was eating it & had no chance to get a pic, bahahahaha.
And pics in the basement/present opening area (excuse the horrible lighting in our basement)...

{yeah, I totally forgot to cut the extra ribbon on the right end of the month banner}
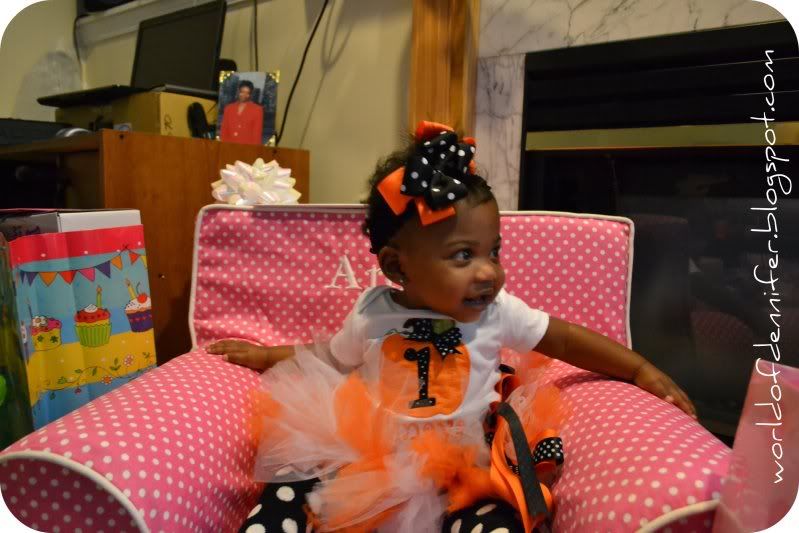
{And my cutie living it up amongst all her presents}
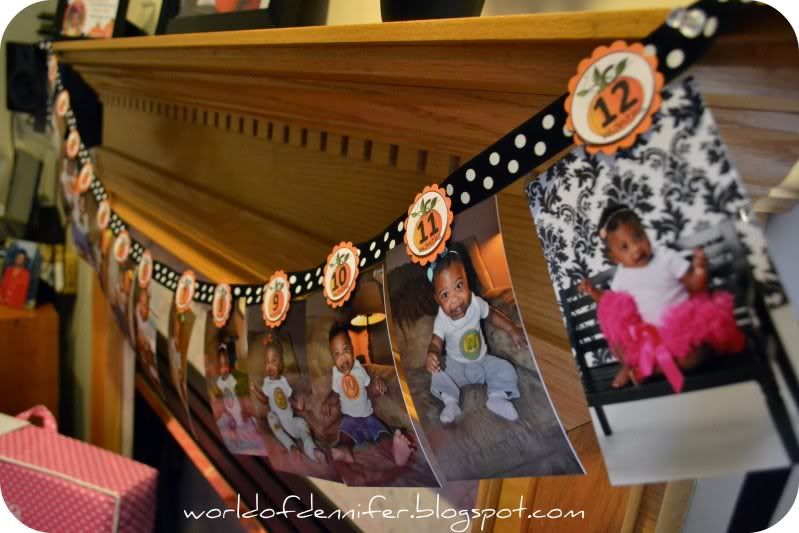
I wrapped the picture frames the hubbs had up over the mantle with orange tissue paper & polka dot wrapping paper. On the mantle - I framed her invite using a frame I got via Freecycle that I spray painted black...side note: I really wanted to spray paint the frame a pumpkiny orange, but couldn't find one at any of the stores I checked. :o/ I placed a large professional shot of her in the middle of the mantle, then my DIY #1 ribbon topiary {tutorial with photos coming up soon}. Finally, I hung my DIY monthiversary banner from the mantle to show how my munchkin has changed throughout her 1st year. Love her! I got the inspiration for the banner from Ciao Bambino, but figured I could just make a really cute one rather than buying it & I'm so happy I did because I loooove how it turned out! To make one yourself, just take a long piece of ribbon, get a 2 inch scallop punch & colored card stock, design some {less than 2"} circles with free clip art online & printed on white card stock. Use mini glue dots to attach them to the scallop circles, hot glue a paper clip behind the scallop circle & attach them to the ribbon using hot glue. Make sure to space them evenly apart & then slide your photos into the clips & wha-la! I was planning to take photos & do a photo tutorial, but I was pressed for time & rushing to get this done. If I do this again, I'll be sure to take step-by-step pics.
For her birthday, she received so many generous gifts from our family & friends that attended the party. Everything from casual to dressy clothes, music toys, books, a portable DVD player + DVDs, her PBK Anywhere Chair {that was our gift}, balls for her ball pit, and I could go on & on.
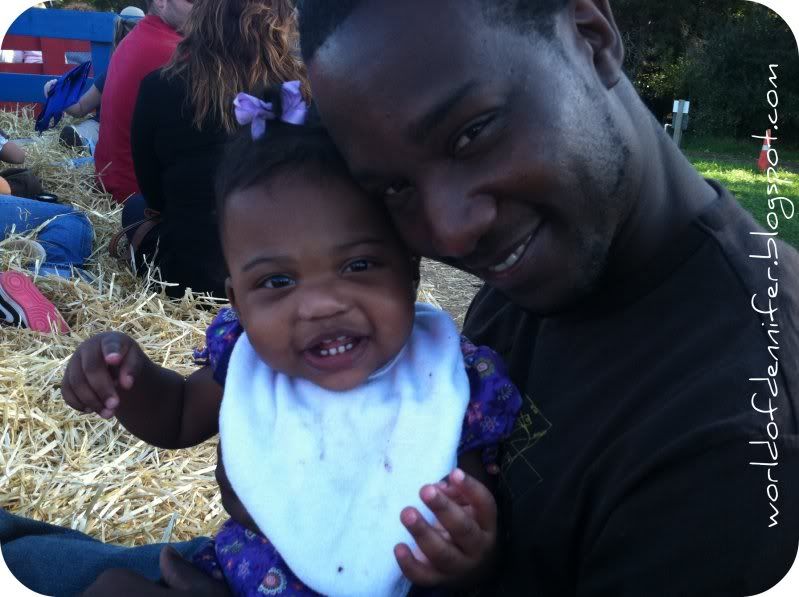
Oh & to complete mama's birthday weekend, we headed to the local pumpkin patch! She loved the animals, the slides & especially they hayride! She loved it & we had a great time too, so we decided to make it an annual birthday tradition until she says she's too old to go with good 'ol mom & dad, lol.

So those are pmb (pretty-much-basically) the good pics I got. Once I get & select the professional pics I want, I'll share them with y'all of course! And, now that Miss Amaya has had an awesome party, got tons of cool stuff & turned the big O-N-E, what's she gonna do next?! DISNEY...next week, eeek! Wish me us luck, it'll be the first time we take the bambino on a plane. I still have lots & lots to to do...with not a lot of time to do it in. I'm sure I'll be talking more about it here before we head out. Welp, that's all I got for now. 'Till next time!