

; World of Dennifer: Entryway
Showing posts with label Entryway. Show all posts

Sunday, October 10, 2010

2010 Fall Decor!

So this year I wanted to keep our fall decor relatively simple being that I am over 30 weeks pregnant & I'll be having this little one during the mid to later part of the fall. If you remember from my inspiration post, most of the things I wanted to do are pretty simple DIY-wise & low maintenance. I showed you my DIY wreath from last year, which is up again, but now I want to show off everything else I did to decorate for my favorite season of the year!

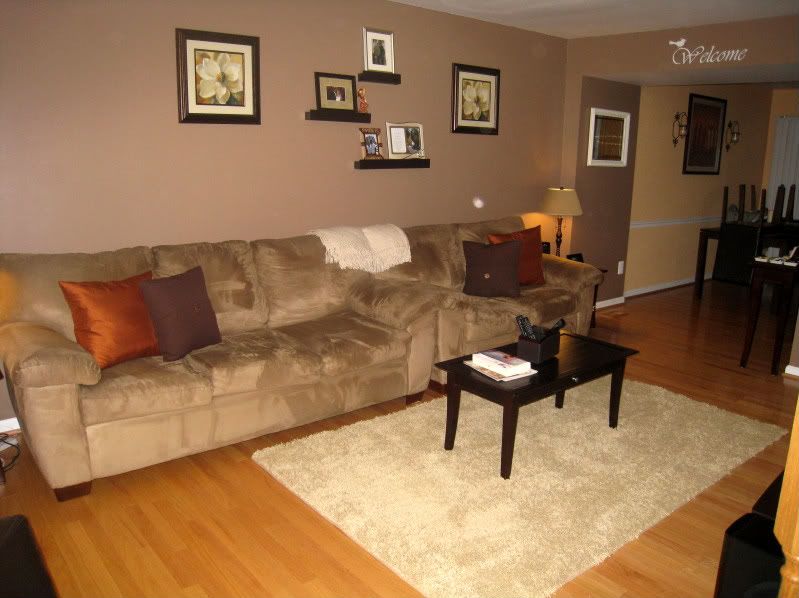
Here's our living room:

From front entry door:
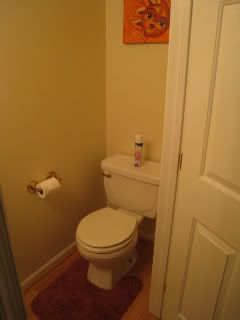
From powder room:
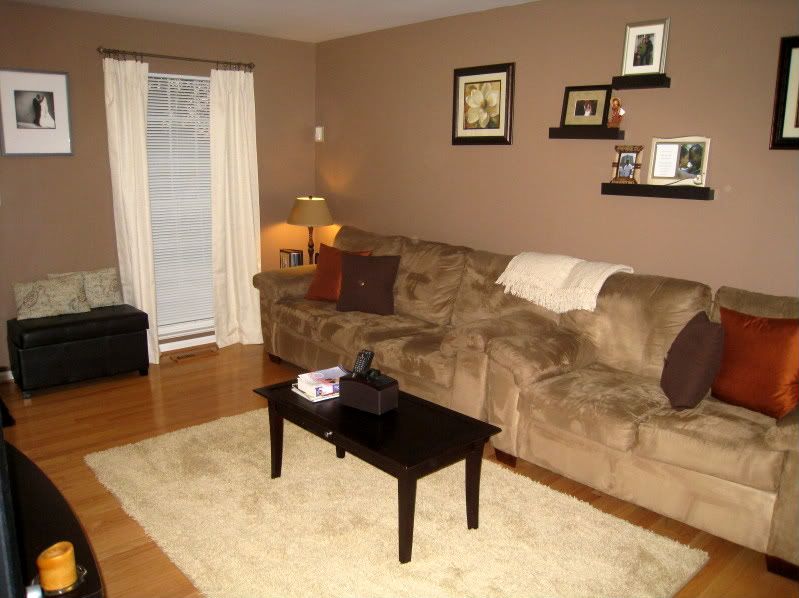
For this room, I just switched out the throw pillows with the burnt orange ones I already owned & the brown button pillows were already there. Then, I added my new PB Essential Throw (which is quite comfy ;o) & a new shag area rug ($75 from Walmart..I LOVE this rug, it's so soft on my toes). I am lovin' how simple, but pretty it is! I forgot to take a photo of the wall with the entertainment center, but it's decorate with fall colored candles, which I'll switch out for Christmas colors in the winter.

And for the entryway table:
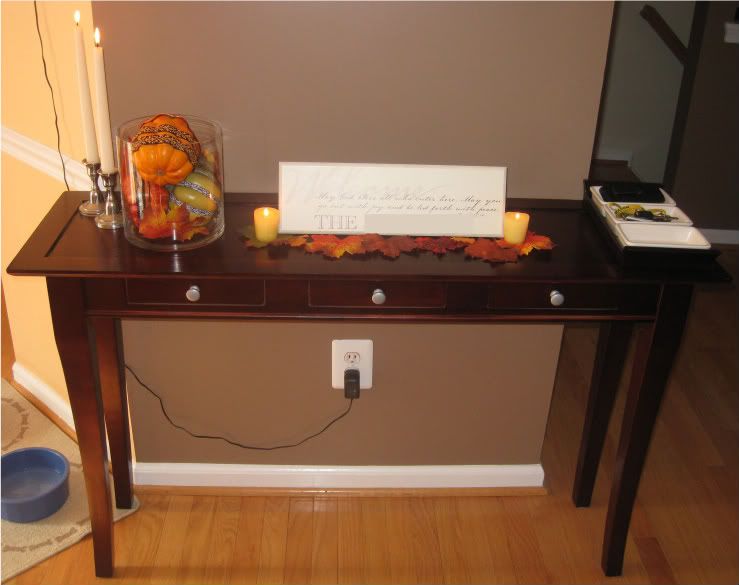
Please excuse the dog bowls, lol...this is the entry between the LR & DR/kitchen area since we don't have a formal front entryway.

Some close ups...
family name sign
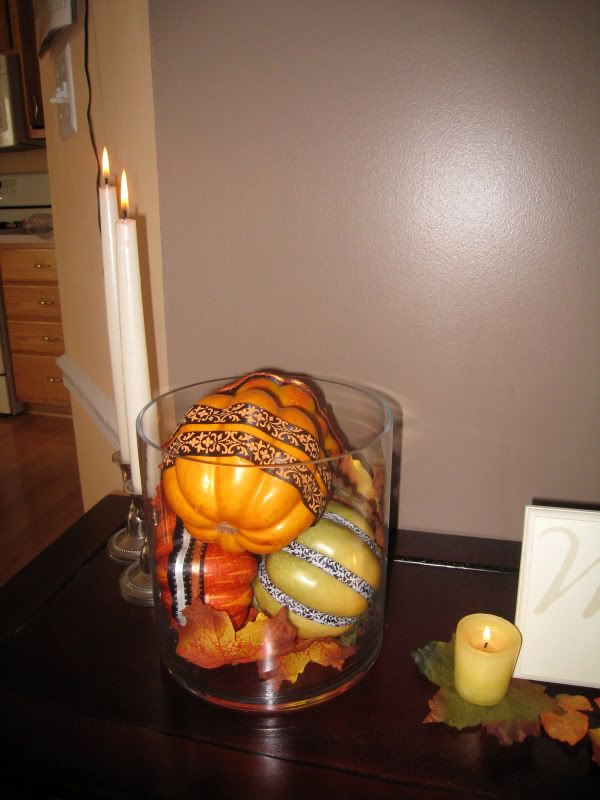

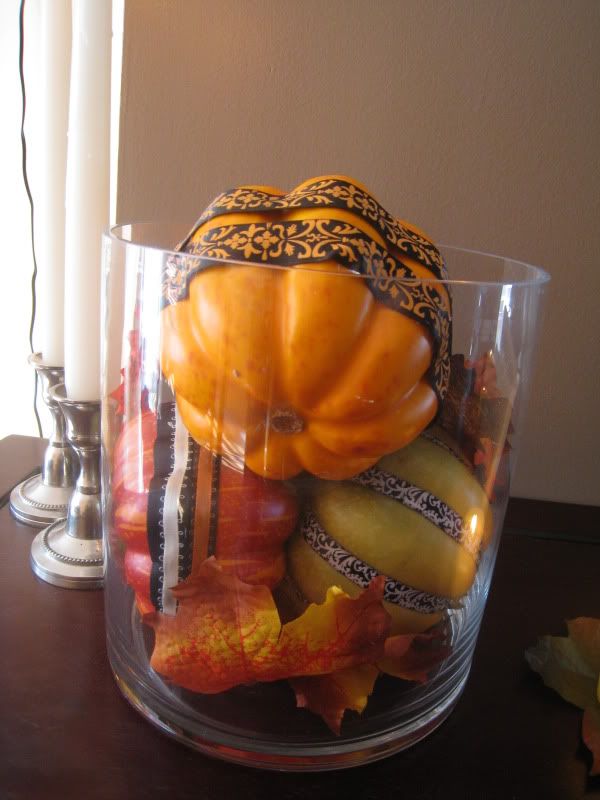
...and my little pumpkins inspired by this PBK treat basket.

We already owned all of the candles & the faux fall leaves, I just arranged them around our family name sign. I got the large glass vase from HomeGoods & added some more of the faux leaves & my DIY ribbon pumpkins. They were so easy to make that I didn't even do a tutorial! Just grab some small faux pumpkins form your local craft store & some fall colored ribbon. Then, just hot glue the ribbon on to the pumpkins & wha-lah...pretty fall pumpkins! These are, by far, my favorite fall decor for this year - thanks to Pottery Barn for the inspiration!

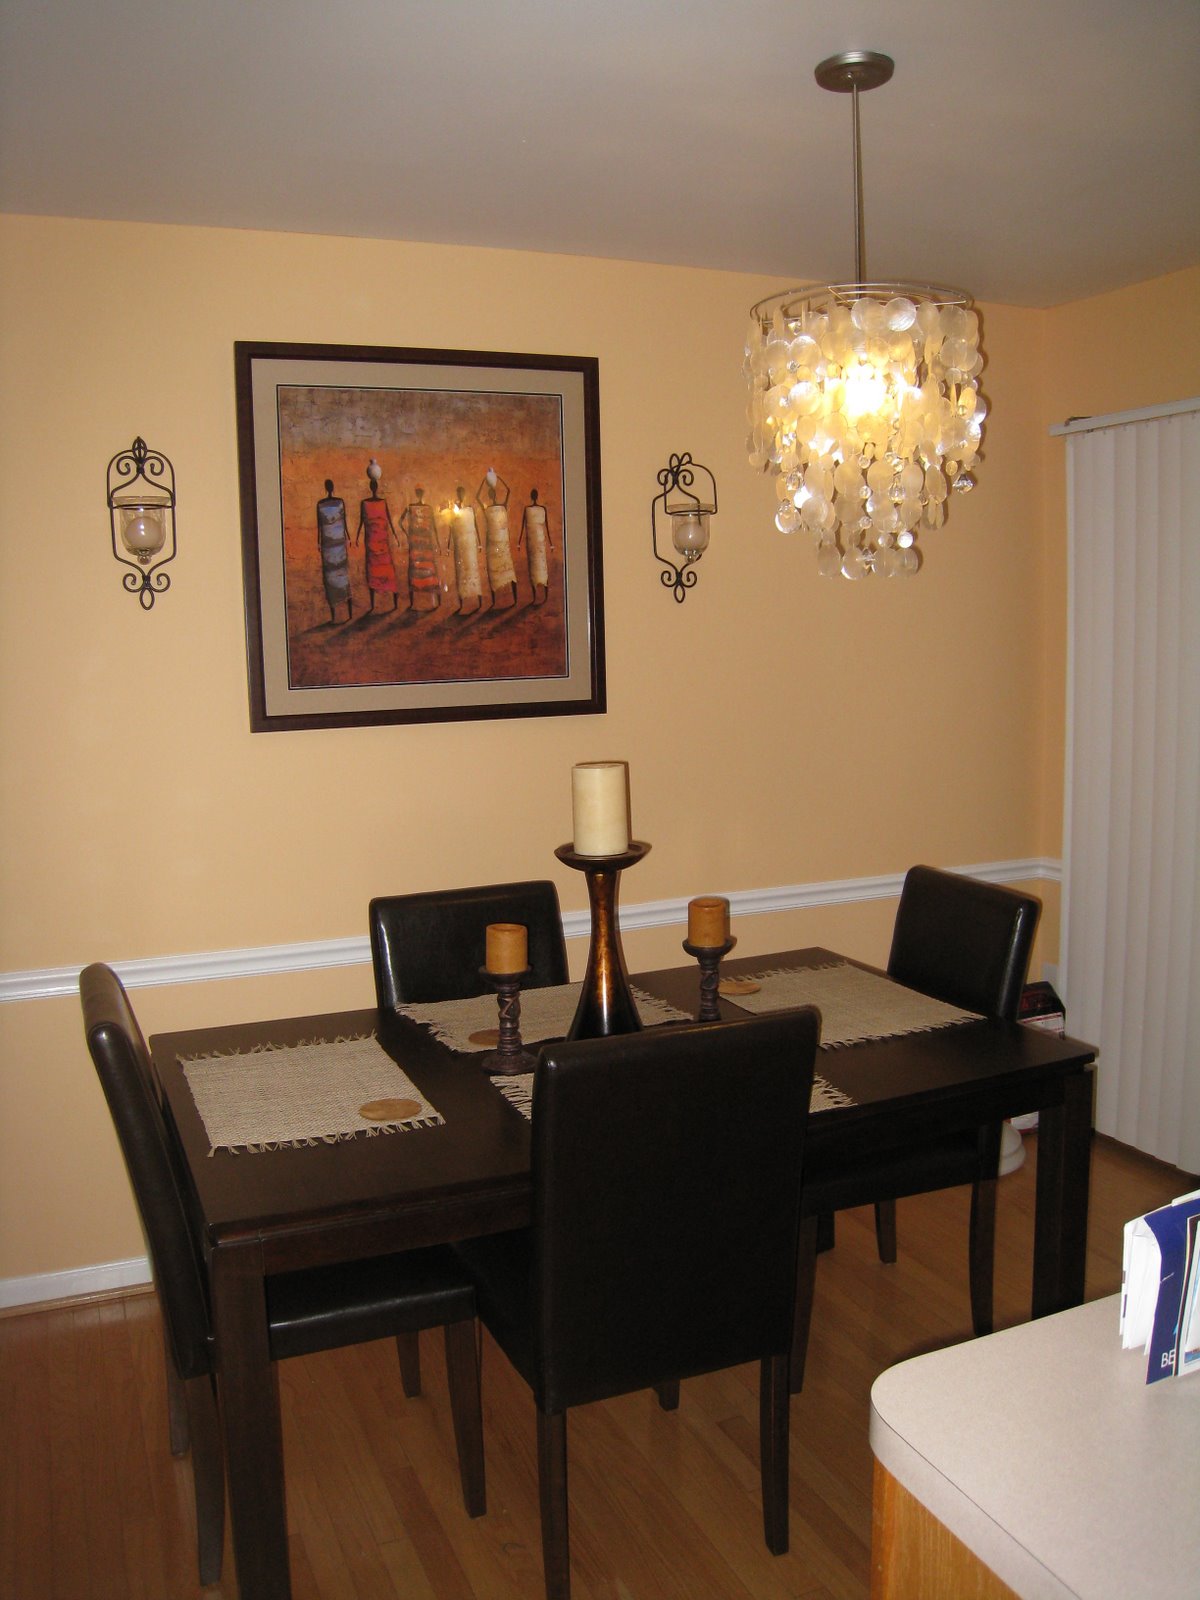
And the final area I decorated, the dining room table, which was also kept very simple:
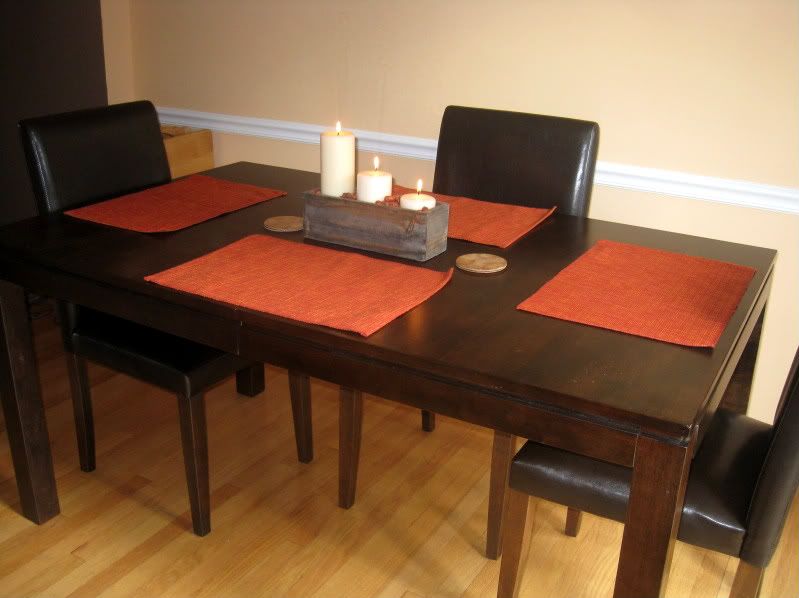

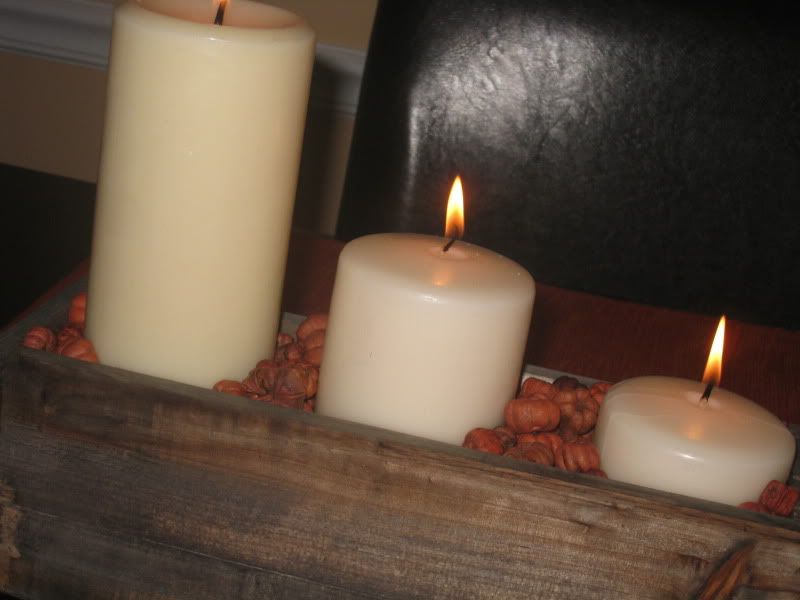
Close ups...
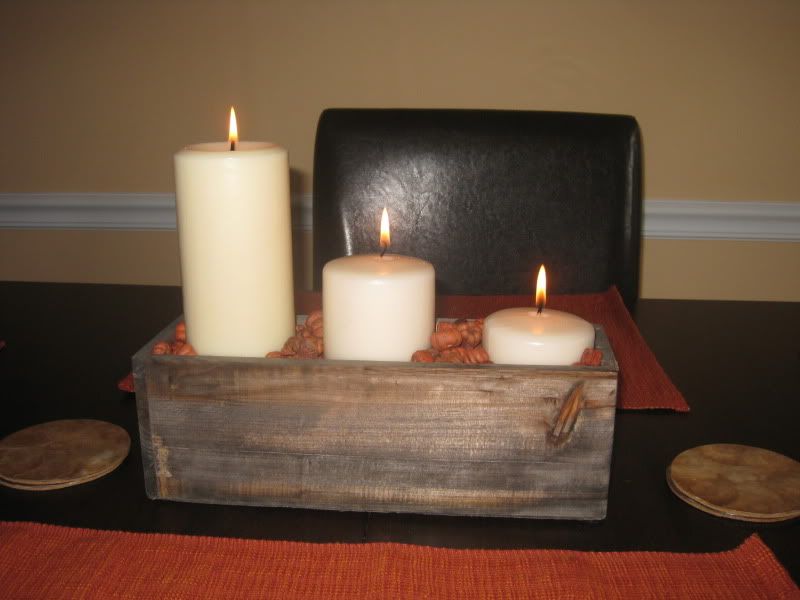
I got all the supplies for the centerpiece from Save On Crafts, which I discovered during my wedding planning...they have really cool, unique stuff & great prices. The little guys I used as filling for the vintage wood box are called dried puka pods - they are so cute, they look just like mini pumpkins, don't they?! So perfect.

And that's my fall decor! I wanted to do some mums out on the font porch & I still may, but I just haven't found a nice enough planter to put them in. We'll also carve a couple pumpkins closer to Halloween & that'll be it for this year. Simple & low maintenance - just how I wanted it. :)

Sorry this took so long to get up - I have been so busy lately - either that or tired, so I have been slacking on cleaning up my house & taking these pics. How are all of you doing on your fall decor this year? Did you do something simple like me or did you go all out?! Please share your links, I'd love to check it out. 'Till next time!

Thursday, May 20, 2010

Spring Cleaning - Part Deux

Finally right?! OMG, life has been so busy the last few weeks & I have been procrastinating on actually putting this list in writing. Don't ask me why, but I feel like if I blog it, I must DO IT, lol. But, I got a lot done at work today, so I'm taking my last 30'sih minutes at the office to put up this list...finally. This list will be for the main & upper levels of our townhouse (Parts II & III if you are following along form my first Spring Cleaning post). I'll do the basement list separately, but I need input from the hubbs on that b/c that's his "man cave" & I'm not to make plans for down there unless he approves them first, hahaha. That's so changing when Baby J gets here! After I get all the lists up, then I'll post updates on how we are doing on everything.

As I mentioned before, these have turned more into spring/summer/getting-ready-for-Baby-J lists, so everything won't be done before the spring is over (in just a bout a month...eeek!).  Anywho, here goes....

Main Level To Do's:


Living Room

Powder Room

Dining Room

Kitchen

We actually don't have too much to do on this level for the time being, or at least anything we anticipate having done before Baby J gets here. We are absolutely going to be either painting or replacing our cabinets (you can see how sun damaged some of the sides are in the above photos - boo to the sun for that one) & getting new counter tops in the kitchen at some point & we'd also like to add a back splash. I'm looking at a few options, but our main D&R priority right now is the baby's room. Eventually we will also replace our old @ss fridge & oven with new appliances that are a bit more energy efficient (read: not original to the house - like our fridge is & the oven is just crappy). I'm also trying to beg persuade my husband into some DIY crown molding, which I think will make our little joint kitchen/dining room look 10 million times better. Oh & I'd also like to replace ALL of the white, aluminum horizontal blind in the house with the shades we got for our bedroom, which are these fabricky {I realize that's not a word, lol}, light-blocking, honeycomb shades - I LOVE them!  So the list for this level will be short, but here goes:
  • Replace all remaining brass/old light fixtures in all three areas - there are a total of 4 left, including the powder room light fixture.
  • Get ceiling painted in all 3 rooms, but especially the living room.
  • Buy new rug for living room.
  • Mop hardwoods in all areas; I usually do only a few good moppings a year - I spot clean with our steam mop in between time.
  • Replace powder room brass fixtures - everything in this house was brass when we bought it, so we are slowly, but surely switching out everything for brushed nickle fixtures.
  • Find & install valance over sliding glass door.
Upper Level To Do's:

Master Bedroom

Master/Upstairs Bath

Guest Room...being turned into Nursery!!

This level has already gone thru many many changes this year between our Master Bedroom re-do & the Master Bathroom re-do & now the currently in progress Guest Room/Nursery re-do! Because of our newest edition, we have lots of things to do on this level:
  • Remove all the furniture & other misc. stuff from the guest room, go thru it, get rid of what we don't need, recycle anything that can be recycled, sell/give away furniture, pack up our personal items that we are keeping for storage in the attic.
  • Clean out guest room closet; buy additional storage drawers for extra storage (something like this).
  • Paint, buy furniture for, replace all outlet covers, replace blinds & decorate nursery.
  • Find fillers for master bedroom apothecary jars/vase.
  • Purchase lightweight bedding for the master bed for use during the hotter months.
  • Go thru clothes & pull out items to donate.
  • Buy same type of storage drawers for extra clothing space in my closet.
  • Decorate master bath over toilet storage nook.
  • Go thru boxes in attic & get rid of anything we don't need any more.
  • Get carpets steam cleaned.
  • Replace any remaining brass light fixtures in hallway.

I think that's it. The list for the upper level doesn't look that big, but it's a lot of work. The first item, which is done (yaaay!), took us like two weeks to complete. But all the stuff (minus the stuff in the closet) is gone or put in a new location. :)

Stay tuned for the lower level of the house portion of this list & updates on how far we've come since starting spring/summer/getting ready for Baby J cleaning! Tomorrow is my 27th Birthday, woot! And we are having a big summer BBQ @ my casa {complete with my fav mocktails}, so I'm not sure I'll be participating in 5QF this week, but I'll post some pics from the BBQ on Saturday or Sunday. 'Till next time!

Wednesday, April 28, 2010

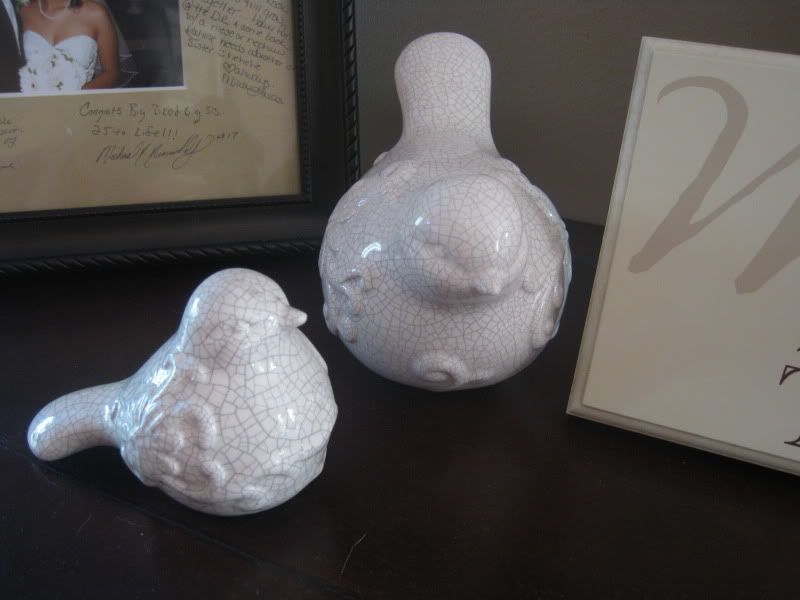
Wordless Wednesday...new birdies for my collection

Say hello to my {new} little friends...


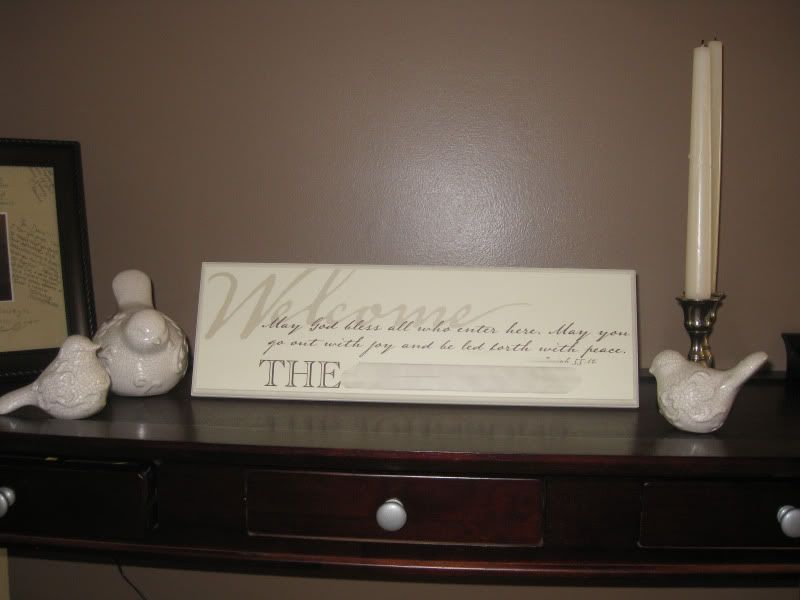
Got these cuties on clearance at Michaels for my entryway table - only $1.99 each! Okay, so that was a few words. ;oP

Monday, February 1, 2010

Living Room Updates!

IDK if you remember what our LR looked like before, here is a reminder:


I can honestly say that I loved my LR. I liked the colors & everything, but as soon as winter came around, the deep oranges were no longer working for me. I felt like we needed something a bit more neutral. So I made a few small changes & wha-lah...looks like a whole new room:

In the photo above, you can see that I added insulated curtains from JCP in ivory beige. These curtains were such an awesome buy. They were inexpensive & definitely good quality. The window they are on tends to be a little drafty b/c the spring thingy on it is messed up (we need to get it fixed), but when you close those drapes, the draft is GONE! They are awesome.I also used JCP's Ancient Broze Clip Rings to hang them - 14 did the trick!

Under the wedding photo, next to our front door, I added the Target Storage Ottoman in dark brown. It was originally $80, but when I went to the store, they were on sale for $65 & I found a damaged one on the shelf (nothing the hubby couldn't quickly repair), and got $15 off!! The dark brown pillows on top, I purchased a few months ago at Burlington, for about $7 each, but I'll include them in the cost for this makeover. And the small paisley print pillows on the couch & ottoman were $13 for the pair at Home Goods.


The candles/pillar holders to the right of the TV, I used to have in my DR, so those were re-purposed & use here to add a little something to the entertainment center. IDK if you can see it well in this picture, but the remote caddy (awesome invention!) is so great because it keeps the THREE remotes we have to the TV/entertainment system/Verizon Fios Box all neatly in one location....it evens comes with a set of four leather coasters, which is great for me since I loathe when people sit sweating glasses on wood tables! And it was only $20 from B,B&B! We used one of our 20% off coupons we got in the mail & saved $4!


I got this pretty new white framed mirror from Home Goods for $30, which was a steal b/c it is really high quality & pretty sturdy. I put it in the entryway between my LR & DR, right across from my entryway table & I think it's a perfect fit in this area.


The sign I got for free from an awesome blog friend's giveaway! I decided to keep it on the table until I decide on something else to put there. :oP

New for 2010 at the World of Dennifer, I am going to start providing a cost break down on my makeovers b/c I thought it may be helpful to some of you interested in doing something similar somewhere in your home. So here is the cost break down for this mini-makeover:
  • Curtain panels: $35/pair
  • Clip rings: $20
  • Storage ottoman: $50
  • Dark brown throw pillows: $14/pair ($7/ea)
  • Paisley print pillows: $13/pair
  • Remote caddy: $16
  • Mirror: $30
  • TOTAL: $178
So what do you think? I really like it & the LR feels a bit larger now with the couches rearranged, so that's an added plus! And at less than $200, I think these small changes made a huge difference in my LR!

Monday, January 11, 2010

Packages on my doorstep make me happy!

Sorry this is a little delayed. I got home last week & saw a nice shiny (okay, not so shiny...but definitely exciting) package on my doorstep! I love getting packages - even when I order it & know what it is. But this was different, I wasn't expecting any packages.


It was packed up sooo pretty & even came with a cute little note from Danielson Designs...


It's even better when it's a prize I won (my first ever!!) from a blog friend's giveaway!! The sign came out so beautifully & I have the perfect spot for it...


It's actually going right above my entryway table on the wall - now, if I could only get my hubby to actually hang it up! We are working on some finishing touches for our newly decorated LR. I just brightened it up a bit, but it's looking awesome & I can't wait to show you guys the difference!

Saturday, October 31, 2009

And then there was light!

My Hubby recently installed the new light fixture we purchased for our main entryway. Nothing too exciting, but it definitely makes a big difference.

Here are a couple befores:

Ewww...old, gold/brassy fixture that was almost certainly original to the house, which was built back in 1994. I HATE brass - it is my mortal enemy & I am slowly waging & winning the battle of the brass in this house. Literally EVERYTHING is brass - I mean the fixtures, door knobs, towel bar in the powder room, door/cabinet hardware on the kitchen cabinets...everything. So, we are slowly, but surely switching out everything for things with a shiny nickle/silver finish.

So, without further adieu - here are the afters:


Light, woot! PS - please ignore the outline of the old fixture on the ceiling - I have a request in to my uncle to paint our ceilings. He is a professional painter & frankly, I just REALLY don't want to paint the ceilings...I'm a little scared & a lot of "I just don't feel up to it". Contrary to what one might think, I hate painting altogether really. Anywho, the fixture was from Lowes for like $30 & I like it a lot more than what we had before - it's a lot more modern, uses energy efficient bulbs & is much brighter!

In other D&R news, we are hard at work (at least we will be come tomorrow morning) on our MBath re-do! I got the over the toilet storage nook in from Overstock the other day & I'm excited for everything to come together.

Happy Halloween!!! Stay safe tonight. :o)

Tuesday, September 15, 2009

Faux Mercury Glass Pumpkins Re-make!!

In my last post I talked about a few of the fall D&R DIY projects I would be doing & I finished the first major one - Roeshel's faux mercury glass pumpkins. I removed the faux summery white orchid plant I had on the LR/DR entryway table (we don't have enough space for one at our main entry so I put it between those two rooms) and put my pumpkins there. I embellished mine with a pretty jeweled fall garland & faux fall leaves, then added some silver taper candle stick bases & ivory candles. All of which I think added the little extra punch my pumpkins needed. What do you think?! (Click on any photo to make it larger)


I basically followed her instructions to the "T" except for the brown splatter part - that was a doozy! I didn't have a nearly empty bottle of brown metallic spray paint, so I picked up some very pretty brown metallic acrylic paint at Michales & gave it a whirl attempting to spatter with a normal paint brush. Well that didn't work out so well, it created big globs of brown metallic paint, which looked...well, weird! Next I tried it with a toothbrush & it didn't really splatter at all - just globs again. So, the last thing I tried was wetting the tooth brush a bit (not soaking wet, but enough so that the paint is a little less thick when I scooped it onto the toothbrush) & that worked, but it was messy....still not the same effect as the spray paint canister that Roeshel used with hers, but looked good enough for me. After I got the spattering effect I wanted (or at least as good as I could get it), I sprayed another light coat of the silver/metallic spray paint to give it a more authentic look. I am pretty happy with the results; although, I wish I had a nearly empty (sputtering) bottle of the brown spray paint & I could have made the brown spotting look a little better. Let me know if you end up trying this - I'd like to see how other's turned out!

In other decor news, I added some fall colored flowers to the large decorative Pier One pitcher over top of my kitchen cabinets & a candy dish to the LR table with yummy chocolates!


*fall flowers in decorative pitcher*

*candy dish*

My house is nearly ready for fall, but I have a few more things I want to do outside & in to make it completely ready! Oh...and coming soon (maybe tomorrow!) the decorative touches I added to my MB including some DIY birdie wall art! It looks fab!! Thanks for stopping in. :o)