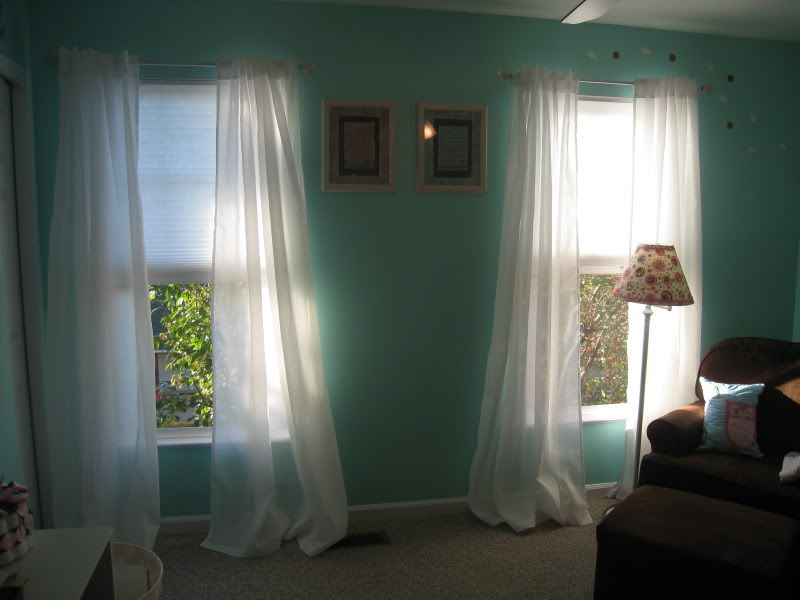
Well we always sorta had light, lol. There is actually a ceiling fan in Baby J's room with three lights on it, but they tend to be a little bright (they are energy efficient bulbs though ;), so I'm not sure how often I'll use them. Originally I was just gonna buy a lamp because I didn't think I'd want to DIY anything else since I was planning soo many other DIY projects for her room. So, I scoured the internet for the perfect lamp to put right next to her glider & I found this pink gingham lamp at Target a couple months back that I had been drooling over ever since:
Cute right?! So cute. I even put it on my Target baby registry & everything! But then I thought, $60? And it was online only thru Target, which means no one would probably give it to us as a shower gift & that's kind of a lot of money for a lamp anyways. Right? So I decided that I could definitely fit in a DIY lamp makeover project.
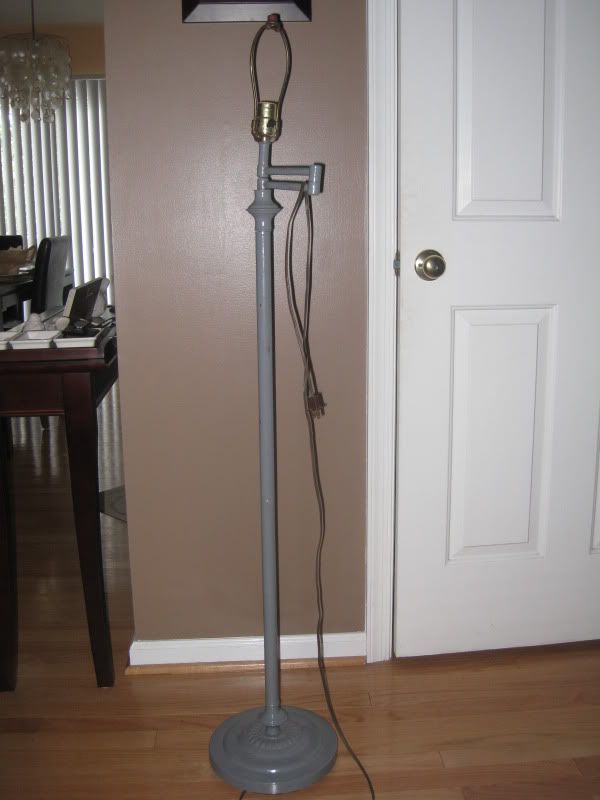
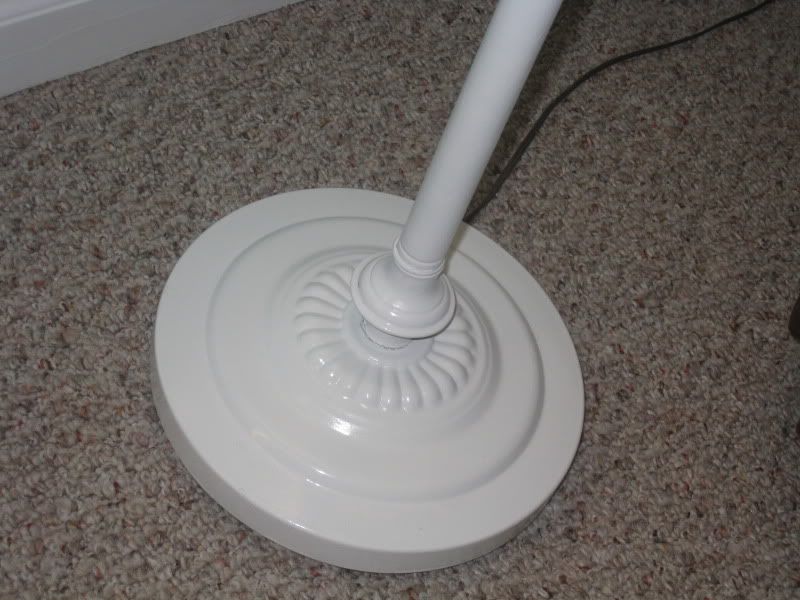
So, I headed to my local Salvation Army to check out their selection of lamps & I found this ugly duckling:
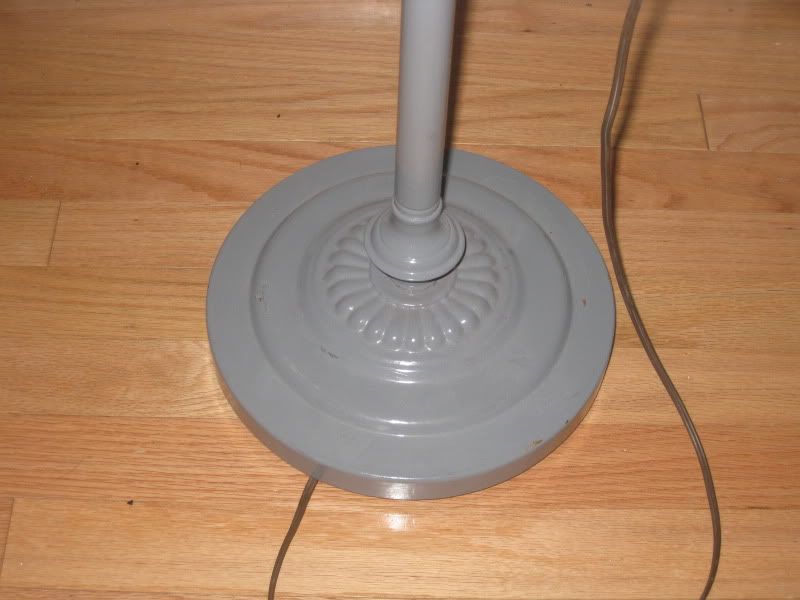
She wasn't pretty, I thought the detail on the base was kinda nice & had potential...and at only $13.99, I figured why not & decided to give her a chance! I think that she was actually originally the
fugly brassy/gold that I loathe & whoever owned her before painted her this creamy looking gray color, which ended up working out for me because it served as sorta of a primer for my paint! The lamp came with a shade that was pleated, starting to turn yellow & basically falling apart - didn't even make it the ride home - so I just threw it away before even getting a chance to take a pic.
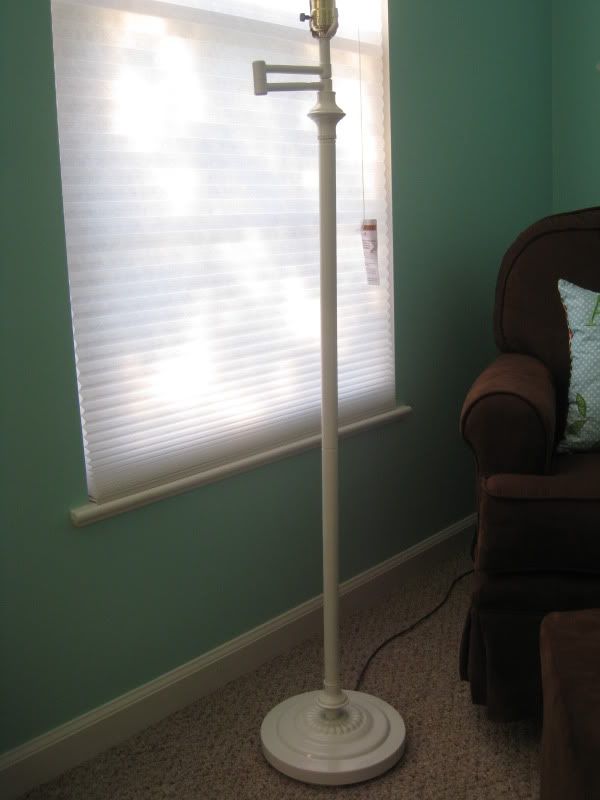
After giving her a good cleaning, I commissioned the hubbs to spray paint a few coats of some nice glossy white spray paint (be sure to tape or somehow cover the cord & bulb socket since you definitely don't want paint on either of those things). She already looked 1 million times better after the clean up & spray paint job!
Sorry for the dark pic - it was overcast that day, I know now to only take pics when it's nice & sunny out!
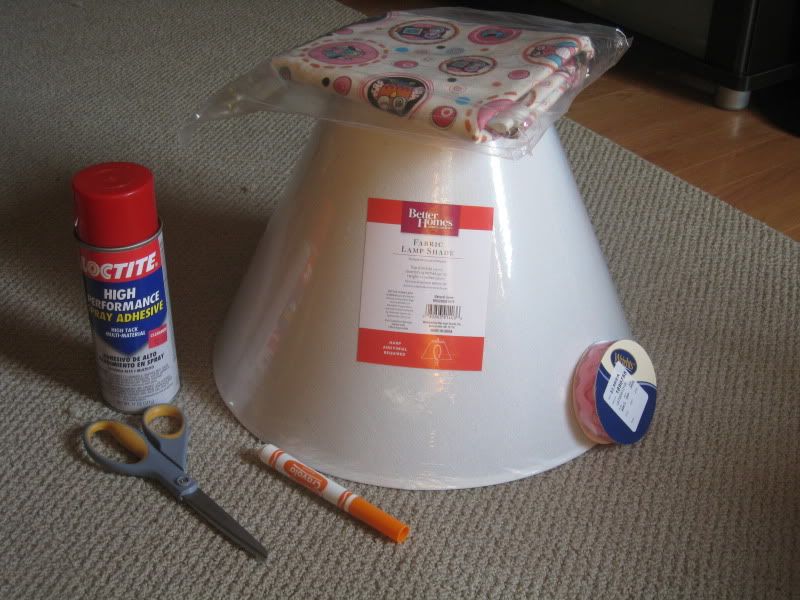
Now, on to the fun stuff...the lamp shade! For this feat (& it really was a feat), I gathered up my supplies:
- The largest {& cheapest, but still sturdy} (non-pleated) lamp shade they had at my local Walmart. I'm pretty sure it's this same one. $14
- A can of spray adhesive (I found the one pictured below at Joanns on clearance, so I decided to try it out although it was an off brand). $3
- Scissors; already owned.
- 1.5 yards in the fabric I chose to cover the shade - I got the Life's a Hoot, Owls Dot Pink fabric from Ribbon Retreat for a steal! Check them out if you haven't before, they have the cutest ribbons & fabrics for awesome prices! $13.50
- Embellishments - I just got a simple large, pink ric rac ribbon on sale at Joanns to use for this project, I didn't want it to be too embellished. $4
- A light colored marker; already owned.
- Some craft paper or newspaper (or in my case old wrapping paper that I didn't plan on using before) - you just need something large enough to trace the shade pattern on to; already owned.
- Sewing pins; already owned.
- Hot glue gun & extra glue sticks (not pictured); already owned.
- Clothes pins (or in my case binder clips) - anything that'll clip to the lampshade to hold down the edges while they get nice & dry (not pictured); already owned.
- TOTAL = $48.50 - saved a little money, woot!
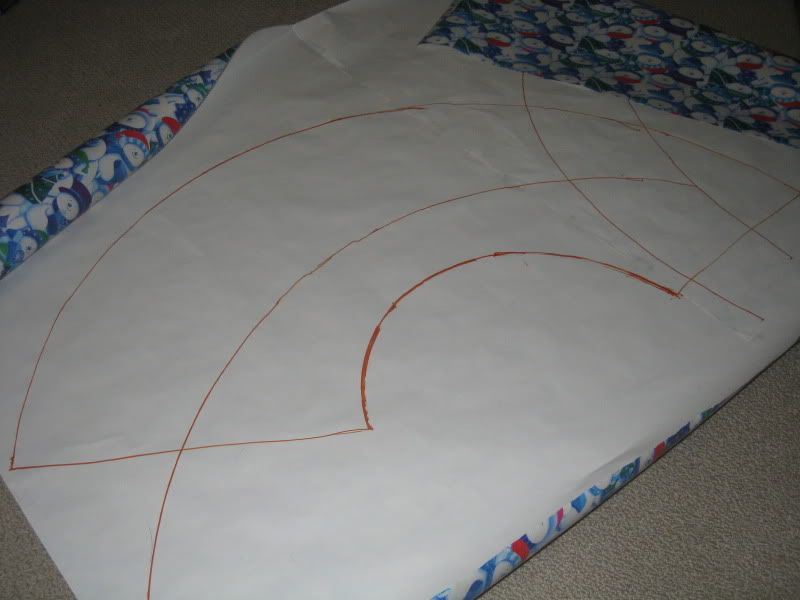
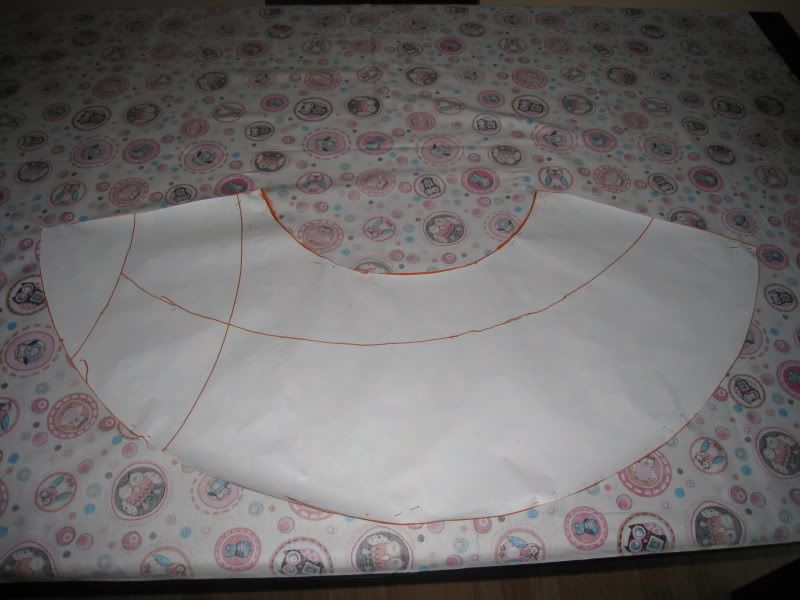
Next I drew a pattern for the fabric on to the back of the wrapping paper by rolling the shade along the paper & tracing the shape as I went. Then, I cut out the pattern & pinned it to the wrong/back side of my owl fabric.
WOD Tip: 1) when tracing the shade pattern on to the paper, you want to make sure that you start at the seam of the shade, so you know where to end your pattern on the paper; 2) make sure you iron your fabric really nice before pinning it.
Ignore all my random extra lines - I messed up a couple times on the pattern until I finally got it right!
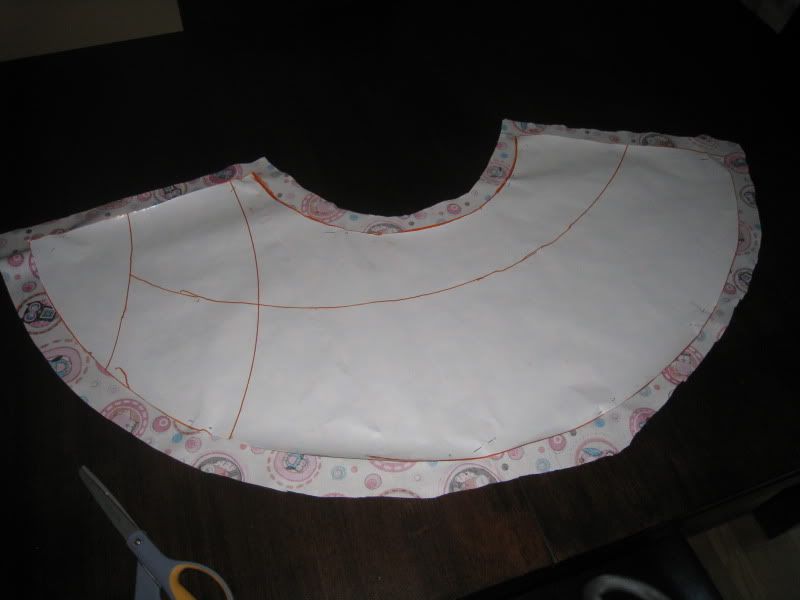
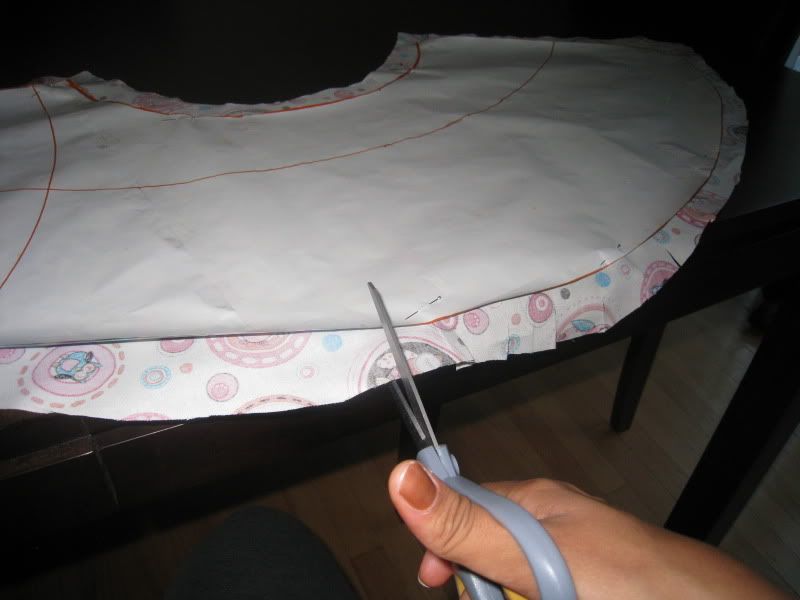
Next, cut out your pattern, leaving about 3/4 - 1 inch border of fabric around the paper. Then, cut about 1 inch slits/flaps on the top & bottom of your fabric up to the beginning of the paper pattern (you will end up folding these inside the lamp shade) - make sure not to cut the sides of your pattern!!!
Next, iron a hem line on to one side of your fabric (sorry, no pic for this step, but I just ironed about a 1 inch hem (about the same size as the overhang on one side of the pattern). Then spray a coat of adhesive to the back of your fabric (be sure to cover your work area). Next, starting at the seam of the shade with the raw (un-hemmed) side of the fabric,
carefully cover the shade, smoothing out any bubbles as you work (also no pics of this step since it required 2 hands, or in my case 4). You should end this step by applying your hemmed end of fabric to cover the "Raw" edge of the fabric you started applying at.
WOD Tip: I had to get the hubbs to help me with this part, the spray adhesive is quite tacky & it was too hard to keep straight enough on my own without having the flaps get stuck to parts of it or it getting bubbled/wrinkled as I applied it to the shade. If you can get help with this step, I highly suggest you do!
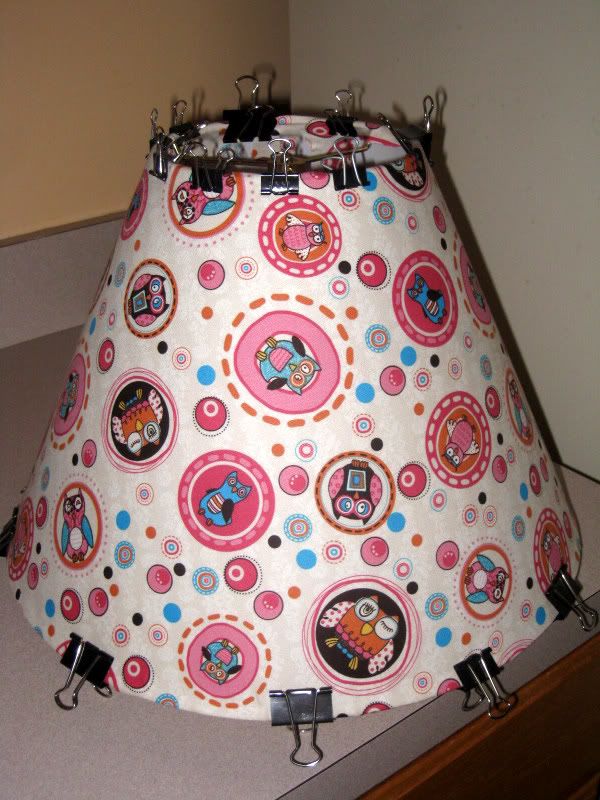
Fold in the flaps on both the top & bottom of the shade. Then, using your clothes pins (or in my case, binder clips), clip them to the top & bottom of the shade for about 10-15 min until it dries up nice.
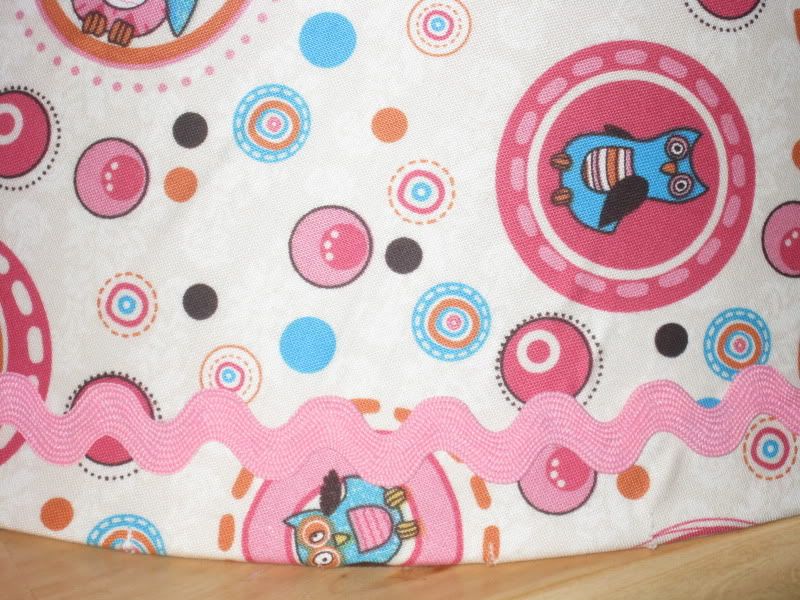
Next, use the hot glue to glue the ribbon/embellishment(s) around the edges of your covered shade, working in small sections - I just eyeballed the distance I wanted the ribbon from the edge.
You can see my hemmed side here; if you need to glue it down a little more because it's sticking up, you can use a little hot glue in small sections on it & that should do the trick.
Closeup of completed shade w/ ribbon embellishment.
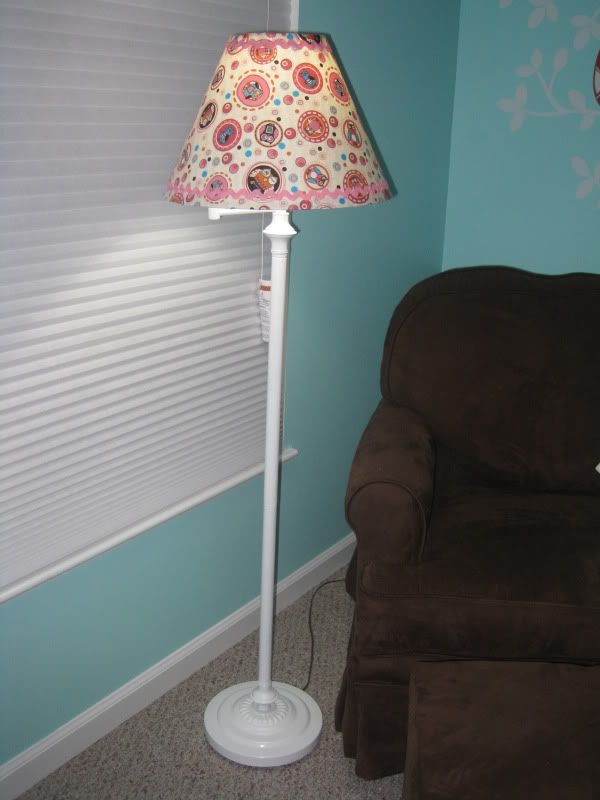
Screw your shade on to the base, throw in a {energy efficient} light bulb & step back to admire the finished product!
What do you think? A
HUGE improvement from the starting product, eh? I think it's perfect for her owl themed room! It may even be one of my favorite DIY projects I've done for the nursery! I can't wait to read lots of bedtime stories to my little girl under this reading lamp!
Wanna see our baby girl's nursery progress from the beginning?! Check out
the master plan for the room, the first set of
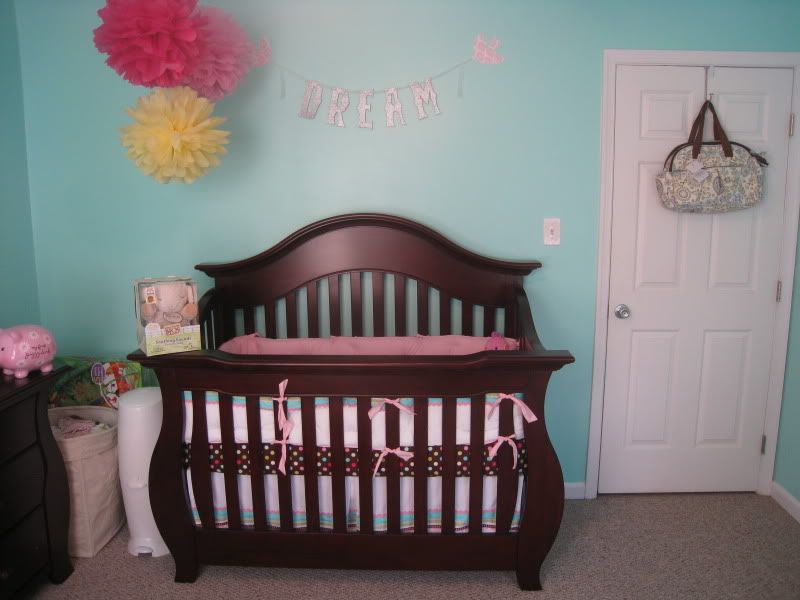
DIY goodies I made for our little girl, the major furniture
all put together, my cute
owl accent finds & my decision to do a understated owl theme in her nursery, my
"owl" bean bag score turned FAIL, how we
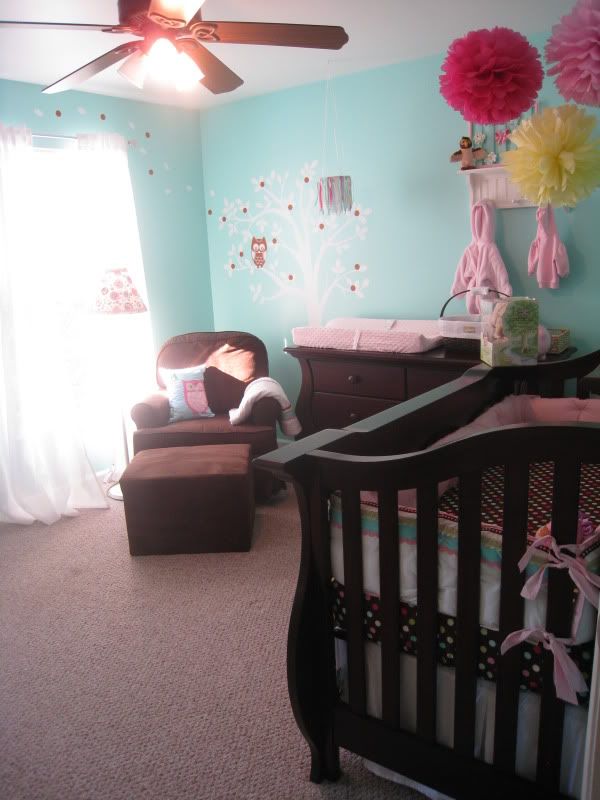
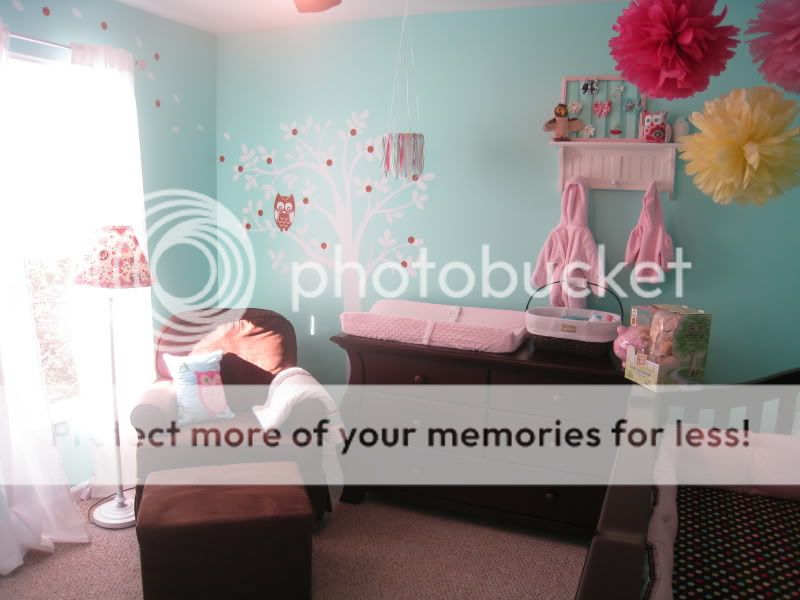
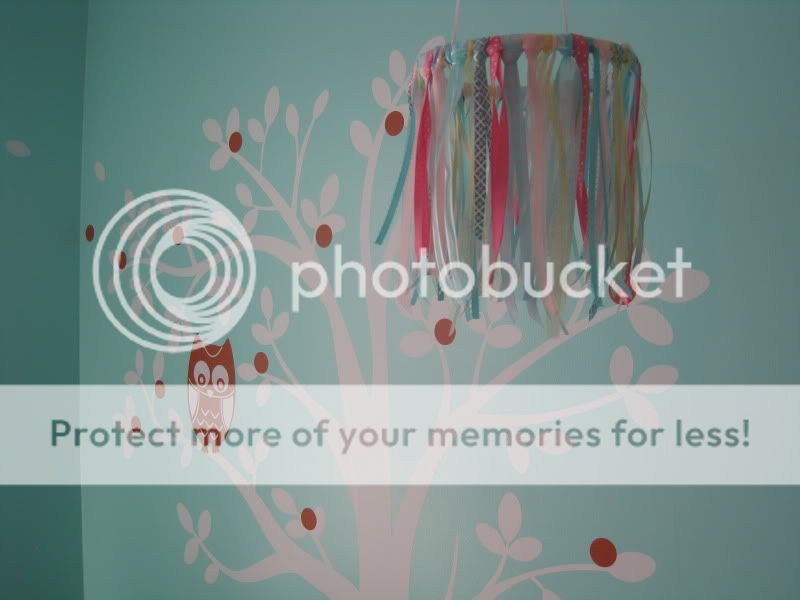
"planted" a tree behind the glider to read books to our sweet baby girl under, my easy peasy
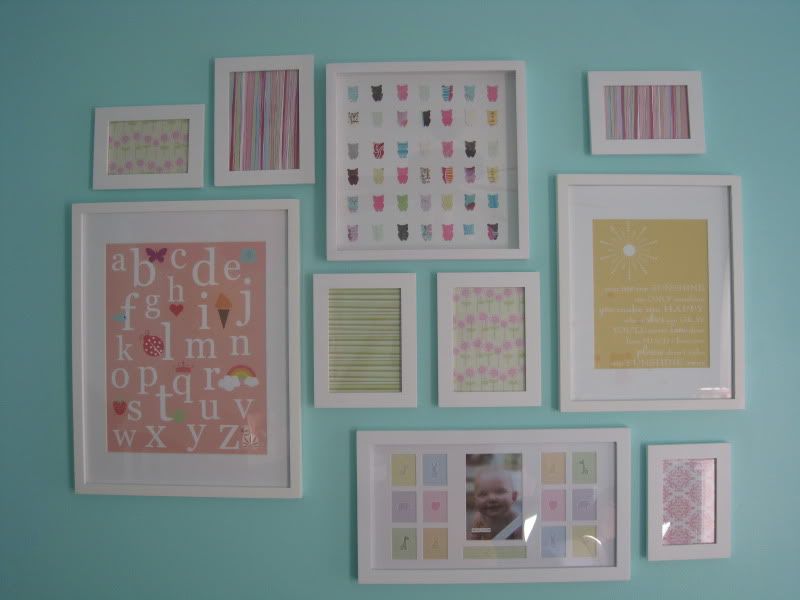
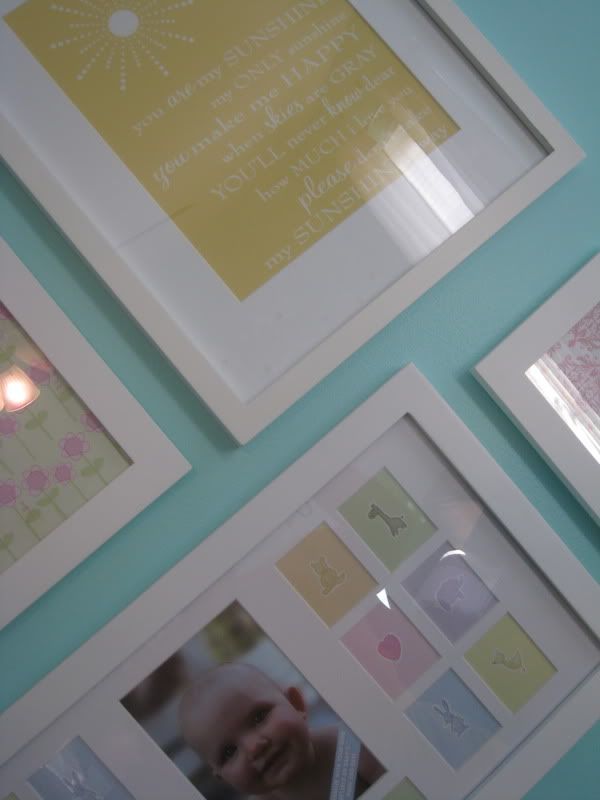
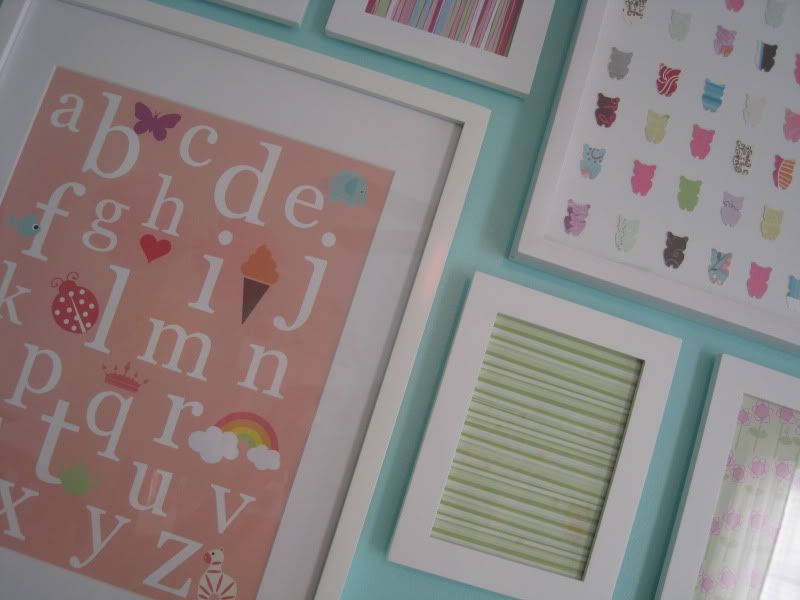
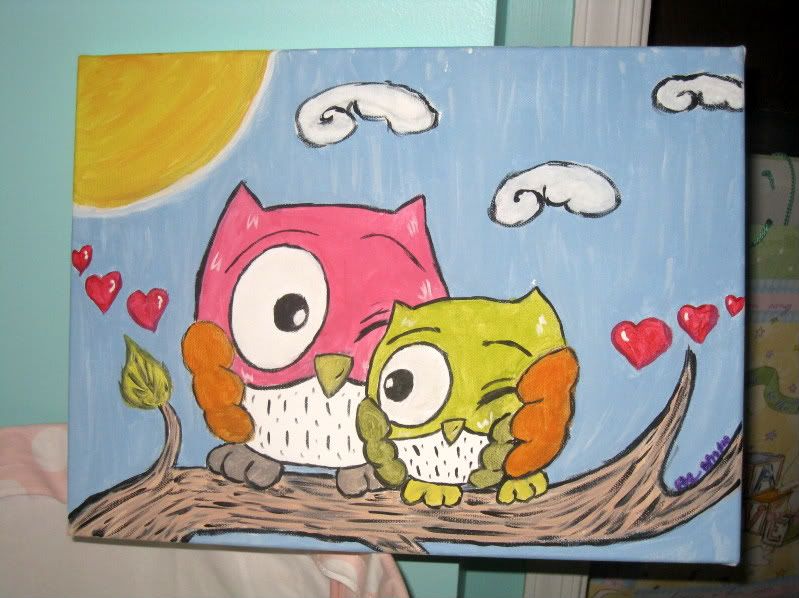
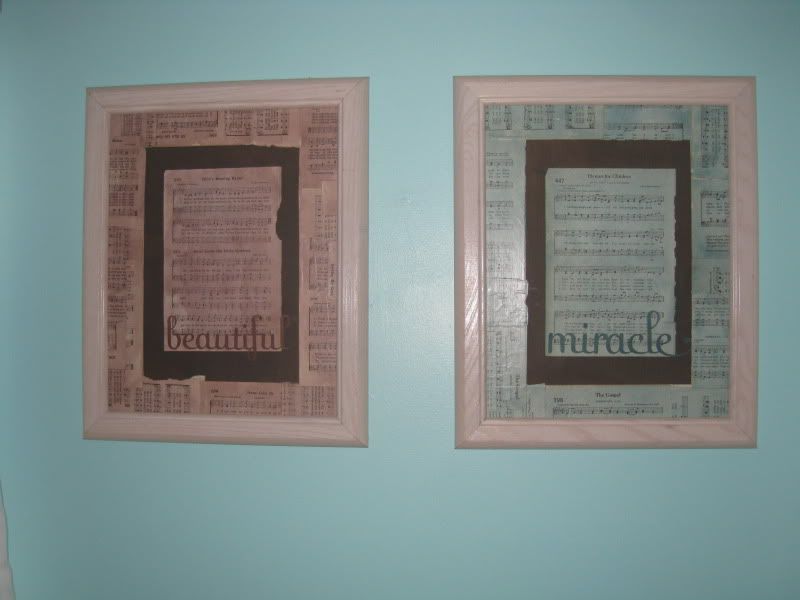
DIY owl wall art that I made using recycled greeting cards,
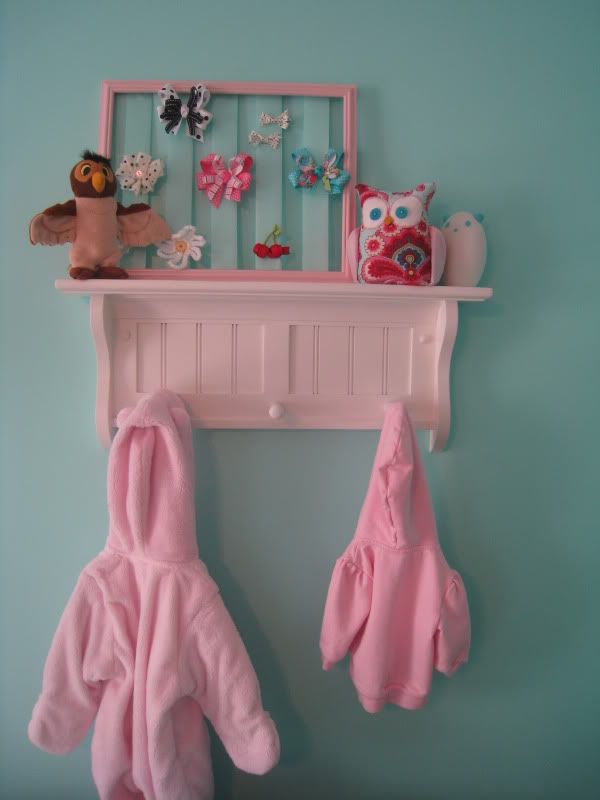
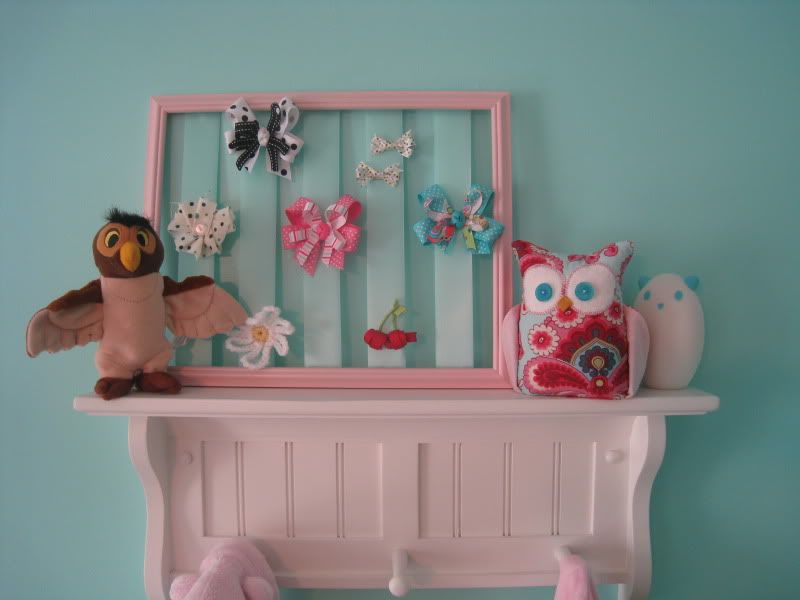
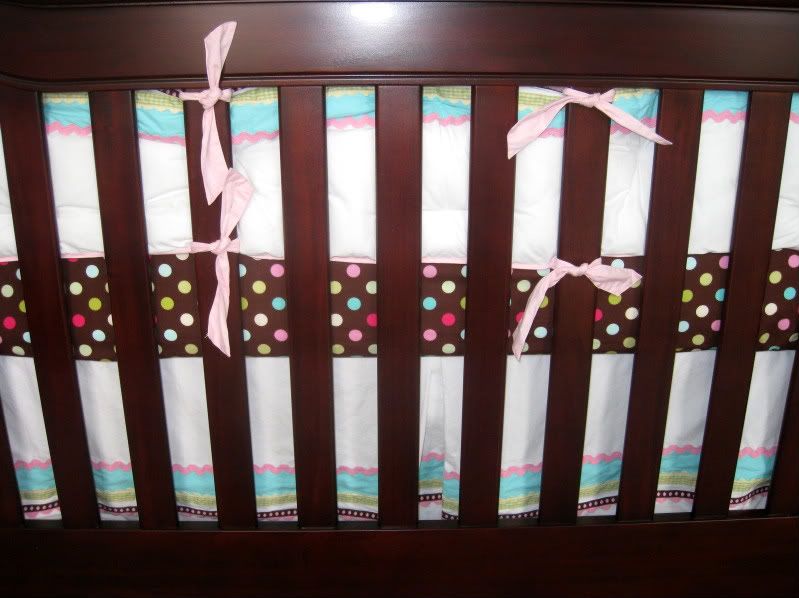
the finished dresser/changer combo & crib walls plus a simple & cute DIY bow holder, and her
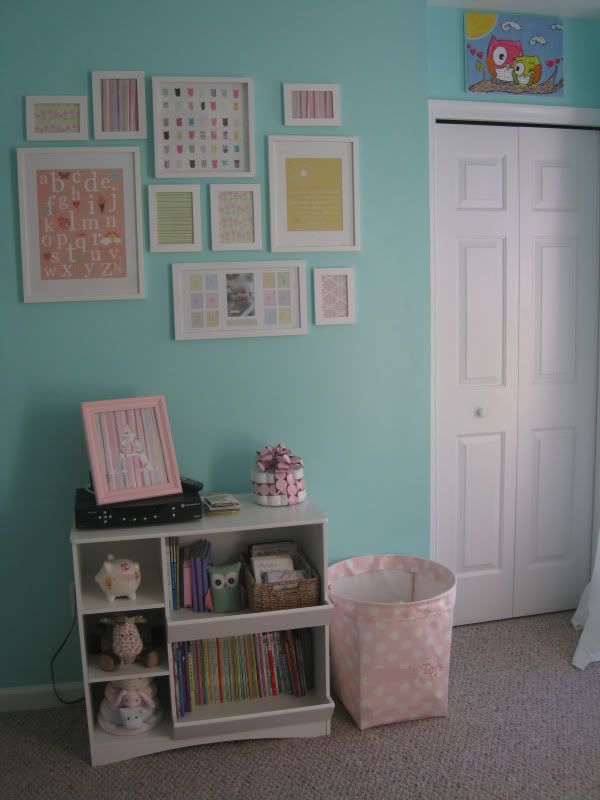
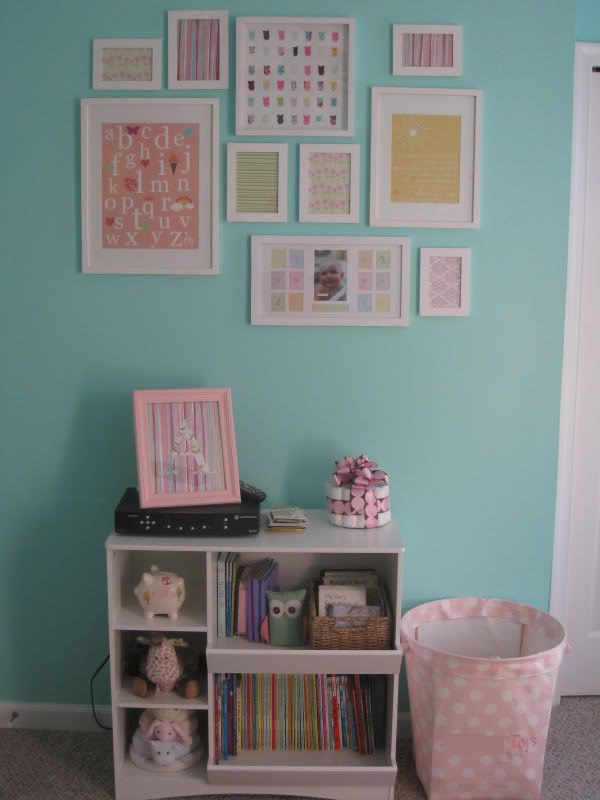
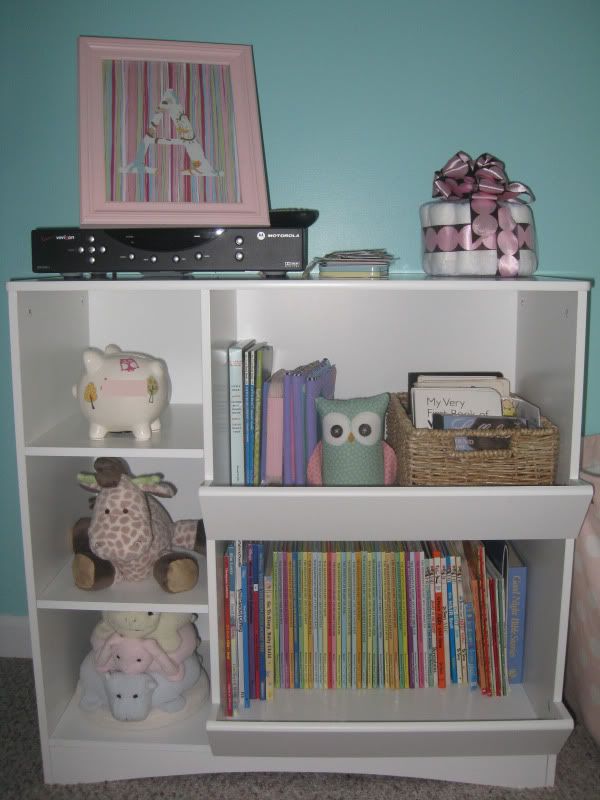
cute bargain bookshelf & the plans for the wall it's up against plus a simple DIY framed monogram!! Enjoy. :)
Linking up to:
So that's it for this installment of
project nursery - up next...my bedding selection! 'Till next time!