


First, I'm still trying hard to finish up my office/craft space makeover & it's coming along, but I need to buy a few things to do some organizing & right now, all our money is tied up in the munch's birthday party. I also ordered one item from Pottery Barn in July & it was back-ordered to last month, then last month I get an email from them saying it's back-ordered until DECEMBER - seriously PB?! Ugh. So, sadly, I doubt it'll be completed prior to her party, but it has come a long long way & looks great so far! I'll continue posting updates on the space until it's completely done!
Maybe a little over a week ago I got an exciting package in the mail {don'tcha just love packages, wooo} - the other part of her outfit!! Here it is in all it's pumpkin & polka dot glory:
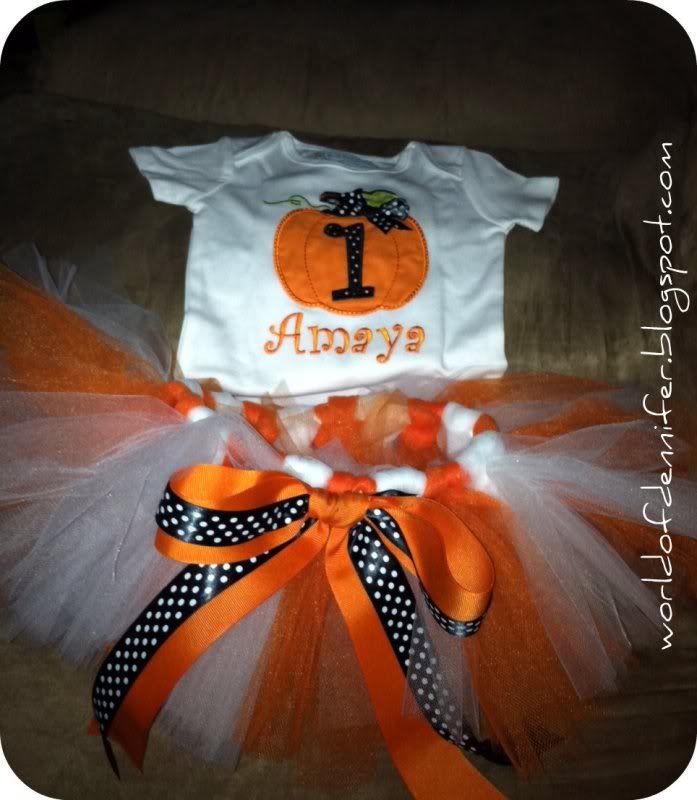
I mentioned it in my previous post about her party, but this adorbs outfit was done up by Amber of Made Cute Just 4 U on Etsy. I can't wait to see it all on her! I think I'll wash it this weekend & try it on her. :)
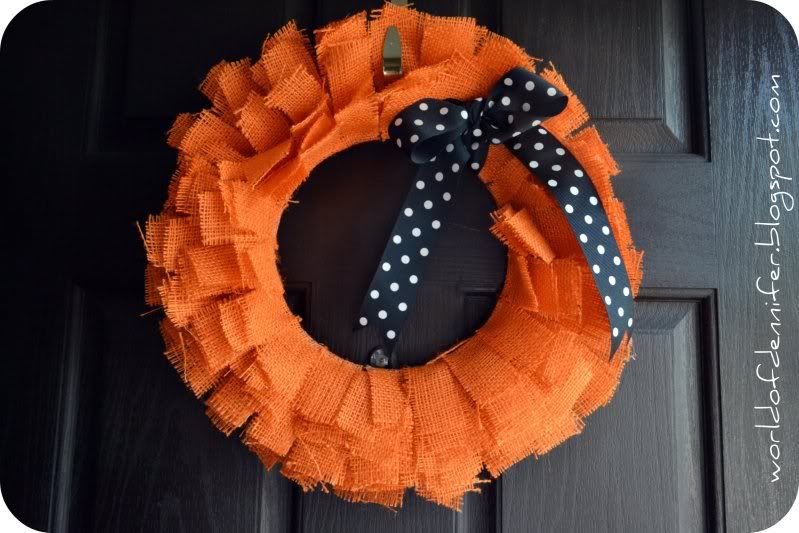
I have also been making progress on some of my DIY crafting/decor for the party. Project #1: a cute wreath for the door that would go with her party theme, but also be something I can leave up through Thanksgiving...then I saw this on Pinterest & I just knew I had to try it! Well mine is no where near the one on Etsy, but I still like the way it turned out & am so happy I went with the DIY, Also, it was waaay cheaper than the Etsy version!
Here's how my DIY version turned out:

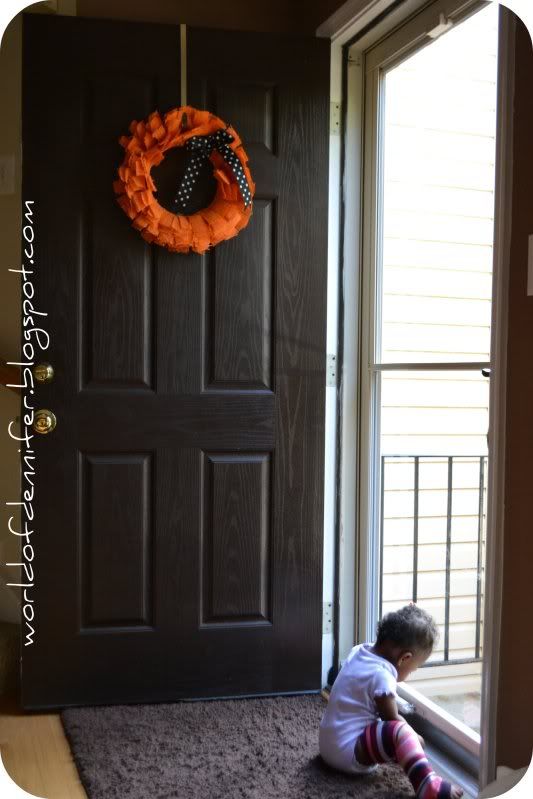
Of course I had to get a pic with my bey-beh in it ::wink::! So what do you think? I really love the way it turned out. Not quite the Etsy version, but that's okay..I still love it all the same! And it's much much cheaper. I think all the supplies I purchased cost less than $20, so I saved like $40, woot!
Okay so to make this bad boy it's simple, but slightly time consuming & messy. Messy because the burlap fibers get literally every.where when you're working with them - on you, on the floor, on your working surface, the dog, etc. And that brings me to the tutorial step numero uno...
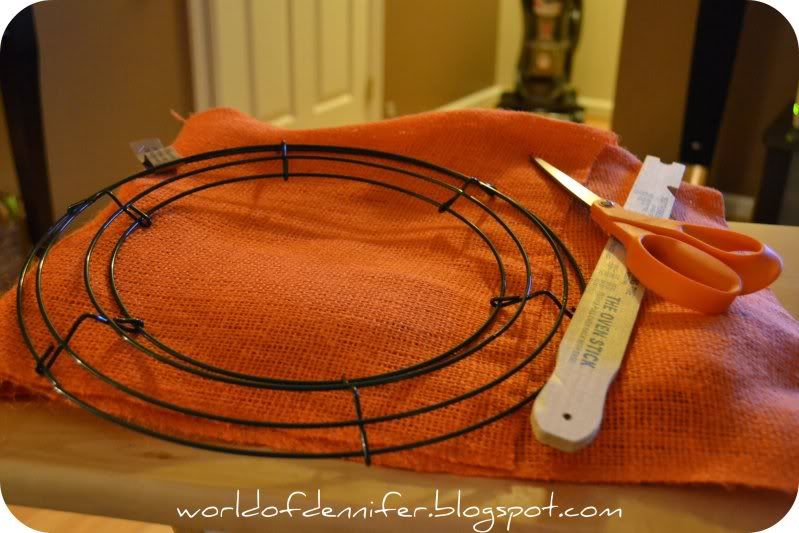
Gather up your supplies:
Cut out approximately 1.5" wide x approximately 5" long strips of burlap:
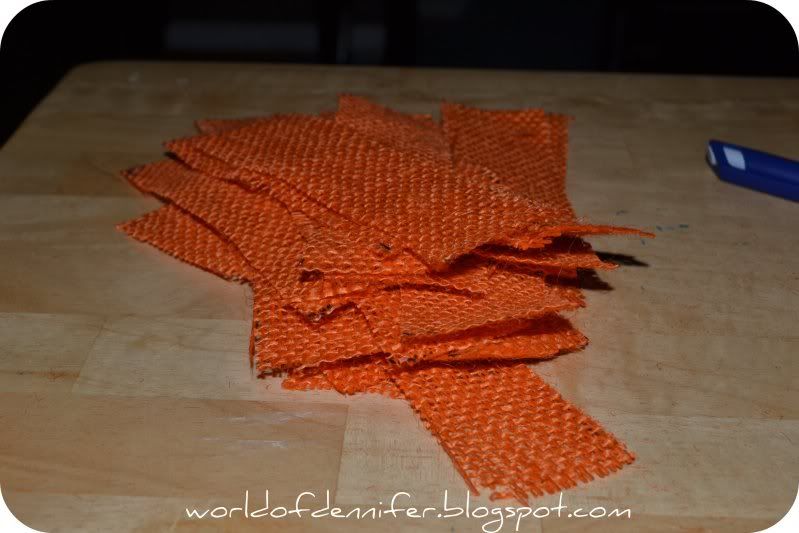
You'll need a bunch of these. I found that cutting them out beforehand saved me a lot of time as opposed to cutting out a few, gluing, repeating. **WOD Tip: after cutting out the first strip, use it as a template for all the rest, that way you won't have to continually measure & mark the burlap {like I did, until I caught on...duh Jen!}.
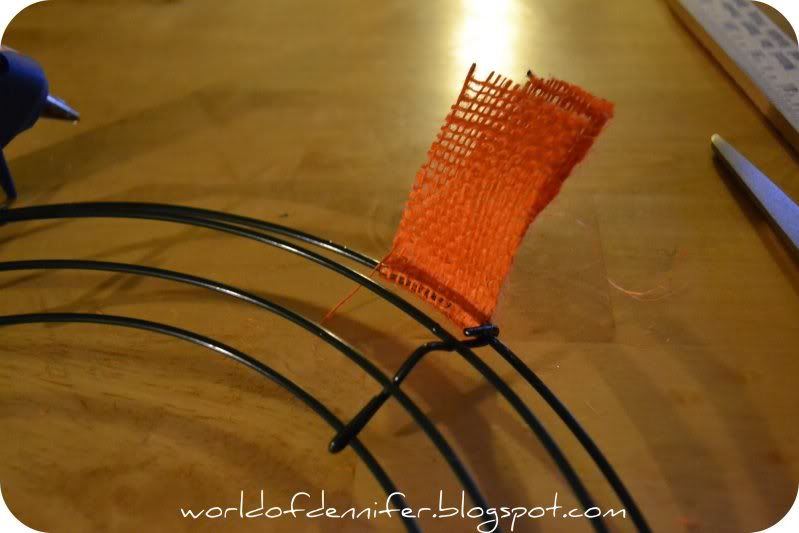
Fold strips in half over a ring of the wreath form & get to gluing:
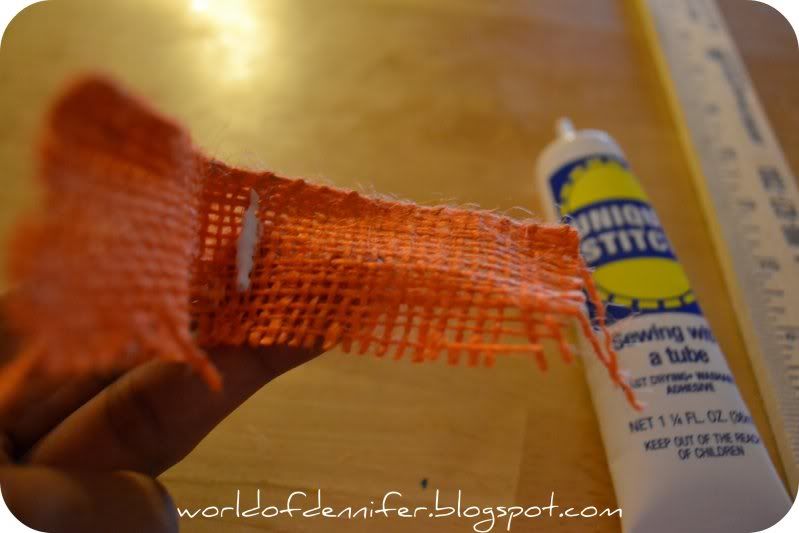
As you can see, I originally started out with Unique Stitch, but I quickly discovered that: a) it's not strong enough to hold burlap together, and b) even if it was, it takes much too long to dry...ie, if you used this & held each strip together while it dried, then it would take you sooo long to finish your wreath. I found out by a little trial & error...

See how it pulled right apart as soon as I tried attaching it to the wreath form? No bueno. FAIL. So I moved on to mybrother from another mother favorite adhesive go-to, my trusty glue gun. And he didn't let me down:
So I just started gluing working the wreath form by section & from the outside in. I forgot to take a photo of the final wreath once I glued all of the burlap strips, sorry! But the final pics basically show what it looked like when I finished. I just added a pretty {polka dot} bow to tie in Munchkin's theme & make it more Halloween'y, fluffed as necessary (do this over a trash can or outside, other wise the burlap fibers will get all over your work space) & hung it up on our front door. I really really love how it turned out & it serves several purposes - party & seasonal decor. Can't beat that!
Want all deets on Munchkin's "Little Pumpkin" themed 1st birthday party? Check out the invites, decor & the initial sneak peek of her outfit here...more coming very very soon! 'Till next time!
I have also been making progress on some of my DIY crafting/decor for the party. Project #1: a cute wreath for the door that would go with her party theme, but also be something I can leave up through Thanksgiving...then I saw this on Pinterest & I just knew I had to try it! Well mine is no where near the one on Etsy, but I still like the way it turned out & am so happy I went with the DIY, Also, it was waaay cheaper than the Etsy version!
Here's how my DIY version turned out:
Of course I had to get a pic with my bey-beh in it ::wink::! So what do you think? I really love the way it turned out. Not quite the Etsy version, but that's okay..I still love it all the same! And it's much much cheaper. I think all the supplies I purchased cost less than $20, so I saved like $40, woot!
Okay so to make this bad boy it's simple, but slightly time consuming & messy. Messy because the burlap fibers get literally every.where when you're working with them - on you, on the floor, on your working surface, the dog, etc. And that brings me to the tutorial step numero uno...
Gather up your supplies:
- 1 square yard of orange burlap
- wire wreath form (I used a 12" wire form for my wreath)
- a ruler of some sort
- scissors
- glue gun
- extra glue sticks
Cut out approximately 1.5" wide x approximately 5" long strips of burlap:
You'll need a bunch of these. I found that cutting them out beforehand saved me a lot of time as opposed to cutting out a few, gluing, repeating. **WOD Tip: after cutting out the first strip, use it as a template for all the rest, that way you won't have to continually measure & mark the burlap {like I did, until I caught on...duh Jen!}.
Fold strips in half over a ring of the wreath form & get to gluing:
As you can see, I originally started out with Unique Stitch, but I quickly discovered that: a) it's not strong enough to hold burlap together, and b) even if it was, it takes much too long to dry...ie, if you used this & held each strip together while it dried, then it would take you sooo long to finish your wreath. I found out by a little trial & error...
See how it pulled right apart as soon as I tried attaching it to the wreath form? No bueno. FAIL. So I moved on to my
So I just started gluing working the wreath form by section & from the outside in. I forgot to take a photo of the final wreath once I glued all of the burlap strips, sorry! But the final pics basically show what it looked like when I finished. I just added a pretty {polka dot} bow to tie in Munchkin's theme & make it more Halloween'y, fluffed as necessary (do this over a trash can or outside, other wise the burlap fibers will get all over your work space) & hung it up on our front door. I really really love how it turned out & it serves several purposes - party & seasonal decor. Can't beat that!
Want all deets on Munchkin's "Little Pumpkin" themed 1st birthday party? Check out the invites, decor & the initial sneak peek of her outfit here...more coming very very soon! 'Till next time!


0 comments:
Post a Comment