; World of Dennifer: Project Makeover Series
Showing posts with label Project Makeover Series. Show all posts

Wednesday, September 14, 2011

Project Office/Craft Space Makeover: my {kinda} new desk!

Hi everyone! Oh my gah...I know I've been MIA, but as I mentioned this is the busiest time of year at my job, so I'm always swamped at work, working overtime, coming home to take care of the munchkin & then exhausted, so I tend to pass out on the couch pretty early. I'm tired right now - ugh, but I need to get this post up since I've been telling myself I would do it over the last few days. I CANNOT wait till this fiscal year comes to a close & I can breathe a little. Anyways, I want to say sorry again for leaving y'all hanging..hang in there with me, would ya? After September 30th, I'm back in full effect - promise! And & I'll have TONS of Fall DIY projects to share since the munchkin's birthday is pumpkin themed & I'm doing most of the decor! Plus I have munchkin's 10-11 month updates & more WIWBW!!

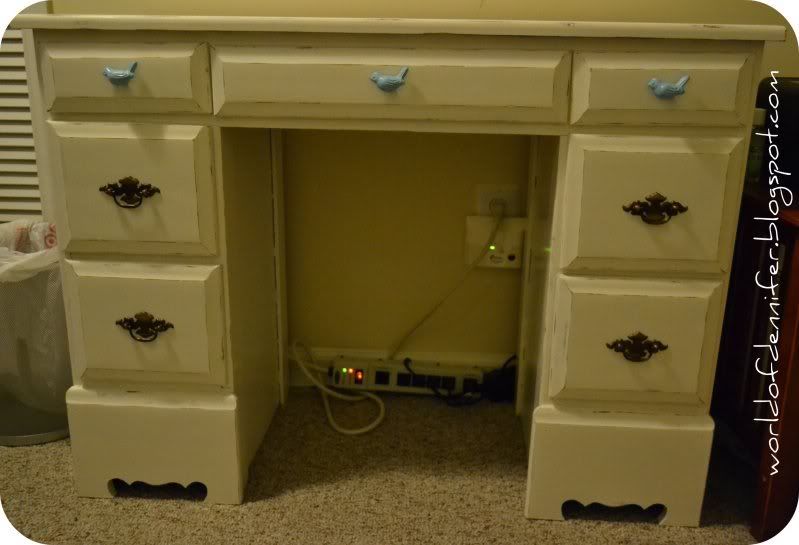
So today I want to share my first B-I-G project for my office/craft space makeover...my desk! Here she is today in all her painted, distressed, new hardware mixed with old hardware glory:

 
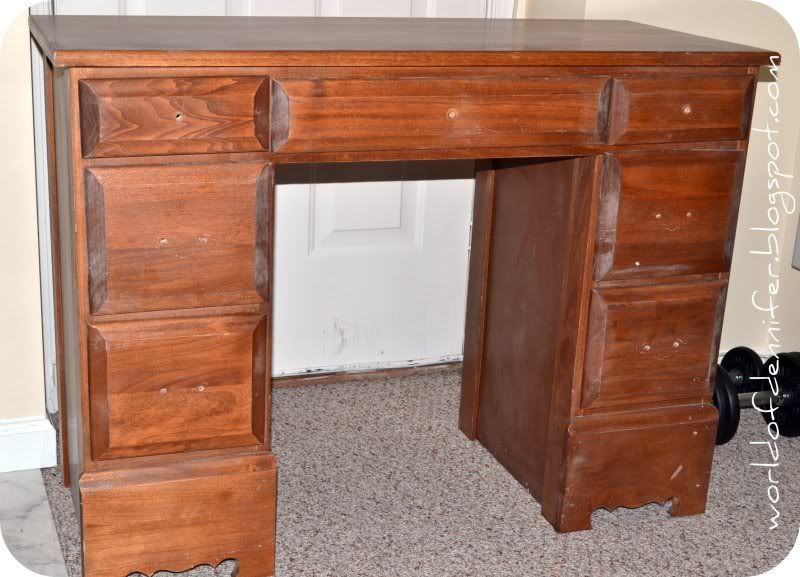
Sorry for the crappy lighting - it was in the evening in the basement, so umm, yeah - the lighting sucked! But what do you think? I lurve the way it turned out....remember what it looked like before?


It was actually in decent condition overall, just needed a face lift - now it looks fab!

And here's how I did it... I started out by removing all the drawer pulls, filling the top three drawer pull holes in with wood filler, then sanding her up real good by hand. I sanded just enough that the finish was scuffed up & ready to take on the paint:


I wiped the sanding dust off with a damp cloth to prep it for painting. And speaking of paint, I used Antique White Glidden paint from Walmart, which is sort of a creamy white with a slight antique'y {I know, not a word} tint to it. I used the interior, semi gloss 2-in-1 paint + primer so that I didn't have to do a separate primer coat. I also used a small foam roller & a brush to get in all the cracks & crevices. I think I did about 2-3 coats & the whole painting project - from setup to cleanup - took me about 3 hours. But I'm a little neurotic when I paint, I have to make sure every inch of the piece, wall, whatever looks uniform, so it might take a non-neurotic normal person a little bit less time to paint.

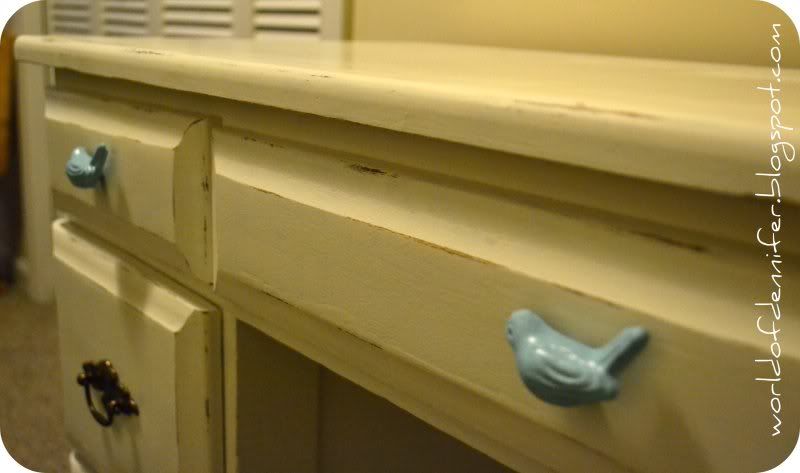
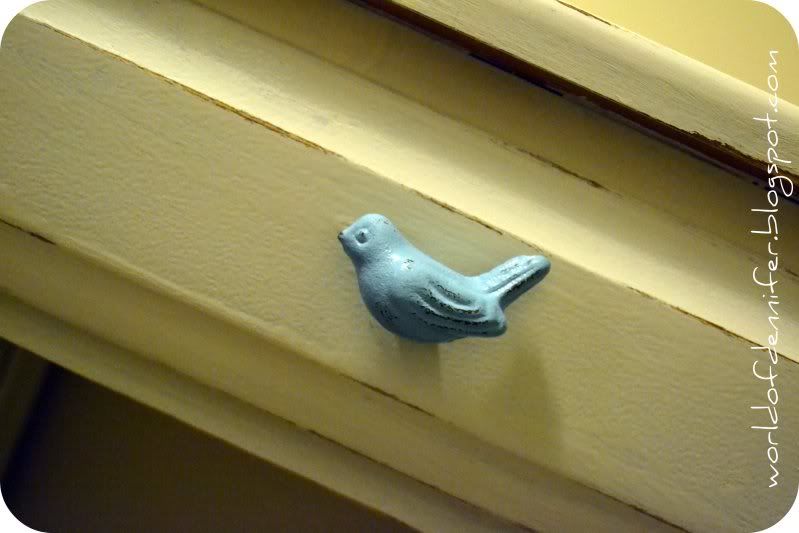
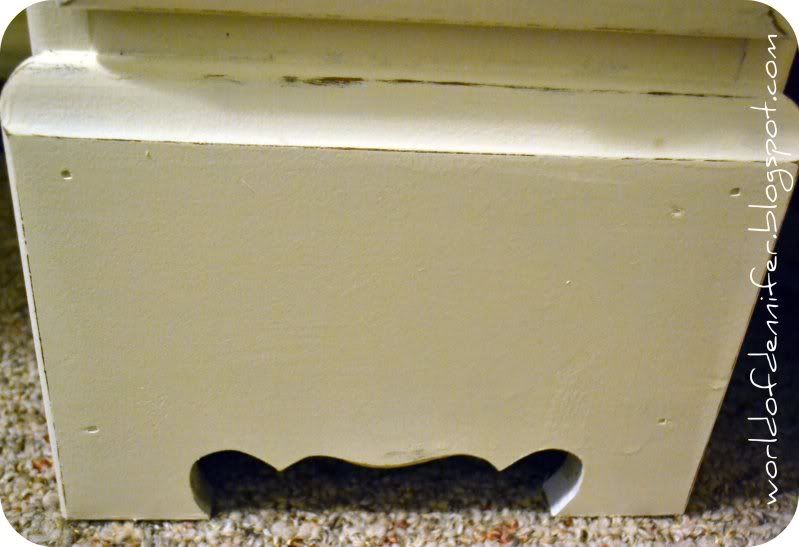
Then, I let the paint dry about 2 days - 24 hours probably would have been sufficient, but I didn't get to it in exactly 24 hours, so my desk had 48 hours to dry completely. ::wink:: After that, I started distressing with both  fine and  rough sanding blocks. I found that the fine one took for.ever to get the parts distressed to my liking, so I started with the rough & softened/finished with the fine block. I basically just distressed in the normal places you'd expect on worn in pieces - corners, near the bottoms, along the edges, on the drawer corners. Then I put the old antique brass hardware on the bottom six drawers & put my awesome birdie knobs on the top three. Love the knobs?! I bought 'em from Etsy seller RiRi Creations - Rita's super nice, the knobs are totally cute & affordable & they shipped fast!

Oh & I finished up the project by adding contact paper that I had left over from covering the bottom of the master bath vanity cabinets. It's nice & neutral, so it works perfectly in the drawers - sorry forgot to snap a pic. So that's it! Definitely wasn't as hard, expensive or time consuming as I thought it would be...I probably spent about maybe $50 total on this project, including the cost of the desk & knobs! Awesome. And I love how it turned out - exactly what I was looking for, woo!

Wanna see my office/craft space progress from the beginning?! Check out the sad before - more to come soon :) Hope you enjoyed this installment of Project Makeover. 'Till next time!

Tuesday, August 2, 2011

Project Office/Craft Space Makeover: a sad "before"

Hi there friends! I'm finally ready to announce my newest DIY/D&R makeover project series...as I'm sure you can surmise from the title of this post, it's my office/craft space! It's a space in my house that has long been neglected & this revamp is WAAAAAY overdue. I originally planned to work on this space before the munchkin was born conceived, but clearly that didn't happen, so I'm starting now! Better late than never right?!

I'm trying to get back into the swing of things with crafting & decorating as much as I used to - I think I took a break because I was adjusting to my new life as a mama, but my daughter's starting to get older & get into more of a predictable routine, so I'm slowly {but surely} returning to my crafting roots ::fist pump::, lol. So, my office/crafting area is just a tiny area of the basement (aka my husband's mancave, which I'm sure he's thrilled to share with his amazing wife) in my very small house. Before the munchkin was born, I had my office & craft stuff in her room (the former office/guest/craft room), but once I got pregnant we had to clean it out & get it set up as a nursery. When we do buy a bigger house, I'm definitely making sure I have a suitable crafting room. Sigh. I *wish* that I had an entire room like some of you luckies out there, but alas, I do not & so I'm working with what I got....

Here are a few before shots of my very sad craft space (please excuse the photo quality, took them on my iPhone right before I started the desk cleanup):


I'm totally embarrassed to post photos of the sad, sad state of my office area, but the time has come! This is a view of the desk/printer area & a closeup of my cluttered desktop. Remember this post from oh, about a year ago, regarding my CL find. Got this desk for $25 last February & then I got preggo. The hubbs kept saying he would re-do my desk, but he never did (figures!) & now, over a year later, I'm finally gonna give some new life to this little beauty!

I'd also like to re-finish the side table we have the printer sitting on to match all the espresso/dark wood colors the hubbs has in the basement already.

And ideally, I'd also like to see some wall storage hung over my desk & I'd lurve to have those frames cluttering my desk come off & go somewhere else, which brings me to my next & final (told y'all it was a small space) before photo...


The misc. junk corner, which I have claimed as a part of my office/crafty space. In this area, I'd like to loose the chair; although, my original thought was to re-do that too, add a cute chair cushion & have a little coordinating chair for my desk. But, I have an awesome, comfy computer chair with wheels & I love it, so I'm gonna stick with that for now. And since I hate clutter {& we are running out of storage space}, this little guy's gotta go. I'll be Freecycling him sometime soon. After I get rid of the chair, I'm going clean up the space & add some storage, likely a book shelf, in that area.

I'd love to see the entire basement painted & am working on the hubbs to make it happen, but he hates painting, so it may take a little while! Or it may never happen because we wanna sell our casa...I'd love it if we just sold & never painted downstairs, but we all know how the market is! Anyway, I'm not letting that slow me down - I will finish this project & I will do it before munchkin's birthday party on October 15th. That means I only have a small amount of time to finish...follow along on my newest D&R/DIY project, won't cha?! And wish me luck, I'll need it!! 'Till next time!