


So today I want to share my first B-I-G project for my office/craft space makeover...my desk! Here she is today in all her painted, distressed, new hardware mixed with old hardware glory:
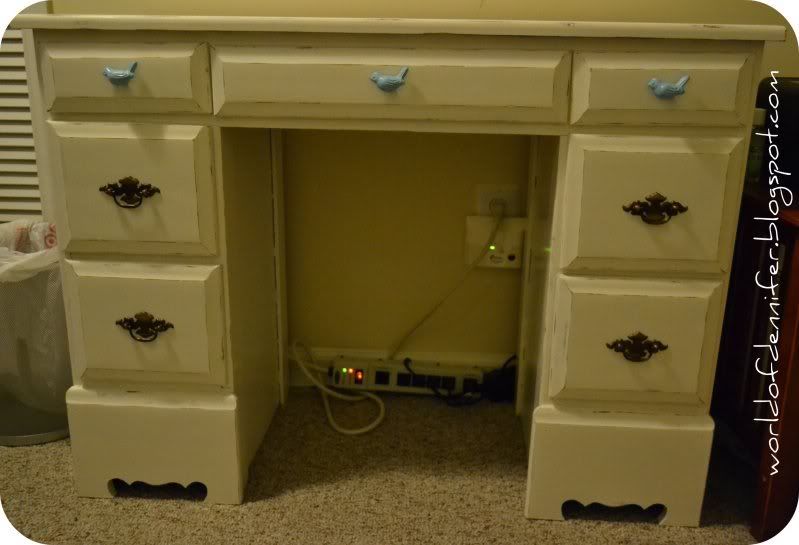

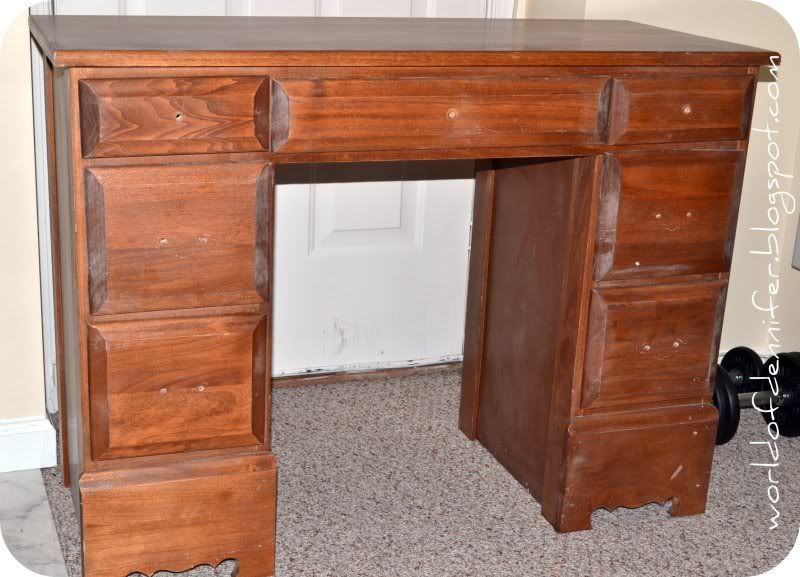
Sorry for the crappy lighting - it was in the evening in the basement, so umm, yeah - the lighting sucked! But what do you think? I lurve the way it turned out....remember what it looked like before?

It was actually in decent condition overall, just needed a face lift - now it looks fab!
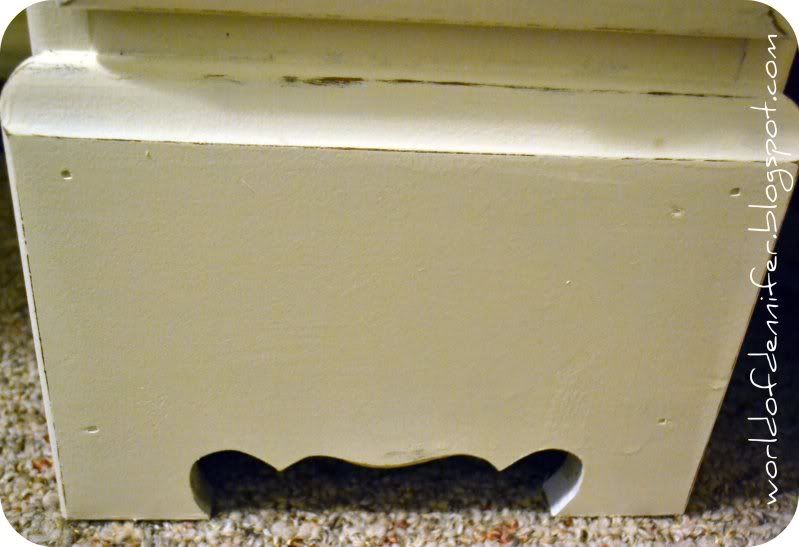
And here's how I did it... I started out by removing all the drawer pulls, filling the top three drawer pull holes in with wood filler, then sanding her up real good by hand. I sanded just enough that the finish was scuffed up & ready to take on the paint:
I wiped the sanding dust off with a damp cloth to prep it for painting. And speaking of paint, I used Antique White Glidden paint from Walmart, which is sort of a creamy white with a slight antique'y {I know, not a word} tint to it. I used the interior, semi gloss 2-in-1 paint + primer so that I didn't have to do a separate primer coat. I also used a small foam roller & a brush to get in all the cracks & crevices. I think I did about 2-3 coats & the whole painting project - from setup to cleanup - took me about 3 hours. But I'm a little neurotic when I paint, I have to make sure every inch of the piece, wall, whatever looks uniform, so it might take a
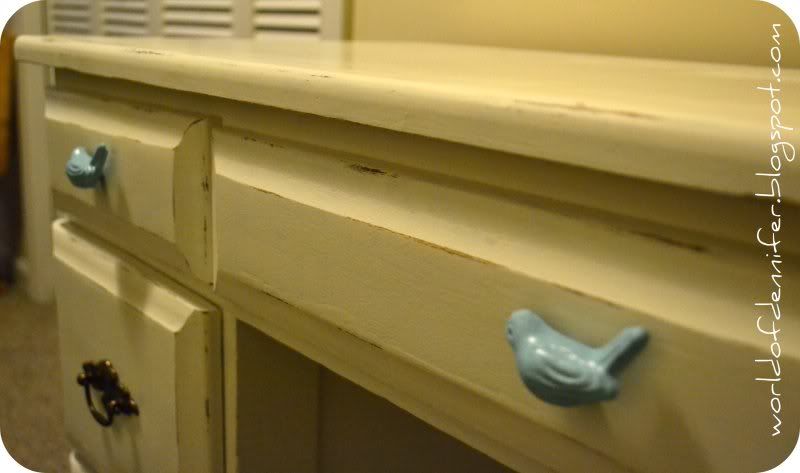
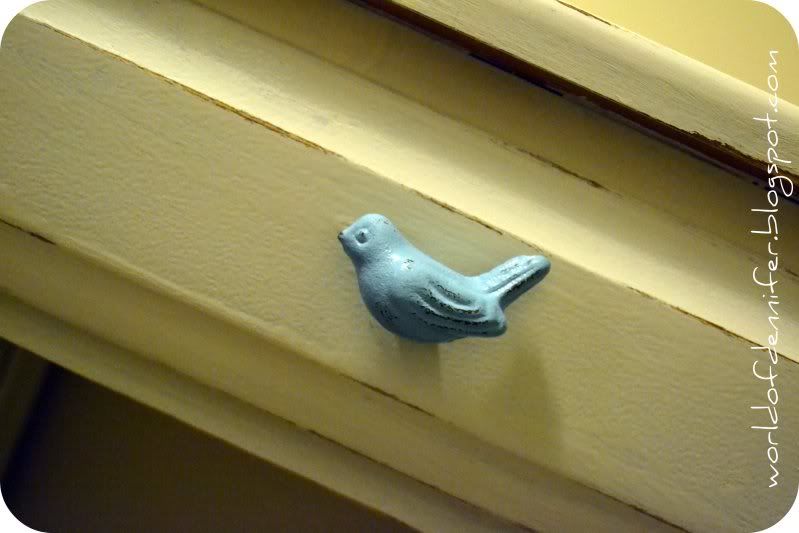
Then, I let the paint dry about 2 days - 24 hours probably would have been sufficient, but I didn't get to it in exactly 24 hours, so my desk had 48 hours to dry completely. ::wink:: After that, I started distressing with both fine and rough sanding blocks. I found that the fine one took for.ever to get the parts distressed to my liking, so I started with the rough & softened/finished with the fine block. I basically just distressed in the normal places you'd expect on worn in pieces - corners, near the bottoms, along the edges, on the drawer corners. Then I put the old antique brass hardware on the bottom six drawers & put my awesome birdie knobs on the top three. Love the knobs?! I bought 'em from Etsy seller RiRi Creations - Rita's super nice, the knobs are totally cute & affordable & they shipped fast!
Oh & I finished up the project by adding contact paper that I had left over from covering the bottom of the master bath vanity cabinets. It's nice & neutral, so it works perfectly in the drawers - sorry forgot to snap a pic. So that's it! Definitely wasn't as hard, expensive or time consuming as I thought it would be...I probably spent about maybe $50 total on this project, including the cost of the desk & knobs! Awesome. And I love how it turned out - exactly what I was looking for, woo!
Wanna see my office/craft space progress from the beginning?! Check out the sad before - more to come soon :) Hope you enjoyed this installment of Project Makeover. 'Till next time!


0 comments:
Post a Comment